Add a firewall with Controlled Zero Touch
With Controlled Zero Touch, you specify your firewall configuration settings in Sophos Central. Your firewall administrator then connects the firewall to the internet and turns it on. The firewall connects to Sophos Central, downloads and applies the configuration, and then registers with Sophos Central.
Note
You must add and configure the firewall in Sophos Central before turning it on and connecting it to the internet.
Requirements
You can only use this feature if you've joined the Early Access Program. Contact your Sophos Partner for more information.
If your firewalls are on version 19.0 MR1 or later, you can deploy them using Controlled Zero Touch (CZT) configuration.
Controlled Zero Touch configuration is available for SG, XG, and XGS firewall devices.
The firewall must have DHCP enabled on the WAN port your firewall administrator uses to connect to the internet. New Sophos firewalls have DHCP enabled on WAN Port2 by default.
If you add multiple firewalls, a cache issue may arise, and the process may not work. To prevent this, use a separate private browsing tab to connect each firewall.
What to do in Sophos Central
To add a new firewall with Controlled Zero Touch, do as follows:
- Go to My Products > Firewall Management > Firewalls.
- Click Add Firewall.
-
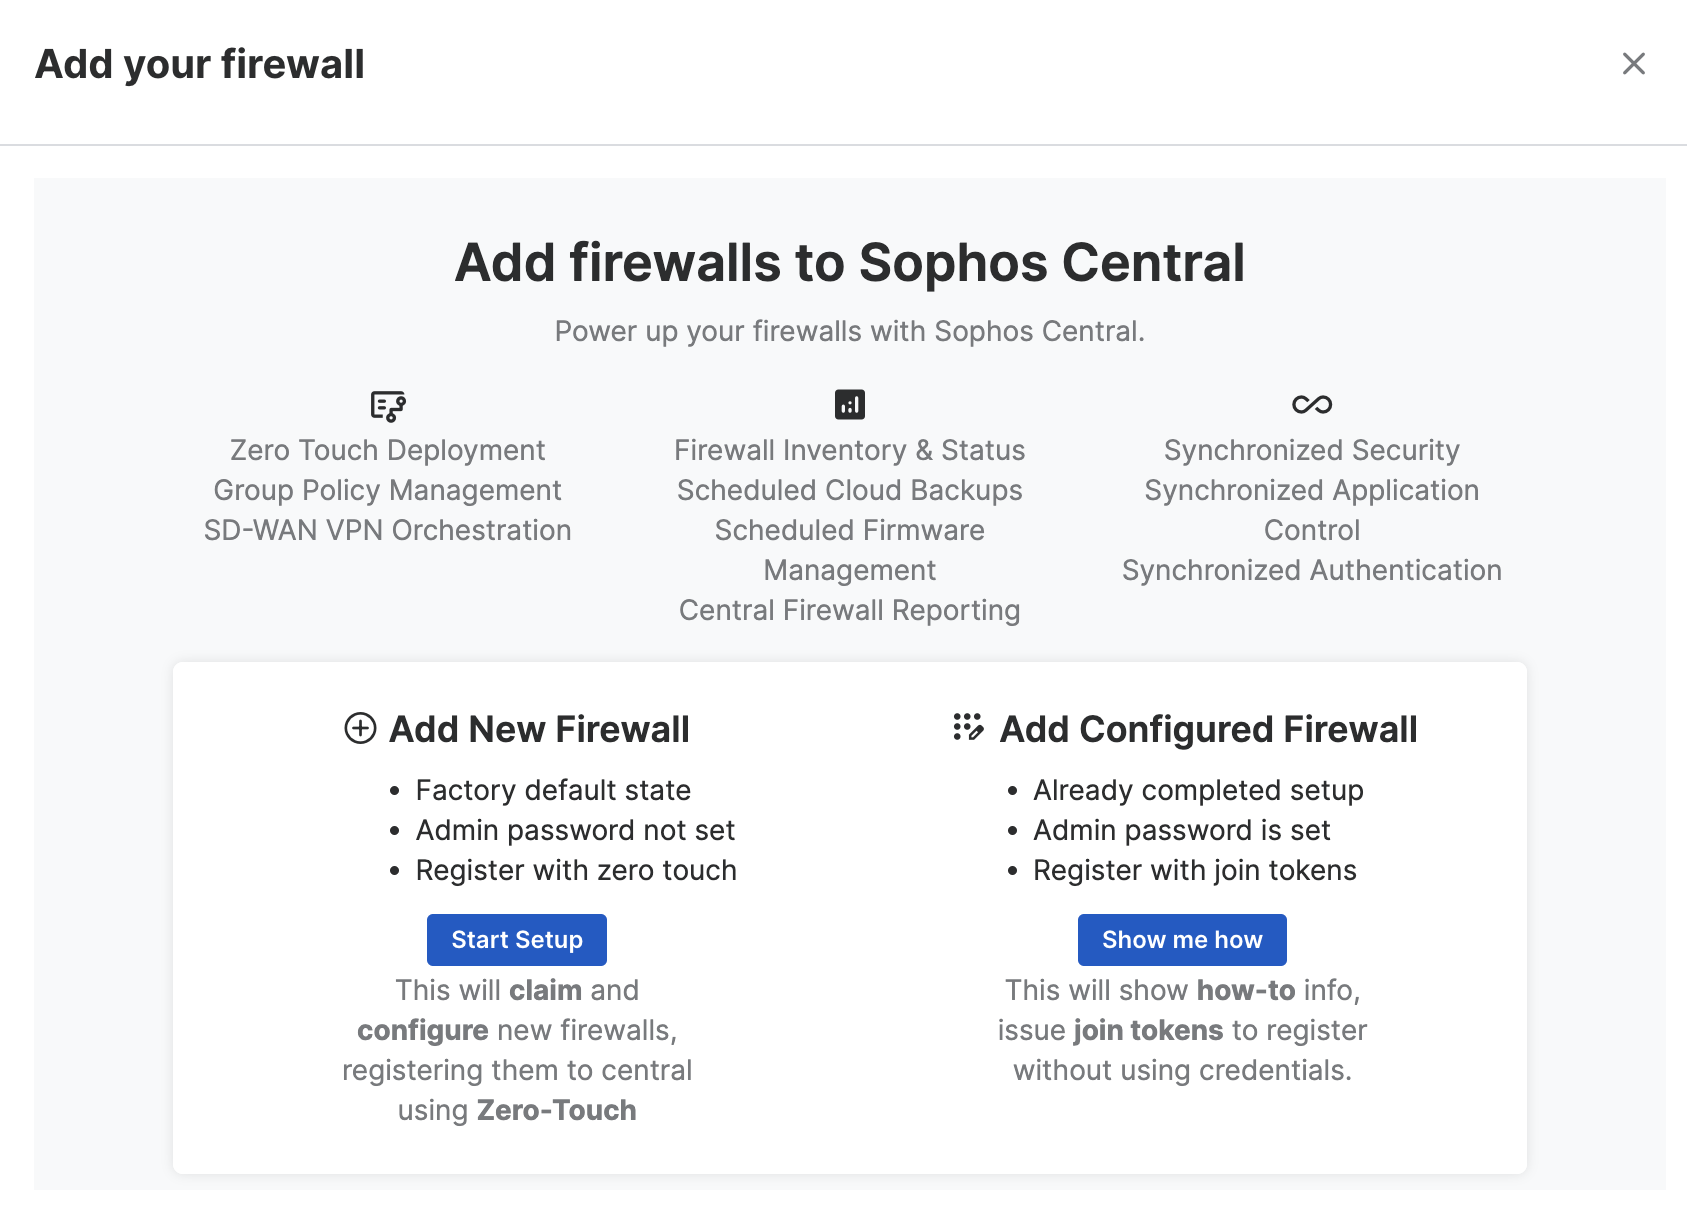
Under Add firewalls to Sophos Central, click Start Setup.
-
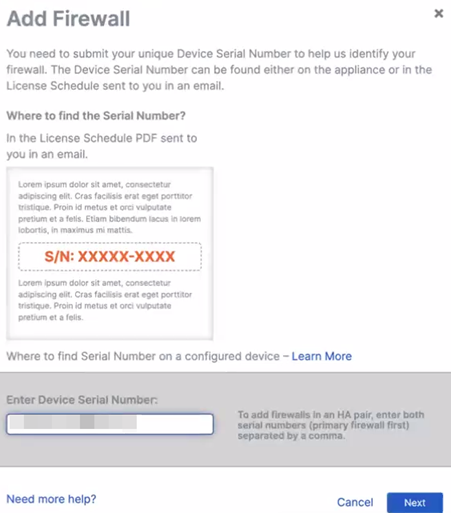
Under Add Firewall, enter the serial number of your Sophos Firewall, and click Next.
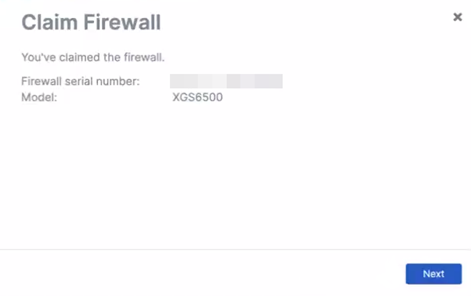
Claim firewall appears. You'll see your firewall's serial number and model.
-
Click Next.
-
Accept the license agreement and click Continue.
- Select the name and time zone of the firewall and click Continue.
- Check the licensed features, opt into the customer experience improvement program if you want to, and click Continue.
-
Configure your LAN settings and enable DHCP if you want to.
If you enable DHCP, you must enter a DHCP lease range. You can cancel or reset these settings if needed.
-
Optional: Click Edit Internet Connection to configure your WAN settings, and click Apply. You can cancel or reset these settings if needed.
- Click Continue.
-
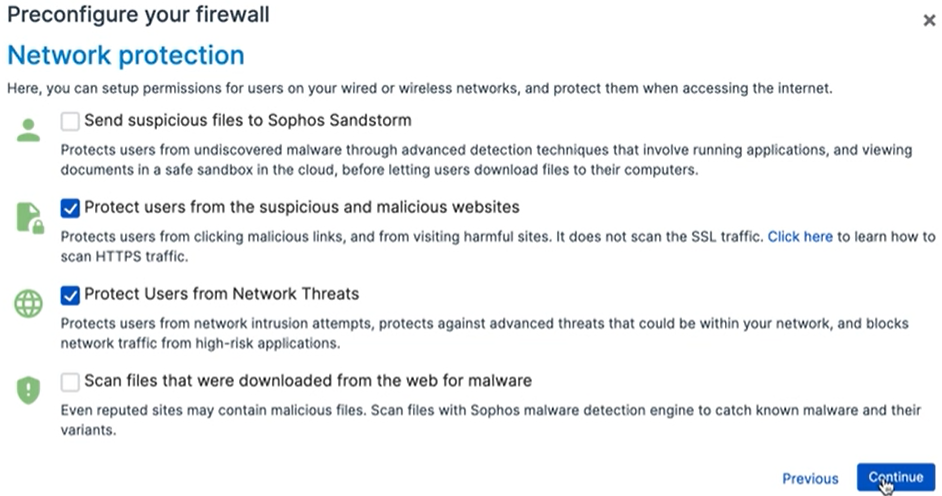
Select your Network protection settings, then click Continue.
-
Check your Configuration summary, then click Finish.
You'll see the Zero Touch configuration options.
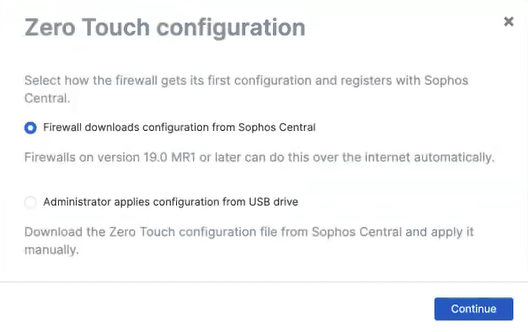
-
Under Zero Touch configuration, select Firewall downloads configuration from Sophos Central.
-
Optional: Under Central Management auto-approval, select Auto approve for Central management, and click Continue.
If you don't select this option, you can accept your firewall later in Sophos Central.
-
You see information about the firewall deployment steps. Click Finish.
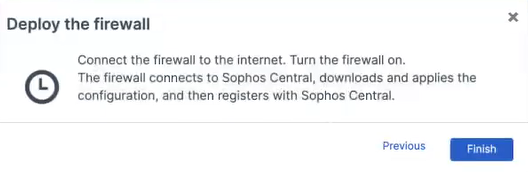
You see your firewall under Firewall Management - Firewalls. Its status is Waiting for deployment.
What to do on Sophos Firewall
Your firewall administrator must do as follows:
-
Connect the firewall to the internet on a DHCP-enabled port at the site where you want to deploy the firewall.
The firewall connects to Sophos Central, downloads and applies the configuration, and registers with Sophos Central.
-
Optional: Type the web admin console address into your browser, followed by port 4444, to see the setup progress in the Sophos Firewall wizard. Example:
172.16.16.16:4444. The Zero Touch setup window will show.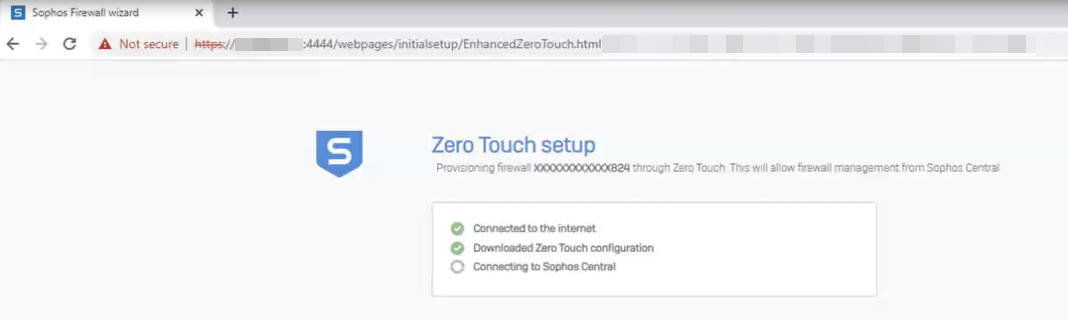
Note
If the firewall can't connect to Sophos Central, the firewall administrator can troubleshoot the issue. See Zero Touch FAQ.
When the Zero Touch setup is complete, the firewall administrator sees the firewall's web admin console sign-in page.
You can now add the firewall to a group and manage it through Sophos Central.
Accept the firewall if you didn't select auto approve
Note
If you selected Auto approve for Central management, you can skip this section.
- In Sophos Central, go to My Products > Firewall Management > Firewalls.
- Search for your firewall's serial number.
-
Click the Approval Pending icon
 , then click accept-services.
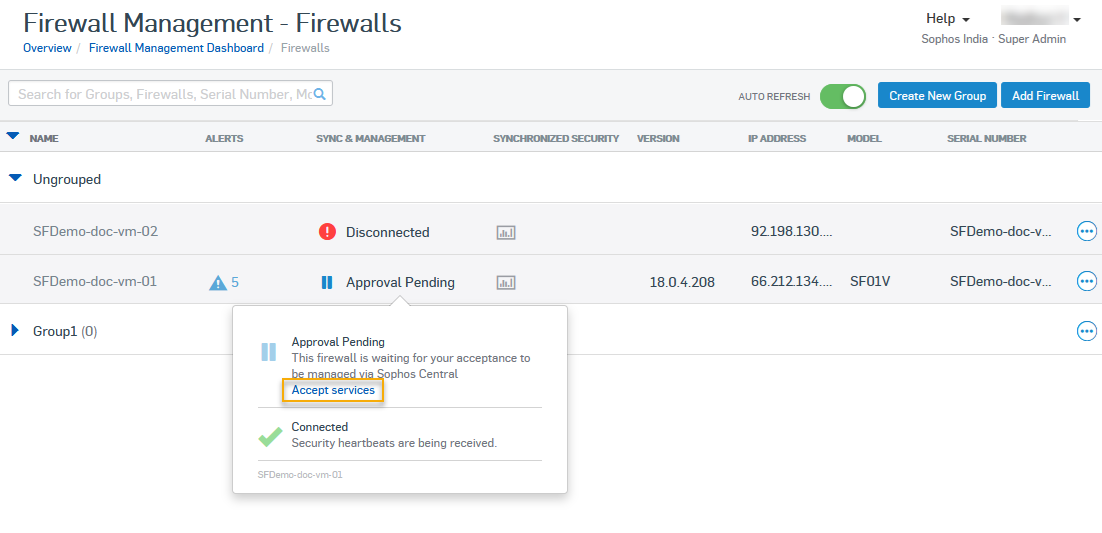
Once you accept the firewall, the remaining settings are applied. You can now add the firewall to a group and manage it through Sophos Central.
Set your admin password
Note
If you don't set an admin password, administrators may have trouble accessing the firewall if it loses its internet connection or is disconnected from Sophos Central.
-
In Sophos Central, go to My Products > Firewall Management > Firewalls.
You see your firewall is now connected.
-
Click your firewall's name.
You're connected to your firewall's web admin console.
In the Control Center, under Messages, you see the following alert message: "Click here to set the local firewall admin password".
-
Click the Click here link.
- You're redirected to Administration. Scroll down to Default admin's password settings.
- Enter and confirm your password, click Apply, then click OK to confirm.
-
At the top left of the screen, click Back to FW Management.
You're redirected back to Sophos Central firewall management.
Sign into your firewall
Your firewall administrator must do as follows:
- Type the web admin console address into your browser, followed by port 4444. Example:
172.16.16.16:4444. - Sign in to the web admin console using the password you set.
-
Under the System section, go to Sophos Central.
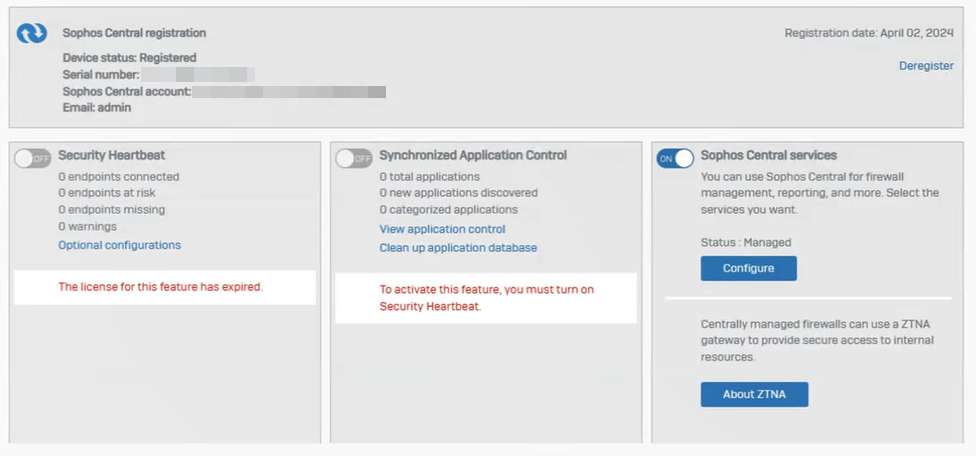
Under Sophos Central registration, the Device status is Registered.
Under Sophos Central services, the status is Managed.