Dark Web Intelligence
You can explore all the leaked data we've collected based on your configured domains on the Dark Web Intelligence page. We only generate findings for active identities, but we still collect and retain historical data that we find related to your domains. For more information, see ITDR frequently asked questions.
Access the Dark Web Intelligence page
When you access the Dark Web Intelligence page directly from My Products > Identity, the table is filtered by Active leak status and Active identity status by default.
Alternatively, click a metric in the Credential Leaks widget on the Identity Risk Posture Overview to access the Dark Web Intelligence page filtered as follows, depending on the metric clicked:
- Sources: Filtered by Active leak status.
- Plaintext Passwords: Filtered by Plaintext password type with an Active leak status.
- Hashed Passwords: Filtered by Hashed password type with an Active leak status.
- Emails: Filtered by Active leak status.
- Unique Passwords: Filtered by Active leak status.
- Admin Emails: Filtered by admin accounts with an Active leak status.
Note
Emails and unique passwords are overall metrics of the underlying data, so there are no filters associated with them.
Dark Web Intelligence metrics
The metrics along the top of the page are the same metrics contained within the Credential Leaks widget on the Identity Risk Posture Overview and show data for active leaks.

A leak is considered active when an identity within the configured identity providers is active, and the most recent password change for the associated account occurred before the initial leak date.
If there's no matching identity for the leak record, these records are considered inactive. These records are often related to old users and deleted accounts.
Metric definitions
- Sources: The number of active unique leak sources where data for your domains has been observed.
- Plaintext Passwords: The number of active leaks where plaintext passwords were found in the leak data.
- Hashed Passwords: The number of active leaks where hashed passwords were found in the leak data.
- Emails: The number of active unique email accounts that have been observed in the leak data.
- Admin Emails: The number of active accounts identified as an admin that have been observed in the leak data.
- Unique Passwords: The number of active unique passwords that have been observed in the leak data.
Explore leaks
Explore the data by using a combination of filters, which include both information about the linked users as well as the leak records. In addition, you can use the following timestamps related to the records to sort the data:
- Publish Date: When the record was originally found in the datasets.
- Leaked Date: When the record became publicly available.
- Breach Date: When the breach occurred. This data may not always be available.
There may be multiple records for the same user in a leak, which can occur when the data has been identified within a generic leak source such as combolists, or if the user appeared multiple times in the dataset. As a result, you may see multiple records for the same user within a leak source.
Leak statuses
The Dark Web Intelligence page shows leaks with a status of Active or Inactive.
Active leaks
Leaks have an Active status if there's a matching identity and the most recent password change for the associated account occurred before the initial leak date.
Inactive leaks
Leaks have an Inactive status in the following scenarios:
- There's no matching identity within the configured identity providers that it can be correlated with.
- The most recent password change occurred after the leak date.
- The password on the account has recently changed.
- The account has been disabled or deleted.
- An associated finding has been resolved or dismissed.
View leak details
Click the source field to open a panel with additional details about the leak and the linked identity, when available.
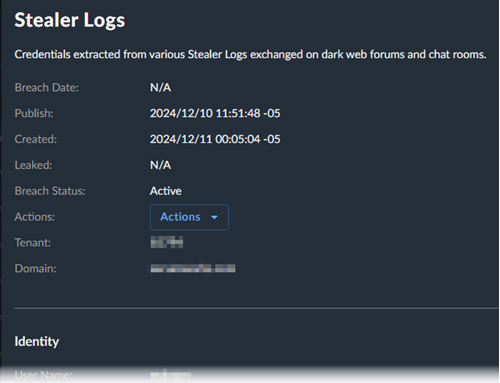
Take response actions
If you opted to authorize response actions, you can run these for any of the linked identities from within the table or leak details.
- Click Actions.
- Choose which response action you would like to run.
- Follow the prompts.
Note
The Actions button is disabled if there's no matching identity found.