ITDR integration guide
After ITDR has been enabled on your tenant, click My Products > Identity > Settings from the navigation menu to start integrating with Microsoft Entra ID.
ITDR requires Microsoft Entra ID P1 or P2 and you must have the Administrator role to perform this setup.
Set up the Entra ID integration
- In Sophos Central, go to Identity > Settings > Integrations.
-
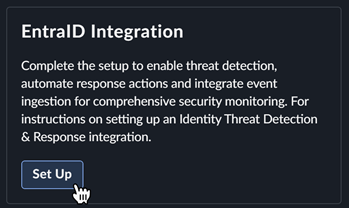
Click Set Up on the EntraID Integration card.
-
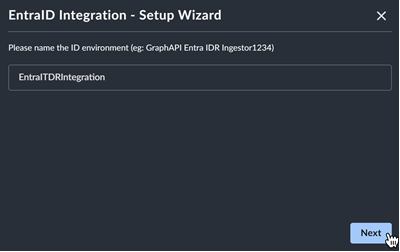
Enter a name for the integration and click Next.
-
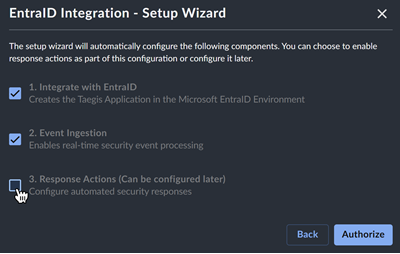
If you want to enable response actions, select the checkbox. You can also configure response actions later.
-
Click Authorize to go to Microsoft's identity provider to grant access.
- Sign in with a user account that lets you grant organization-wide consent for integration with the Entra ID tenant.
- Approve the listed permissions to give ITDR access to Entra ID. For more information, see the Microsoft documentation.
-
When the consent process is successful, you're returned to Sophos ITDR.
Note
If the consent process fails, see the Recover from integration failures section to complete the integration.
-
Click View Identity Risk Posture to return to the ITDR Overview Dashboard.
Note
Depending on the size of your tenant, it may take a few minutes to start seeing data.
Recover from integration failures
If the admin consent process detailed in the Set up the Entra ID integration section fails with an error stating that applications weren't found, it's typically due to replication delays in Microsoft's infrastructure.
In this scenario, complete the integration as follows.
- Wait 15 to 30 minutes for the service principals to replicate across Microsoft's infrastructure.
- Go to Identity > Settings.
-
In the Configured Integrations table, click the three dots in the Actions column and select Grant Admin Consent to go to Microsoft's identity provider to complete the authorization.

-
Sign in with a user account that lets you grant organization-wide consent for integration with the Entra ID tenant.
- Approve the listed permissions to give ITDR access to Entra ID. For more information, see the Microsoft documentation.
- After granting consent, return to Identity > Settings and click the Refresh icon in the Actions column of the Configured Integrations table to re-provision the integrations.
Set up response actions
You can optionally follow these steps if you didn't configure the response actions during initial setup:
- In Sophos Central, go to Identity > Settings > Integrations.
- Click Set Up on the Response Actions card.
- Click a currently configured Integration from the menu.
- Click Authorize to be returned to Microsoft's identity provider to grant access.
- Sign in with a user account that lets you grant organization-wide consent for integration with the Entra ID tenant. Then approve the listed permissions to give ITDR access to Entra ID. For more information, see the Microsoft documentation.
- When setup is complete, click Close.
When configured, response actions are available within the Actions menu throughout the Sophos ITDR application.