Managed Risk setup
You must have an MDR Essentials or MDR Complete license before you can subscribe to the Managed Risk service.
The Sophos Managed Risk service reports on all external, internet-facing assets associated with your domains, scans the external and internal assets you specify for vulnerabilities, reports risks, and suggests remediations.
After you activate your license for Managed Risk, you must set up the service.
The key steps for the initial setup are as follows:
- Enter authorized contacts.
- Set up scans of external assets.
- Schedule a weekly external vulnerability scan.
You can add scans for internal assets later.
Enter authorized contacts
Enter contacts in your organization so we can send them notifications and updates on security vulnerabilities we're investigating.
You must enter at least one contact, and your primary contact must be a Sophos Central admin.
- Go to My Products > Managed Risk > Settings.
-
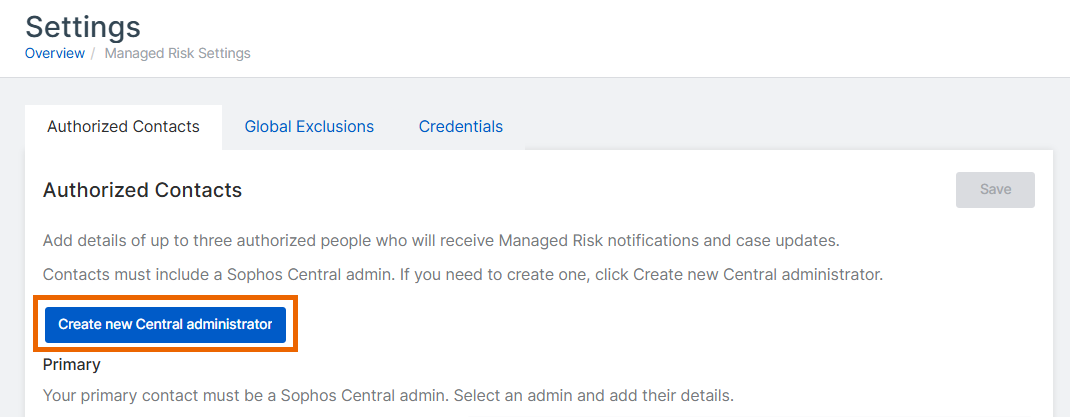
Select the Authorized Contacts tab.
If you need to create a new Sophos Central admin, click Create new Central administrator and add a user with the Super Admin, Admin, or Help Desk role. Otherwise, skip this step.
-
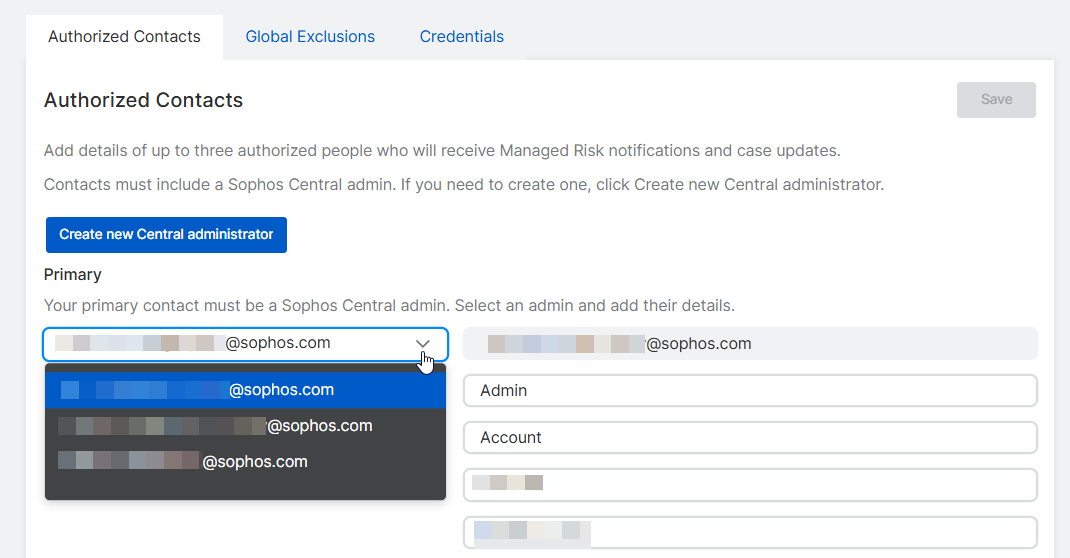
Click the drop-down arrow beside Primary and select one of your Sophos Central admins. Enter their contact details.
-
Enter Secondary and Tertiary contacts, if you want to. You can select a Sophos Central admin from the drop-down list, or create a new contact by completing the form.
We recommend that you have multiple contacts.
-
Click Save.
You're ready to set up scans.
Set up scans of external assets
Scan settings only become available after you save your authorized contacts.
Enter the settings needed for scanning your external, internet-facing assets. You can set up scans for internal assets later.
Note
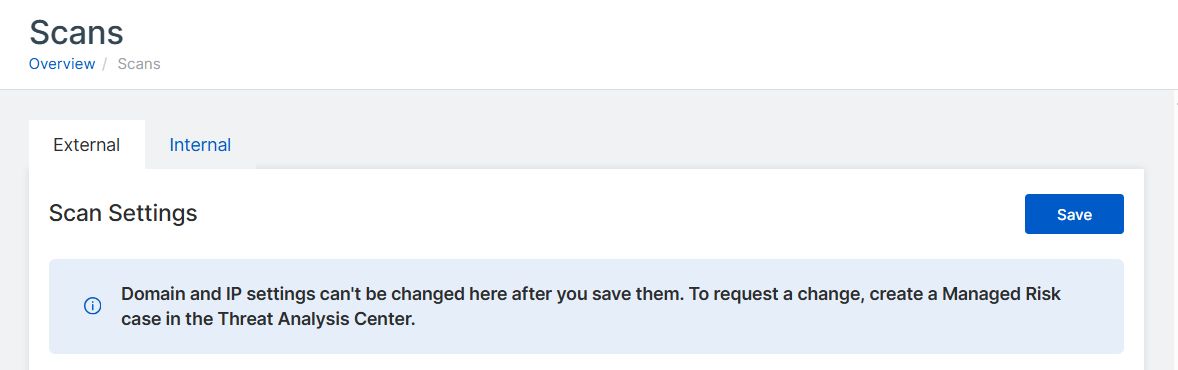
Currently, after you save these settings, you can't change them yourself. You must raise a case to ask the Managed Risk team to reset them for you. See Managed Risk cases.
- Go to My Products > Managed Risk > Scans.
-
Select the External tab.
-
In Add Domains, enter your external-facing domains separated by commas and click Add. You can paste in multiple domains. For example,
test1.com, test2.com, test3.com.You can enter up to 25 domains.
We need these details so we can produce the attack surface management report, which identifies assets associated with the domains.
Note
We can't monitor domains that aren't registered or routable on the internet (for example,
yourdomain.local).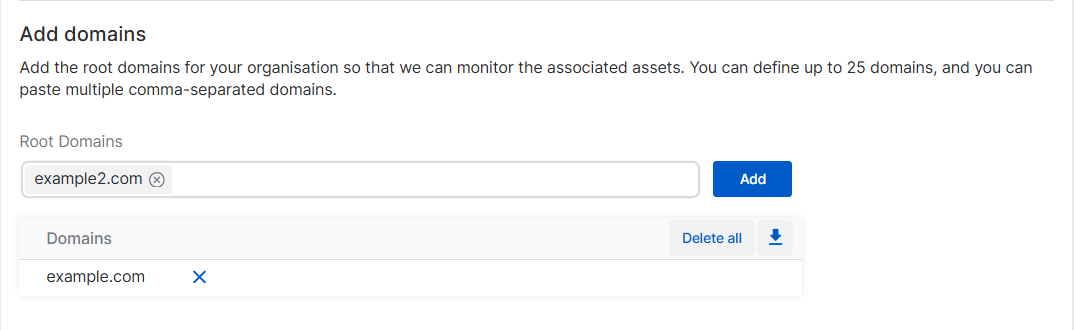
-
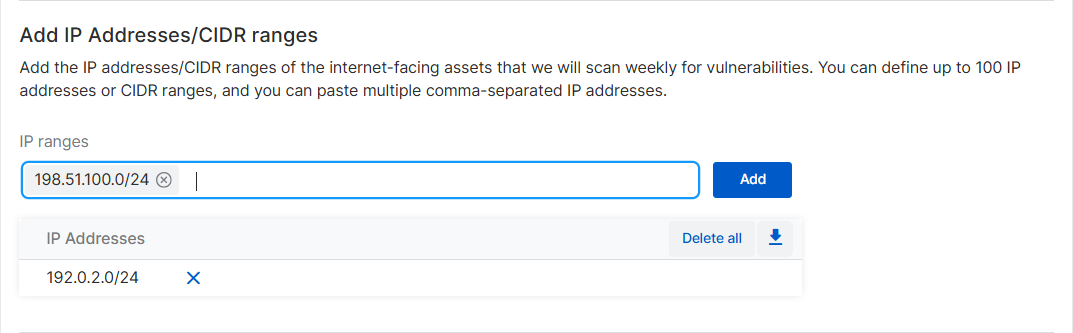
In Add IP addresses, enter your external IP addresses or ranges separated by commas and click Add.
You can enter up to 100 IP addresses or CIDR ranges. You can't add a CIDR range with a suffix less than
/24.We need these details so we can run the weekly vulnerability scan. We can scan up to 1000 external devices.
An external scan can only scan public, internet-facing assets. We can't scan devices on reserved private IP ranges, for example:
10.0.0.0/8
172.16.0.0/12
192.168.0.0/16
Note
We request that you add the IP addresses of our vulnerability scanners to your firewall's allow list. This lets our weekly scans get full details from your assets. See Allow regional IP ranges for external vulnerability scans.
Schedule a weekly external vulnerability scan
You must schedule your external vulnerability scan.
-
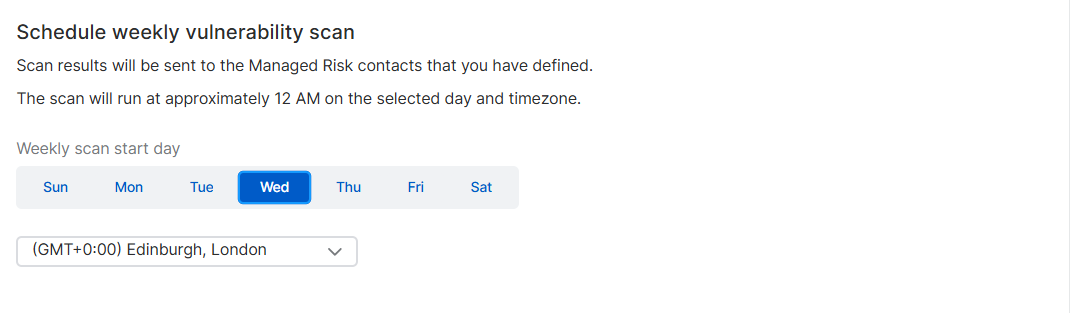
In Schedule weekly vulnerability scanning, select the day of the week when you want scanning to start.
-
Set the time zone.
Scans start when it's approximately 12 midnight in the time zone you selected.
-
Click Submit.
You've completed the initial setup of Managed Risk. You can now set up scans of your internal assets whenever you're ready. For details, see Managed Risk internal scans.
What happens next?
If you've just set up the Managed Risk service for the first time, here's what to expect next.
- The service runs weekly scans and generates reports. We notify you when a new report is ready. We recommend that you review and action these reports as they become available. The Managed Risk team will review these reports and make recommendations in meetings with you. See Managed Risk report history.
- After 30 days, our Managed Risk team contacts you to set up a baseline meeting. This meeting reviews the domains and IPs monitored and the findings of initial vulnerability scans and attack surface management reports. This helps us understand your security needs.
- Every three months, you have further meetings with our team to review recent findings, learn about emerging risks, and discuss our recommendations.
- When a critical external vulnerability or high risk exposure is identified, we create a case and email you with details. See Managed Risk cases.