Create cases
We create cases automatically for the detections that you're most likely to want us to investigate.
You can also create cases manually and investigate them yourself. You can include any detections, even if they're already included in an automatically generated case.
You can create a case in either of the following ways:
- On the Cases page, create a case and add detections later. See Create a case from the Cases page.
- On the Detections page, find detections you want to investigate, and create a case for them. See Create a case from the Detections page.
You can also create service requests for Sophos MDR or Sophos Managed Risk, depending on your license. These aren't based on detections, but do let you contact us to suggest investigations or ask for help. See Create an MDR service request or Create a Managed Risk service request.
Create a case from the Cases page
You can create a case based on Sophos XDR detections. You can't create a case for Sophos MDR or Managed Risk detections. The case will be Self-managed.
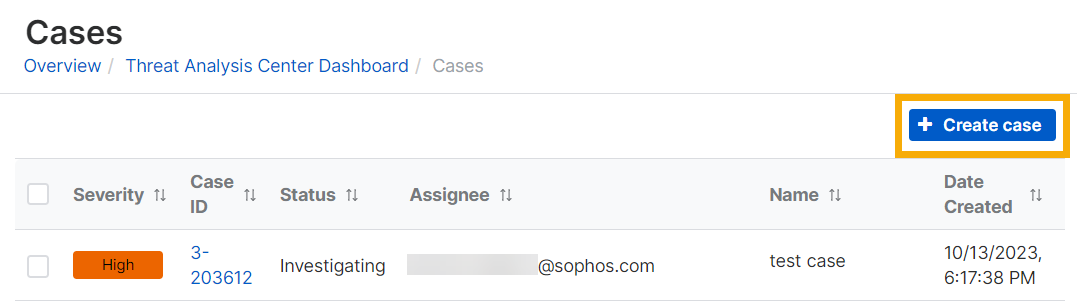
- Go to Threat Analysis Center > Cases.
-
On the Cases page, click Create case in the upper right.
-
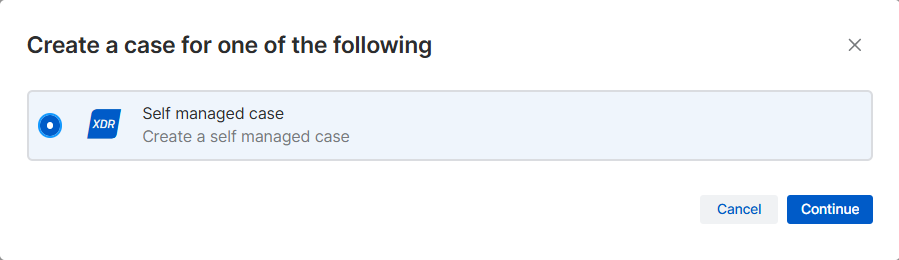
Select Self-managed case.
-
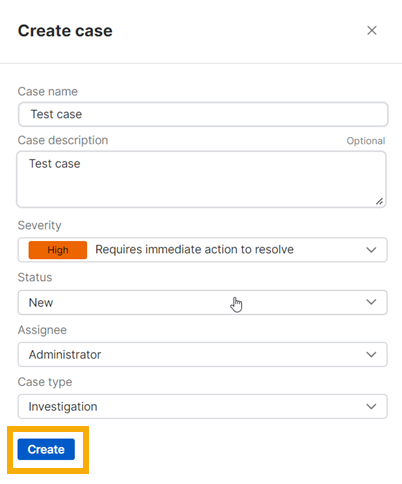
In Create case, do as follows:
-
Enter a case name and description.
Note
Don't use special characters in the case name. Sophos APIs might interpret special characters as syntax instead of values. Use only alphanumeric characters, spaces, and basic punctuation.
-
Select the Severity.
- Select the Status (New).
-
Select an Assignee. This is the admin who will investigate the case.
You can select an assignee later if you want to.
-
Click Create.
The Case details page is shown.
-
-
Go to Threat Analysis Center > Detections.
-
In the Detections list, select the detections you want to add.
-
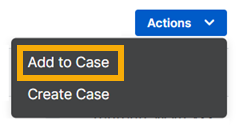
Click Actions and select Add to Case.
-
Select your new case and click Add to Case.
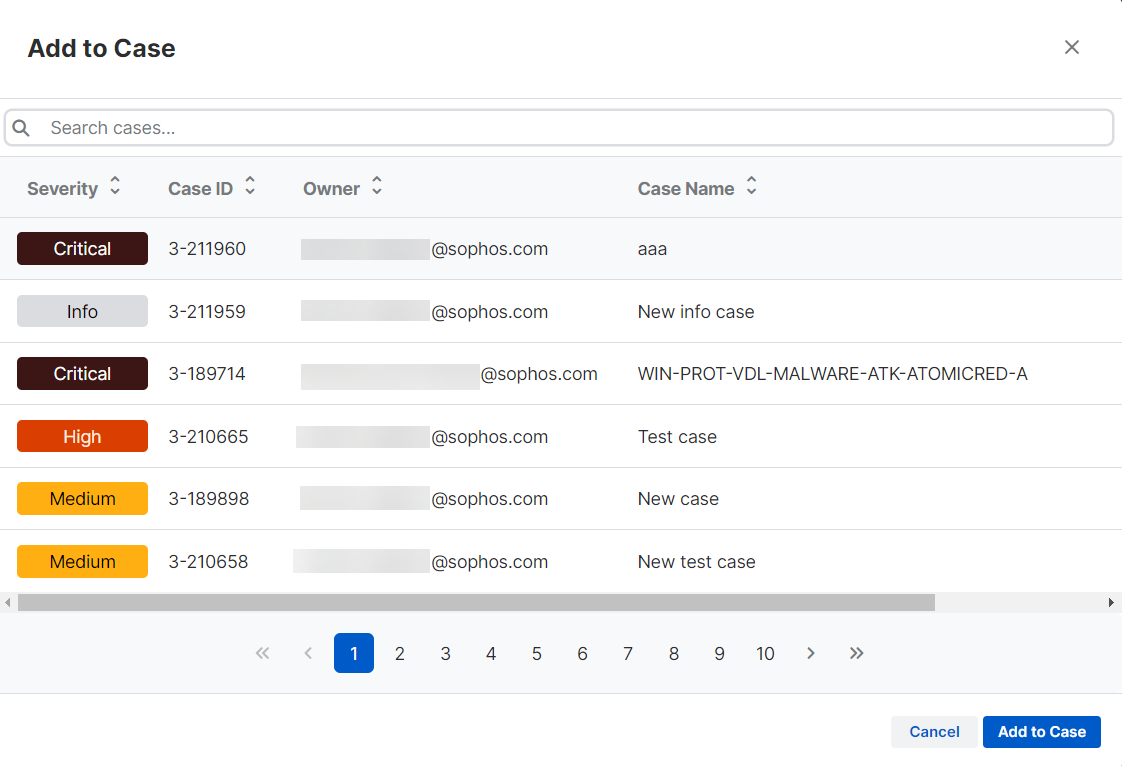
The Case details page is shown.
When you're ready to investigate, see Investigate cases.
You can add more detections to your case from the Detections page later.
Create a case from the Detections page
-
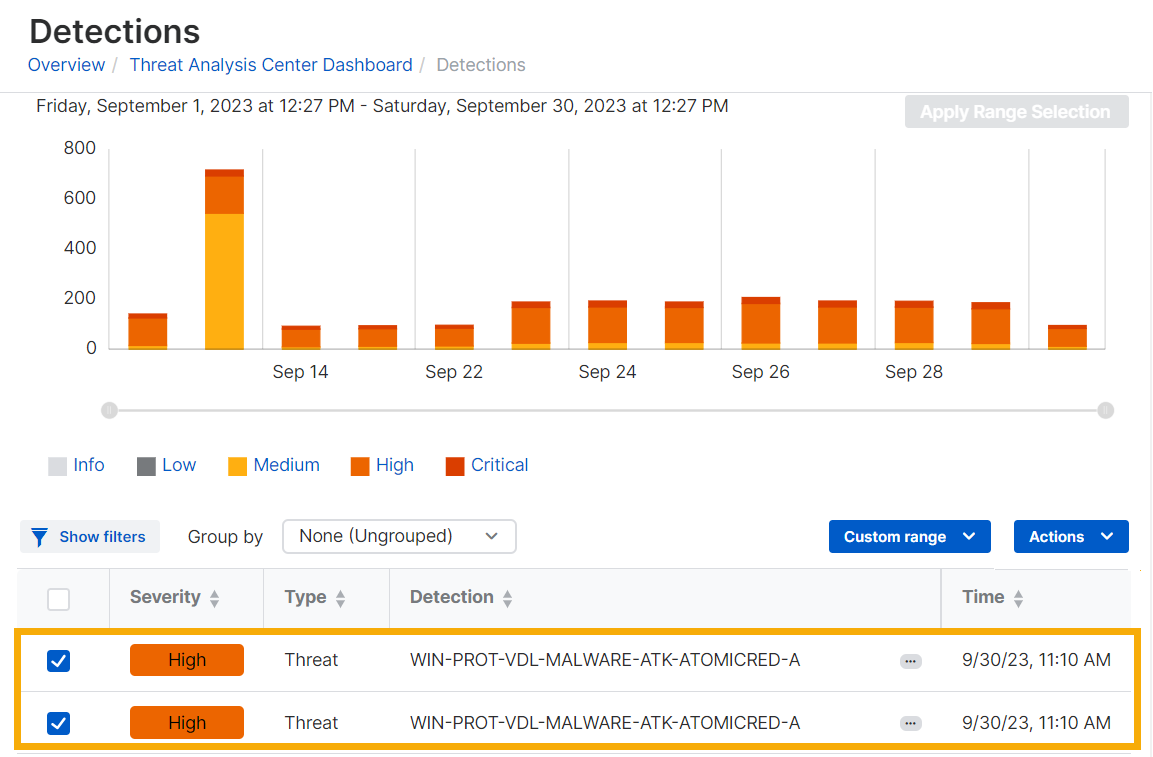
Go to Threat Analysis Center > Detections.
-
In the Detections list, select the detections you want to investigate.
-
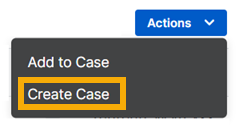
Click Actions and select Create Case.
-
In Create case, do as follows:
-
Enter a case name and description.
Note
Don't use special characters in the case name. Sophos APIs might interpret special characters as syntax instead of values. Use only alphanumeric characters, spaces, and basic punctuation.
-
Select the Severity.
- Select the Status (New).
-
Select an Assignee. This is the admin who will investigate the case.
You can select the assignee later if you want to.
-
Click Create.
-
When you're ready to investigate, see Investigate cases.
You can add more detections to your case later. In the Detections list, select detections, click Actions, select Add to Case and then select your case.
Close or remove cases
This option only applies to Self-managed cases.
To close a case, change the status to Resolved. The case remains in the list for 30 days and then we delete it.
Partner Super Admins and Enterprise Super Admins can't close or remove cases.
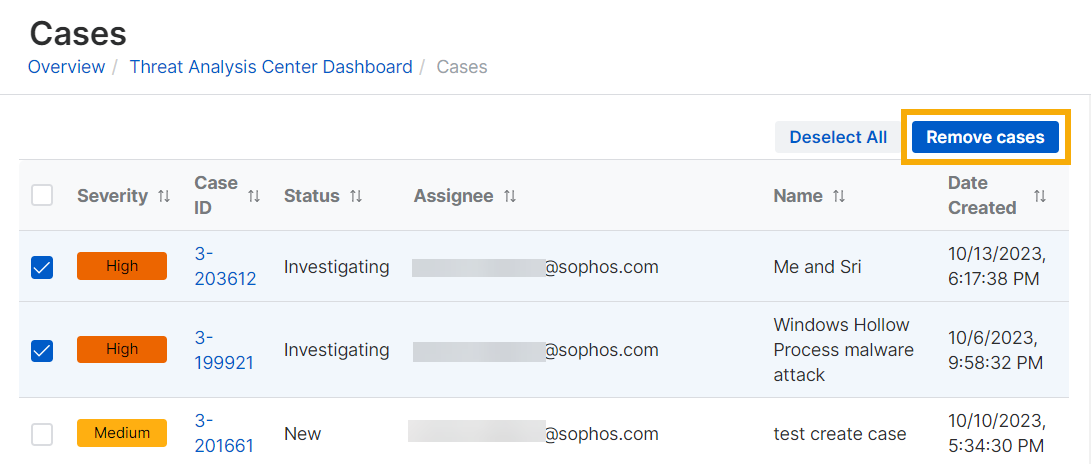
To remove a case from the list, select it, and click Remove cases.
Create an MDR service request
You must have an MDR license to use this feature.
An MDR service request lets you raise issues with our MDR team. To create a request, do as follows:
- Go to Threat Analysis Center > Cases.
- On the Cases page, click Create case in the upper right.
- Select MDR service request.
-
In Create service request for the MDR team, do as follows:
-
Enter a case name and description.
Note
Don't use special characters in the case name. Sophos APIs might interpret special characters as syntax instead of values. Use only alphanumeric characters, spaces, and basic punctuation.
-
Click Create.
-
-
On the Case details page, on the Messages tab, you can exchange messages with the MDR team.
You can't add to or edit any other tabs.
Create a Managed Risk service request
You must have a Managed Risk license to use this feature.
The Sophos Managed Risk service reports on all your internet-facing assets, scans the assets you specify for vulnerabilities, reports risks, and suggests remediations.
A Managed Risk service request lets you ask for changes in your Managed Risk settings or set up meetings with the Managed Risk team.
For a Managed Risk service request, do as follows:
- Go to Threat Analysis Center > Cases.
- On the Cases page, click Create case in the upper right.
- Select Managed Risk service request.
-
In Create service request for the Managed Risk team, do as follows:
- Enter a case name and description.
- Click Create.