Scheduled queries
You can schedule Live Discover queries to run regularly at set times.
Restriction
Scheduling is only available for Data Lake queries.
For help with Live Discover see Live Discover.
This video explains how to schedule a query.

Schedule a query
You can schedule a query as follows:
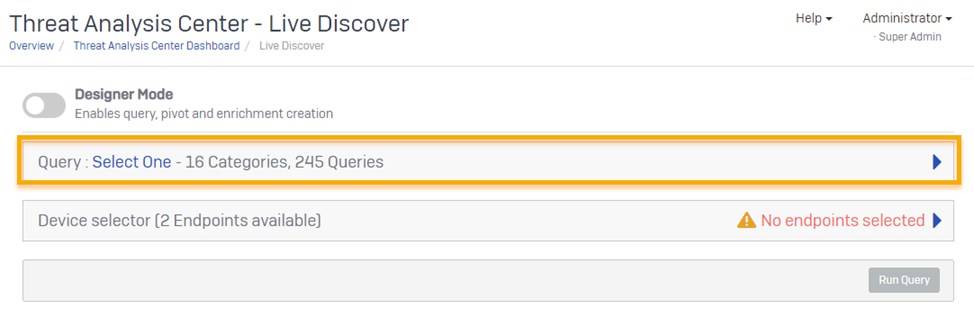
- Go to Threat Analysis Center and click Live Discover.
-
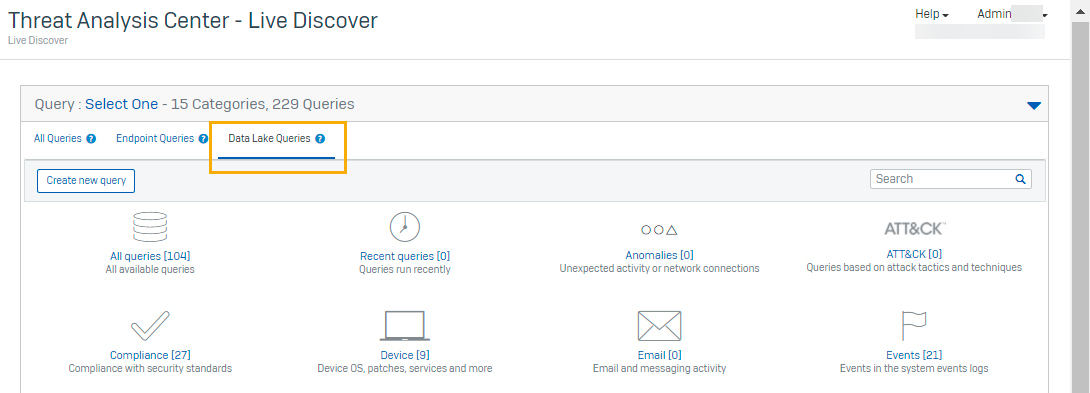
In Live Discover, open the Query section (if it isn't already open).
-
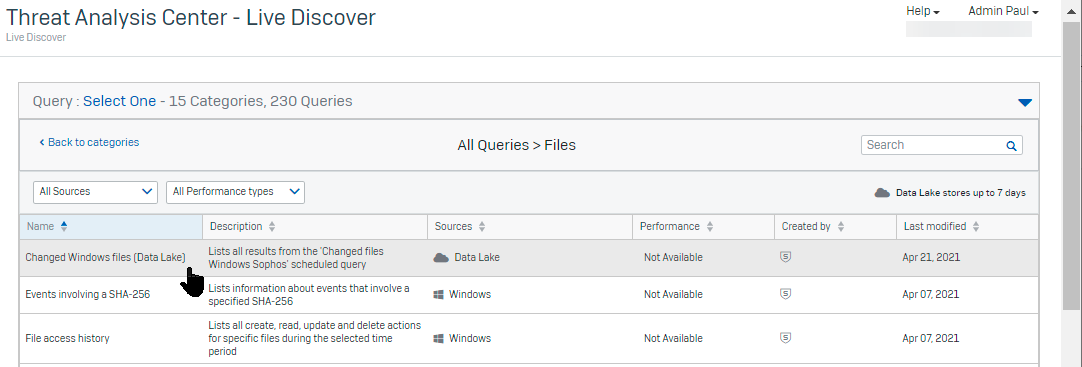
Click Data Lake Queries and select the category that you want to use, for example Files. This shows you a list of the queries in that category.
-
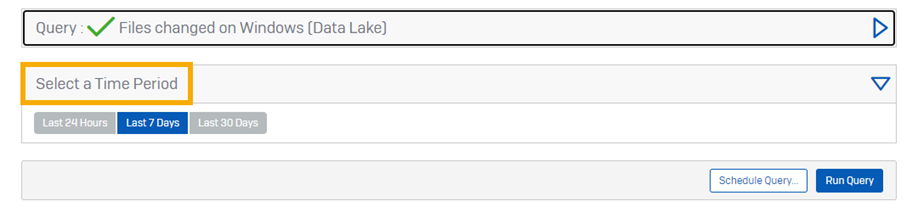
Click the query you want to schedule, for example "Changed Windows files".
-
Optional: Click the arrow to open Select a time period and select the period to query. The default is the past 7 days.
This option isn't the same as the query's schedule. It specifies how much past data the query runs on, not how often it runs.
-
At the bottom of the Live Discover page, click Schedule Query.

-
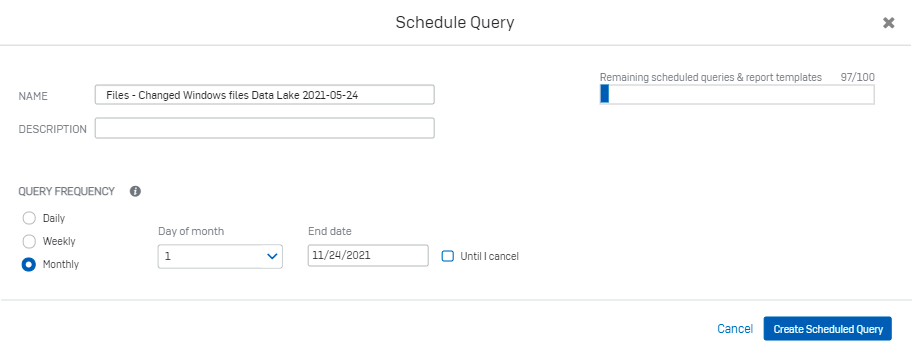
In the Schedule Query dialog, select the frequency, the day of the month and the end date.
If you don't want to set an end date, select Until I cancel.
The bar graph in the upper right shows how many more scheduled queries or reports you can create. Each admin can only have a hundred altogether for Sophos products that share this report format.
-
Click Create Scheduled Query.
-
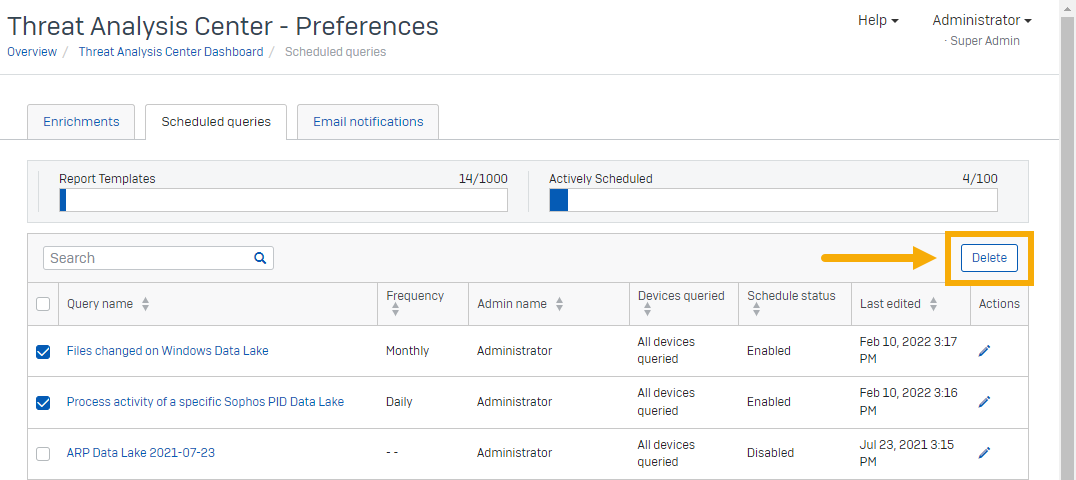
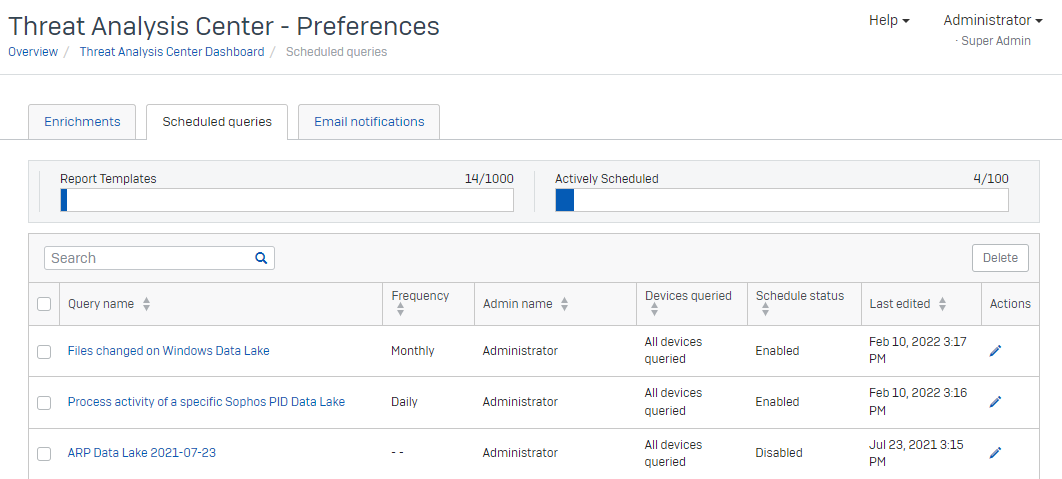
To see the new query, go to Threat Analysis Center > Preferences and select the Scheduled Queries tab.
You can click a query to see its results or to edit its settings.
You can have up to a hundred "Actively Scheduled" queries. These are queries that are enabled to run (the default setting).
Get scheduled query results
To view the results of your scheduled queries, do as follows:
- Go to Threat Analysis Center > Preferences.
-
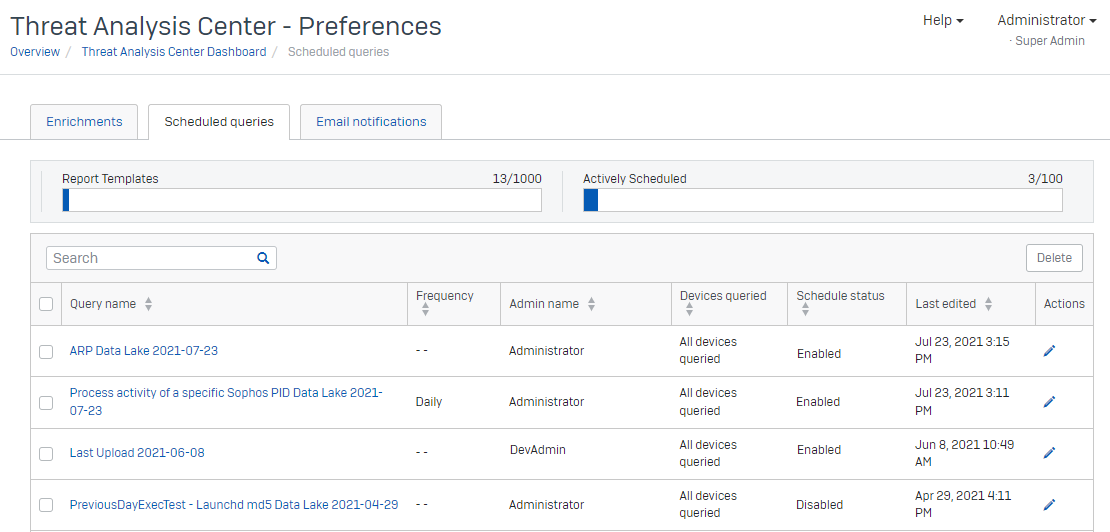
On the Scheduled Queries tab, click a scheduled query to show its details.
-
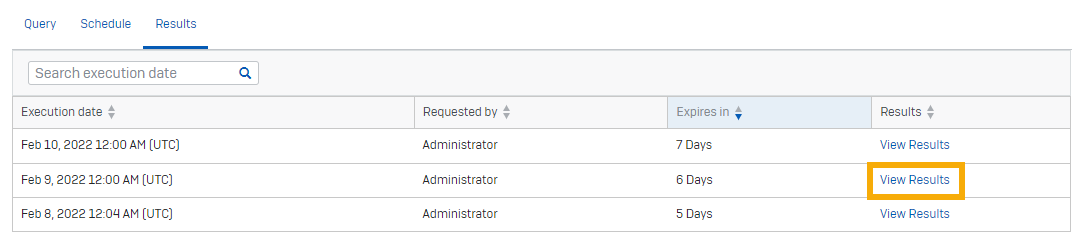
On the Results tab, a list shows each occasion when the query has run. Find the one you want and click View Results.
-
In the query results, click the ellipsis icon
 beside data to investigate further with pivot queries. See Pivot queries
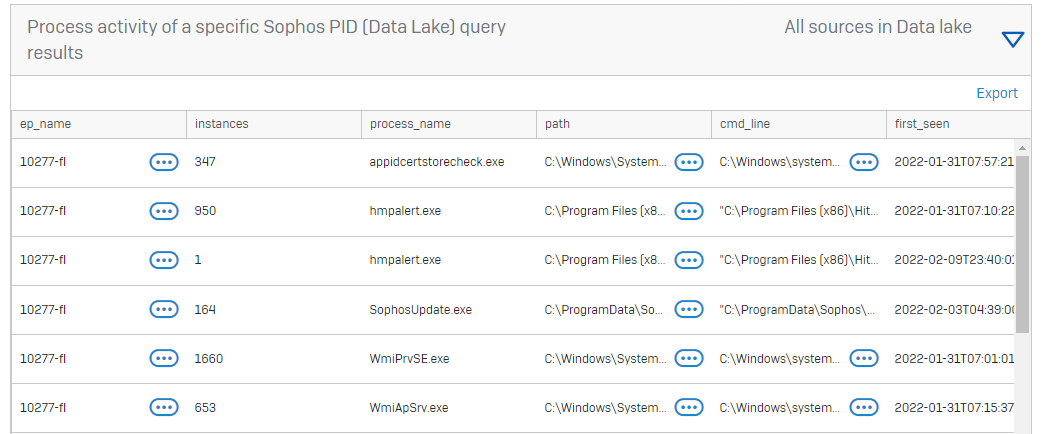
Tip
To see recent results quickly, go to the Threat Analysis Center > Dashboard, look for Recently scheduled queries, and click the one you want.
Edit scheduled queries
You can edit scheduled queries to change when they run or the time period they query.
To edit scheduled queries, do as follows:
- Go to Threat Analysis Center > Preferences.
-
On the Scheduled Queries tab, find the query you want. Under Actions, click the Edit icon.
-
On the query's details page, you can do as follows:
- On the Query tab, edit the query name, description, or the time period to query (for example, the past 7 days).
- On the Schedule tab, turn the schedule on or off, or edit the schedule frequency and times.

-
Click Update Scheduled Query to save your changes.
Delete scheduled queries
To delete scheduled queries, do as follows:
- Go to Threat Analysis Center > Preferences
- On the Scheduled Queries tab, select a query or queries.
-
In the upper right of the page, click Delete.