Set up Windows Hello
Now you set up Windows Hello for Microsoft Entra ID (Azure AD) users.
You can do this for all users in your Azure tenant, or for specific Microsoft Entra ID (Azure AD) user groups.
Click All users or Specific groups to see how.
-
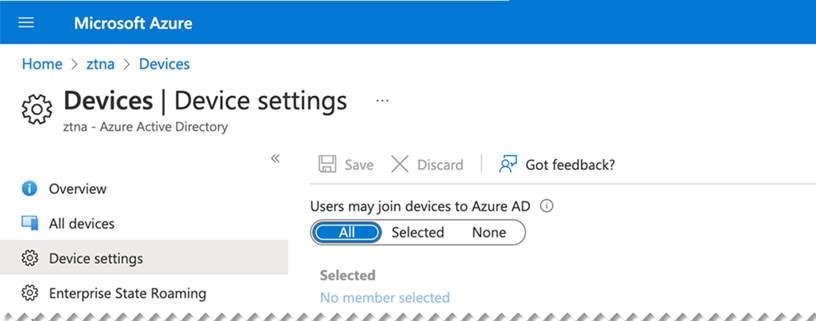
Go to the Microsoft Azure portal.
-
Go to Devices > Device settings. Turn on Users may join devices to Microsoft Entra ID (Azure AD).
-
Go to
https://endpoint.microsoft.comto open the Microsoft Endpoint Manager admin center.Alternatively, in the Azure Portal, you can go to Devices > Overview > Feature Highlights, click Intune, and follow the link to Microsoft Endpoint Manager.
-
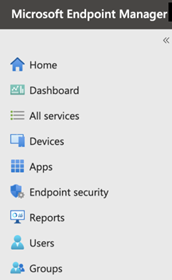
In Microsoft Endpoint Manager, select Devices.
-
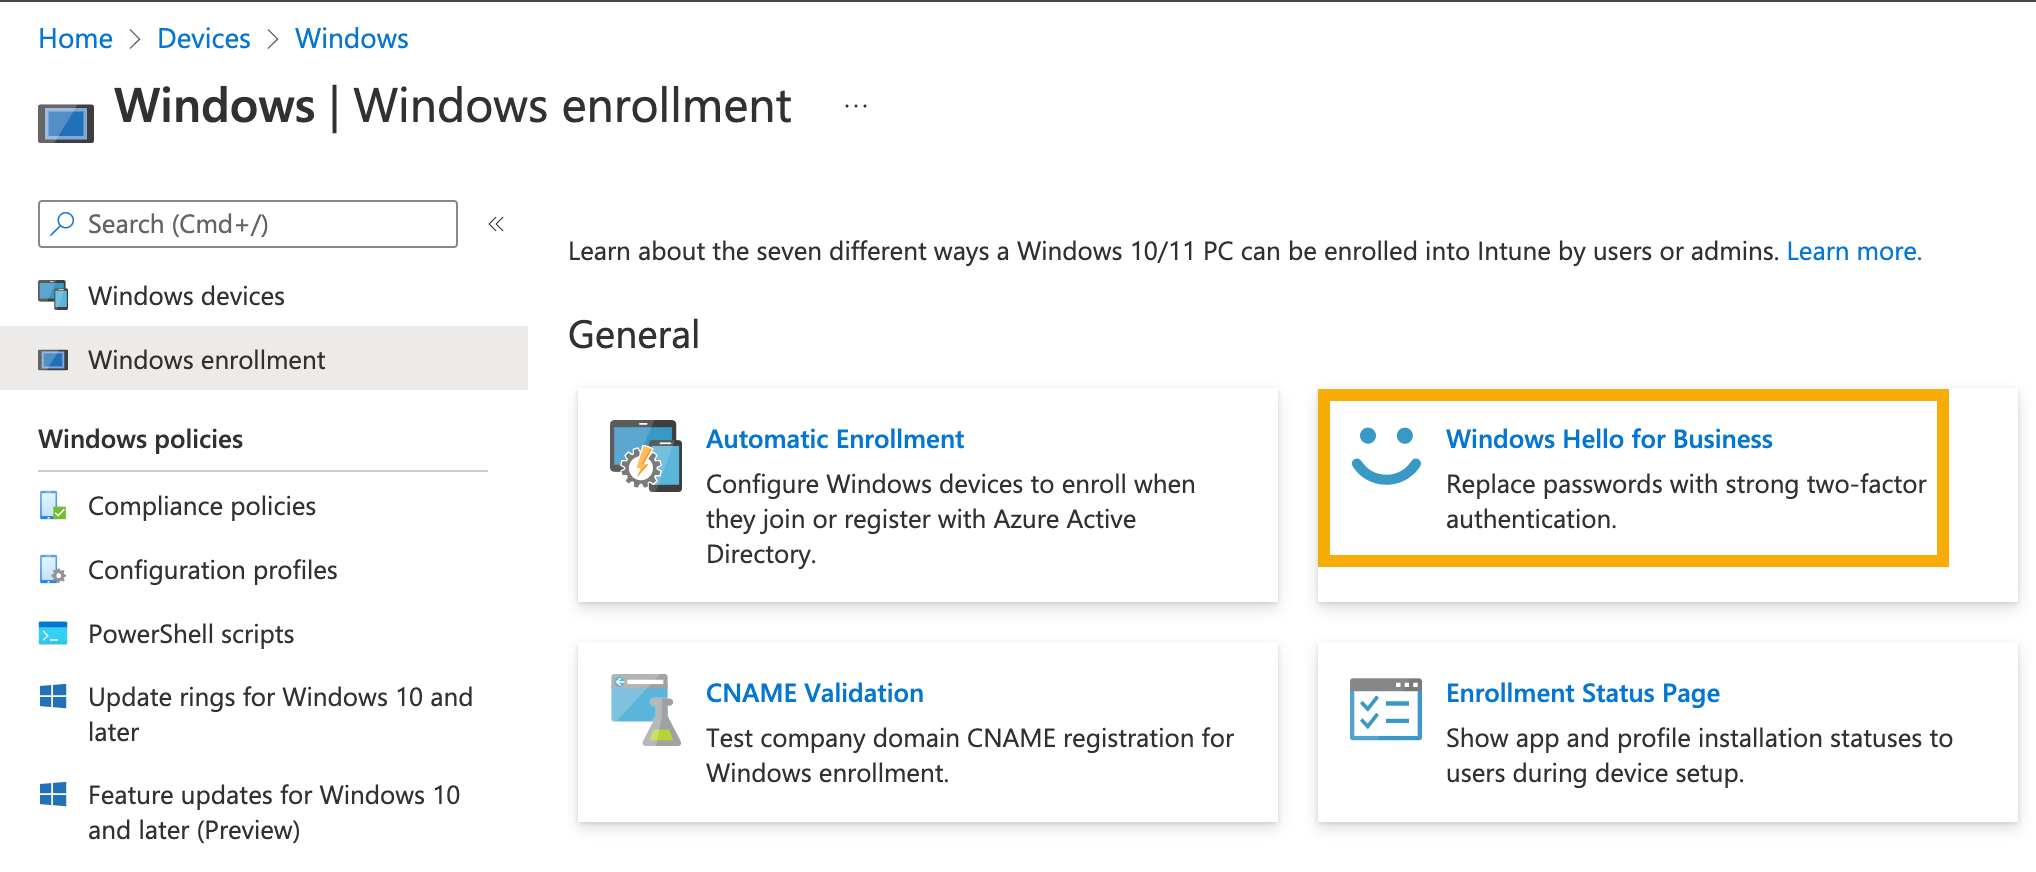
Select Windows Enrollment and click Windows Hello for Business.
-
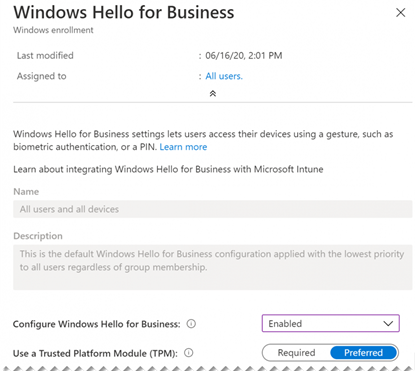
In Configure Windows Hello for Business, select Enabled.
Configure the authentication method you want to use.
- Go to the Microsoft Azure portal.
-
Go to Devices > Device settings. Turn on Users may join devices to Microsoft Entra ID (Azure AD).
-
Go to
https://endpoint.microsoft.comto open the Microsoft Endpoint Manager admin center.Alternatively, in the Azure Portal, you can go to Devices > Overview > Feature Highlights, click Intune, and follow the link to Microsoft Endpoint Manager.
-
In Microsoft Endpoint Manager, select Devices.
-
Go to Configuration profiles > Create profile.
-
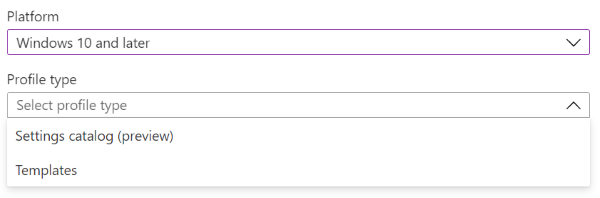
Enter the properties as follows:
- In Platform, select Windows 10 and later.
- In Profile, click Templates > Identity protection.
- Click Create.
-
In Basics, enter a Name and Description. Click Next.
-
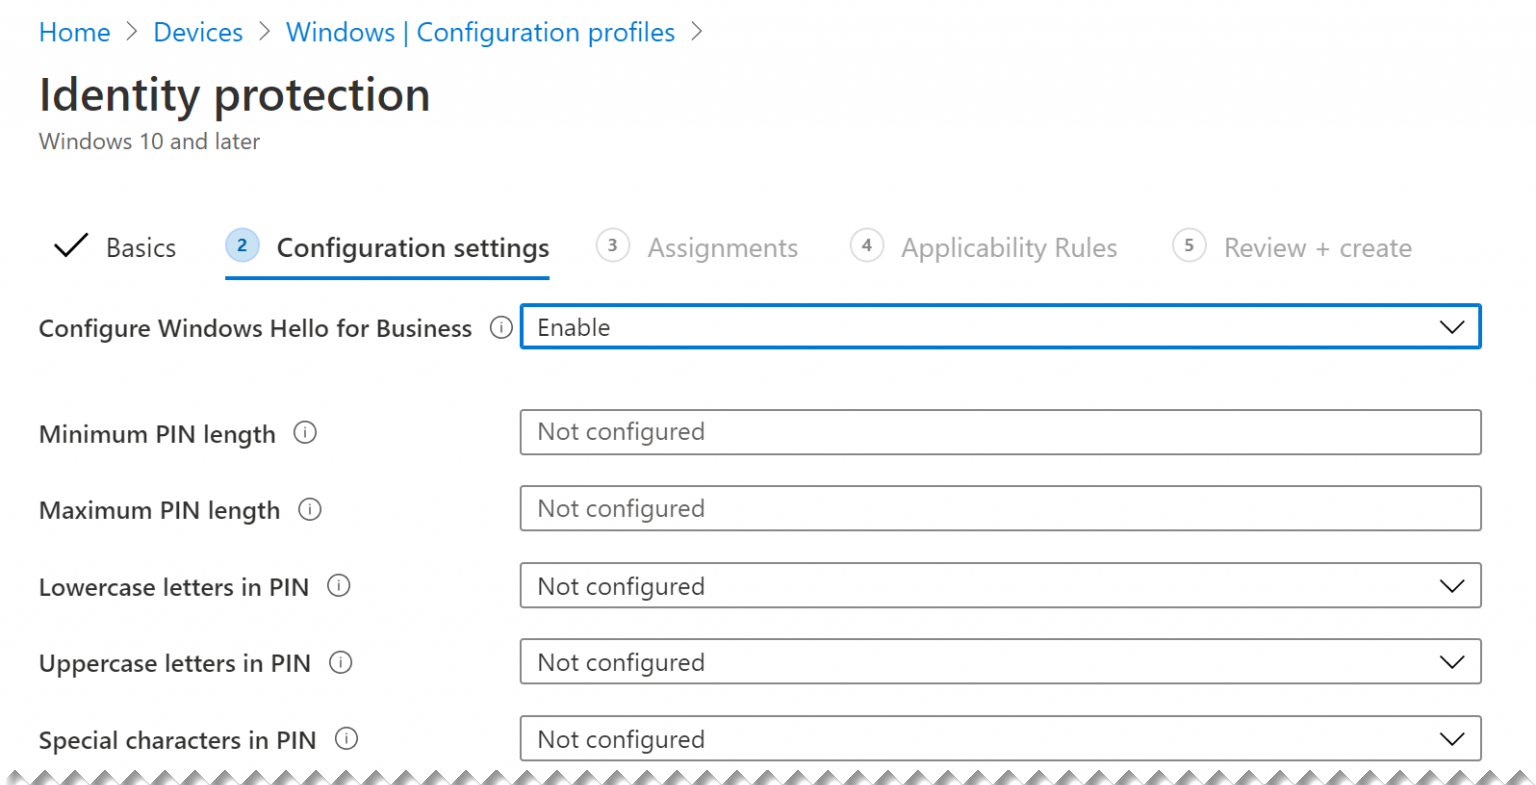
In Configuration settings, do as follows:
- In Configure Windows Hello for Business, select Enabled.
- Configure the authentication method you want to use. For details of all settings, see Identity protection profile settings.
- Click Next.
-
In Assignments, add user groups to the Included groups. These groups will use Windows Hello. Click Next.
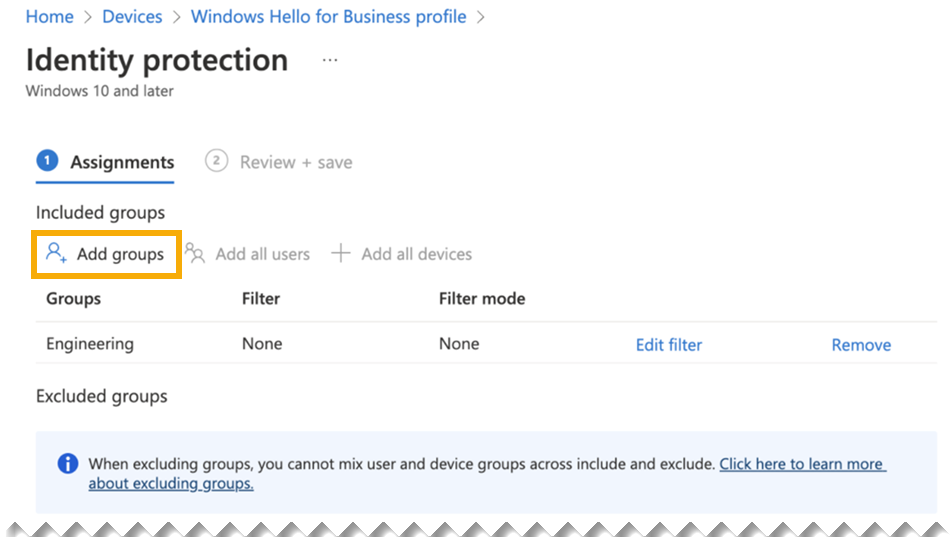
-
In Review + create, review your settings and click Create.
Next you join computers to Azure.