Set up directory service
You need a directory service to manage your user groups.
You can configure either Microsoft Entra ID (Azure AD) or Microsoft Active Directory (on-prem) as both your directory service and your identity provider.
When you configure Microsoft Active Directory (on-prem) as your identity provider, you can configure extra security settings. For information about how to sync Microsoft Active Directory (on-prem) user groups to Sophos Central, see Set up synchronization with Active Directory.
In the following instructions, we show you how to set up Microsoft Entra ID (Azure AD).
To use Microsoft Entra ID (Azure AD) to manage your users, you need to create an Microsoft Entra ID (Azure AD) tenant, register the ZTNA application, and set up user groups.
You must already have an Microsoft Entra ID (Azure AD) account.
Note
We recommend that you check Microsoft's latest documentation. See Microsoft Entra ID documentation.
Create an Microsoft Entra ID (Azure AD) tenant
- Sign in to your Azure portal.
-
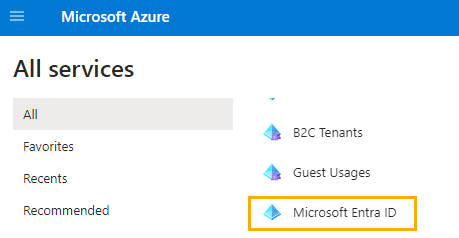
Select Microsoft Entra ID.
-
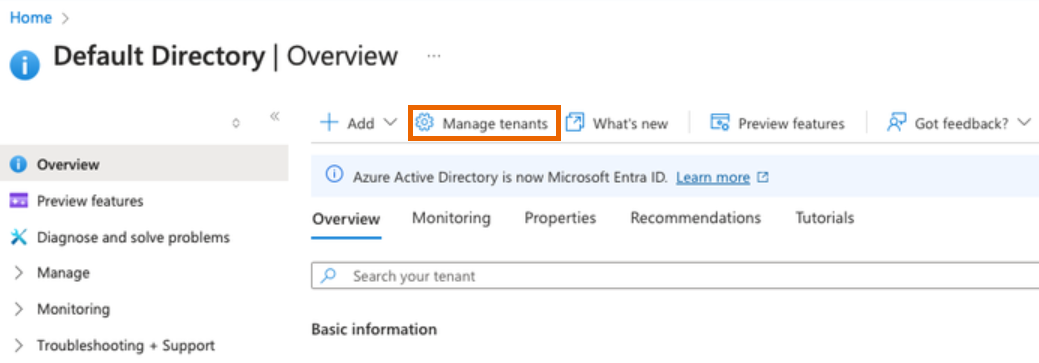
In the Microsoft Entra ID (Azure AD) Overview, click Manage tenants.
-
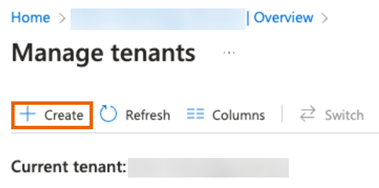
On the Manage tenants page, click Create.
Note
If you signed in to
entra.microsoft.cominstead ofportal.azure.com, you must select Workforce, click Continue, then go to step 6. -
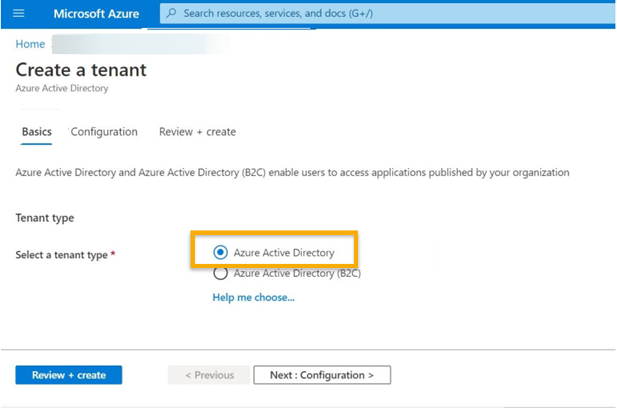
On the Basics tab, select Azure Active Directory. Then click Next: Configuration.
-
On the Configuration tab, enter your organization and domain name details. Click Next: Review + Create.
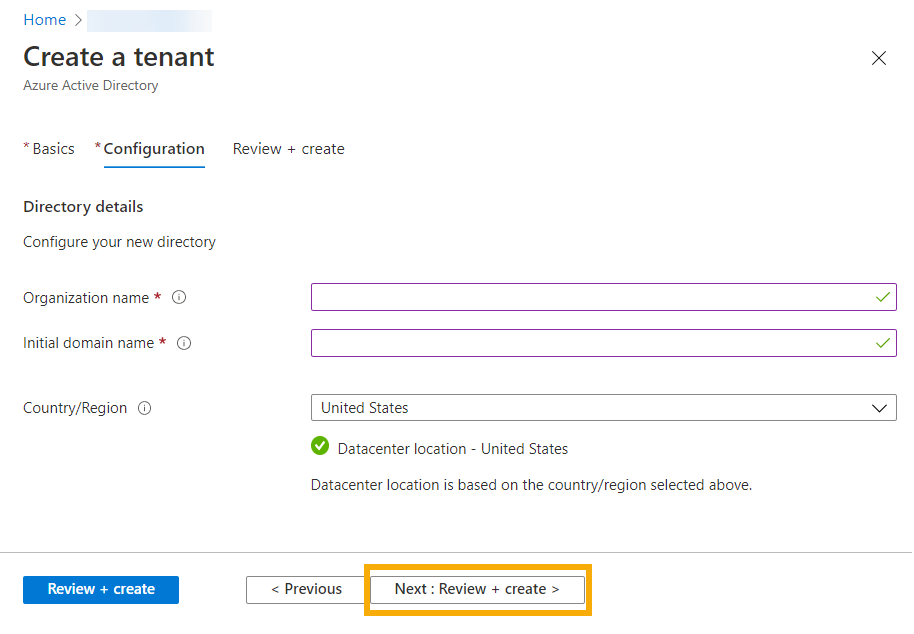
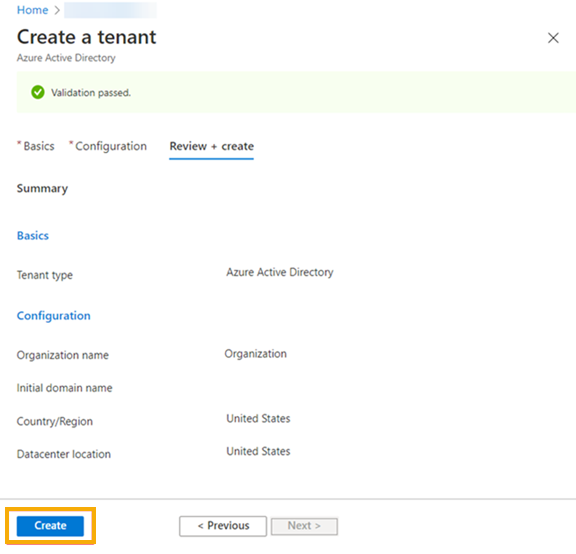
-
On the next page, review your settings and click Create.
Register the ZTNA app
-
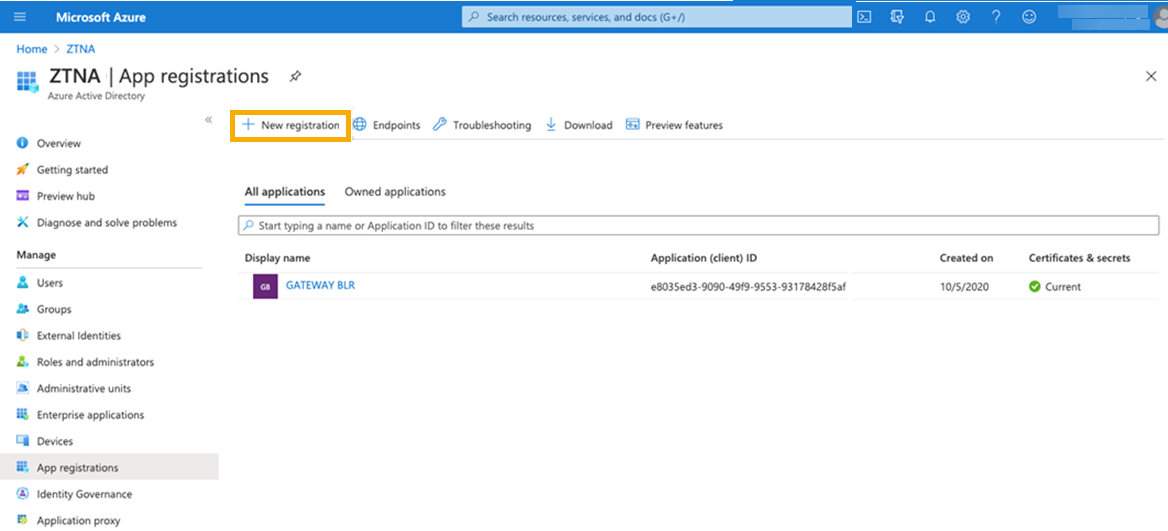
Select Manage > App registrations and click New registration.
-
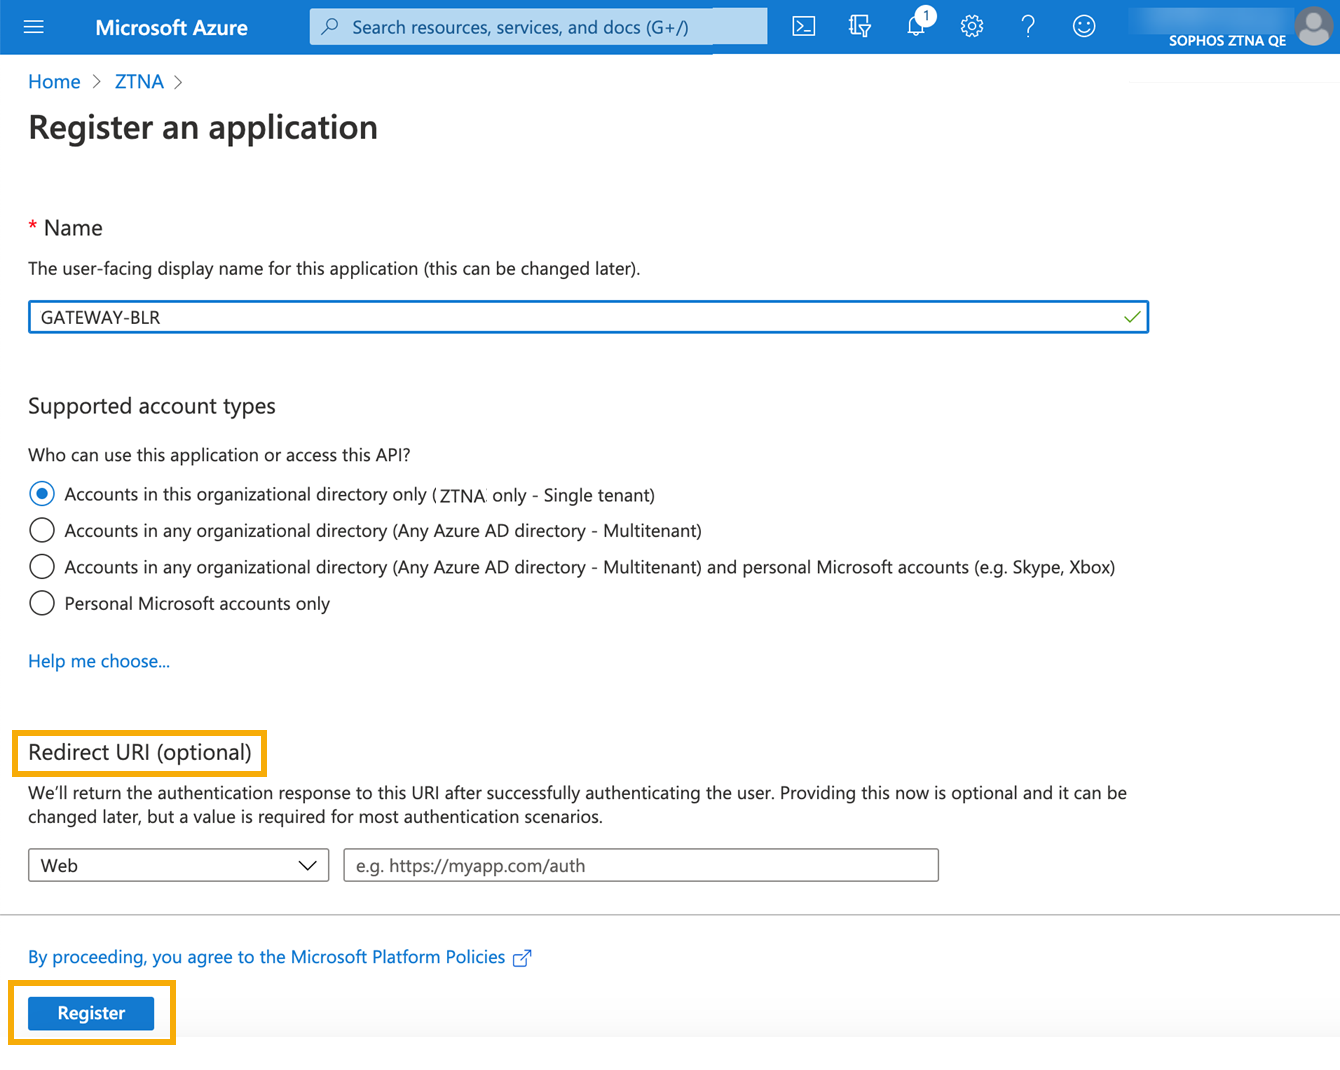
On the Register an application page, do as follows:
- Enter a name.
- Accept the default supported account type.
-
Set a Redirect URI. This is the address that authentication responses are sent to. It must include the ZTNA gateway domain name (FQDN). The address is different depending on whether you set up a gateway on an ESXi or Hyper-V server, or set up a gateway on Sophos Firewall.
-
For ESXi and Hyper-V gateways, use the following format:
https://<FQDN>/oauth2/callbackReplace <FQDN> with your gateway's external FQDN.
-
For Sophos Firewall gateways, use the following format:
https://<FQDN>/ztna-oauth2/callbackReplace <FQDN> with your gateway's external FQDN.
You can add multiple gateway FQDNs. You can also add more FQDNs at any time.
-
-
Click Register.
-
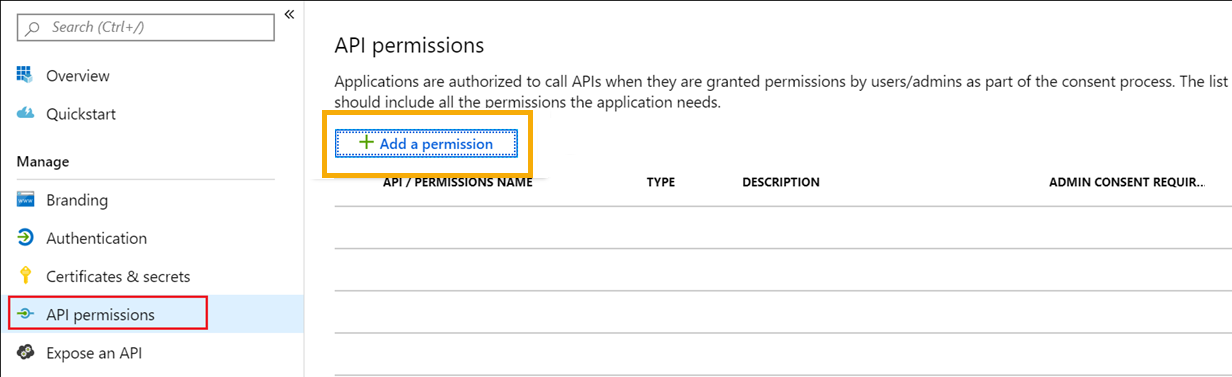
Select Manage > API permissions. Then click Add a permission.
-
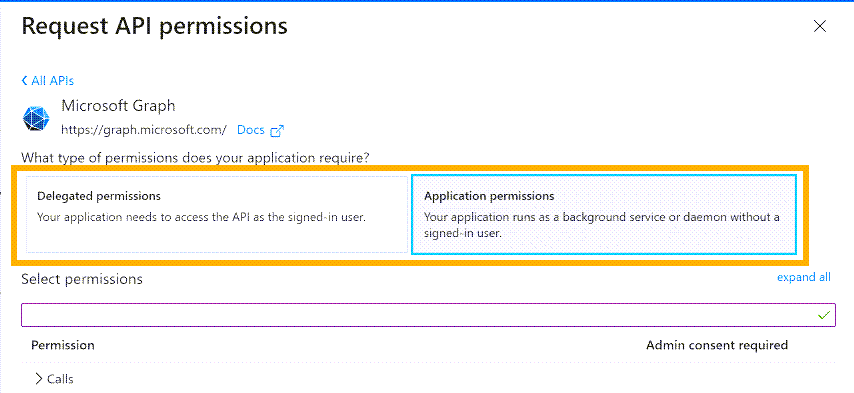
In Request API Permissions, give Sophos Central the permissions needed to read user groups. You need to add Microsoft Graph API permissions, as follows.
Select Delegated permissions and add the following permissions:
- Directory.Read.All
- Group.Read.All
- openID
- profile (profile is in the openID set of permissions)
- User.Read
- User.Read.All
Select Application permissions and add the following permissions:
- Directory.Read.All
- Directory.ReadWrite.All
Delegated permissions are for apps running with a signed-in user. Application permissions allow services to run without a user sign-in.
-
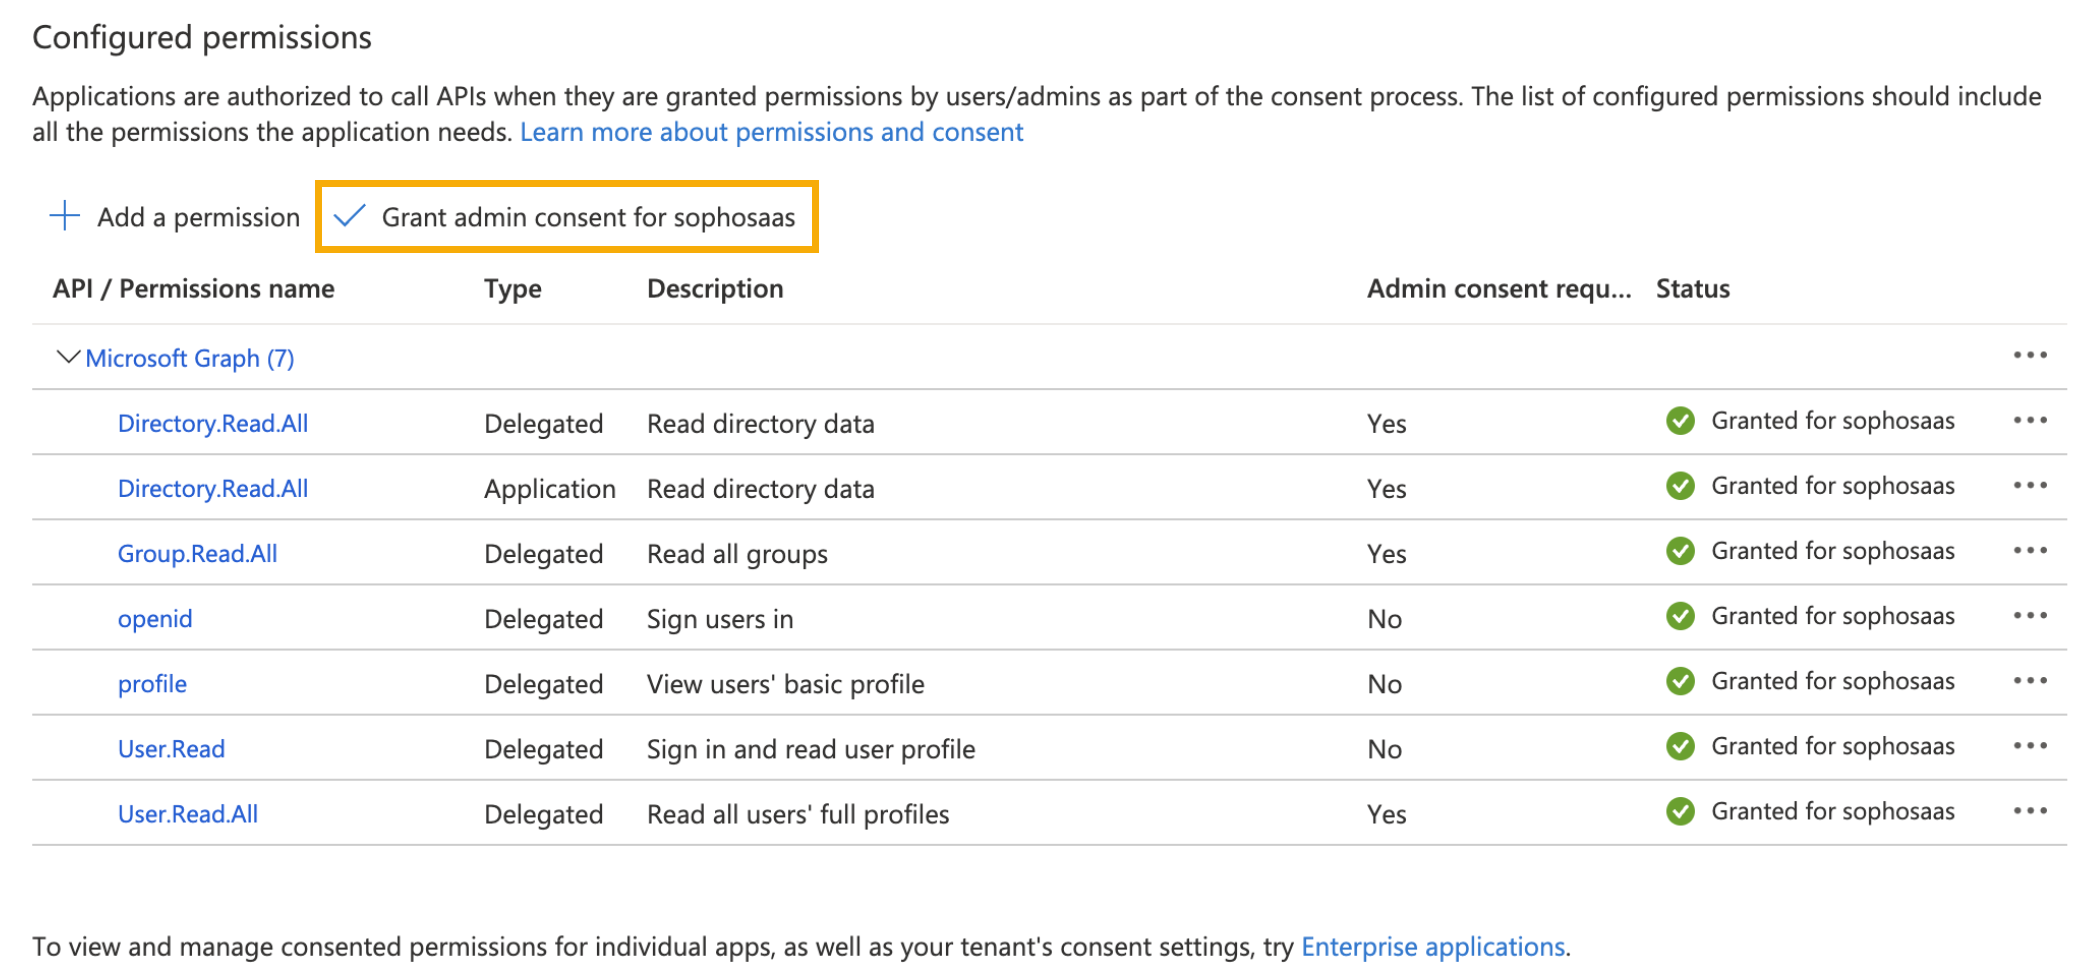
On the API Permissions page, you can now see the permissions you've added. Click Grant Admin Consent to give the consent that permissions need.
-
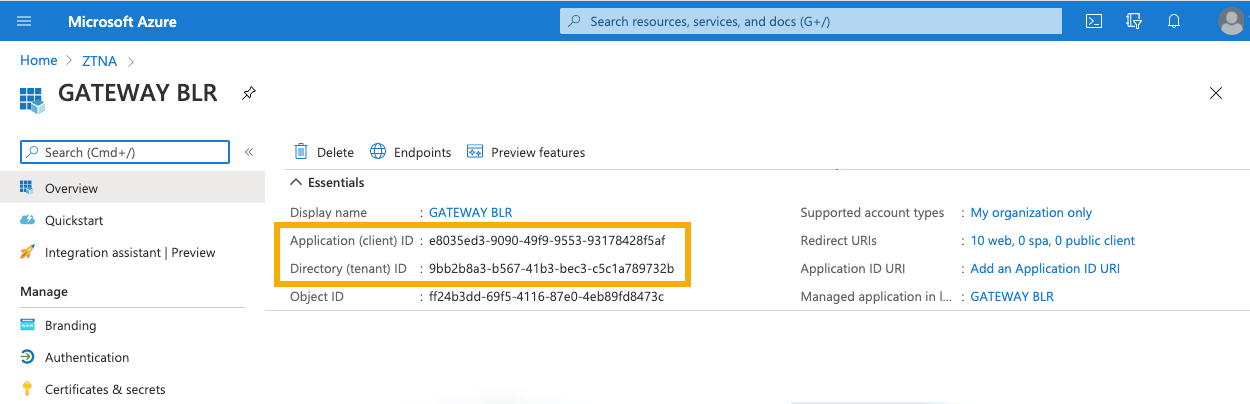
On the app's Overview page, make a note of the following details. You'll need them later.
- Client ID
- Tenant ID
-
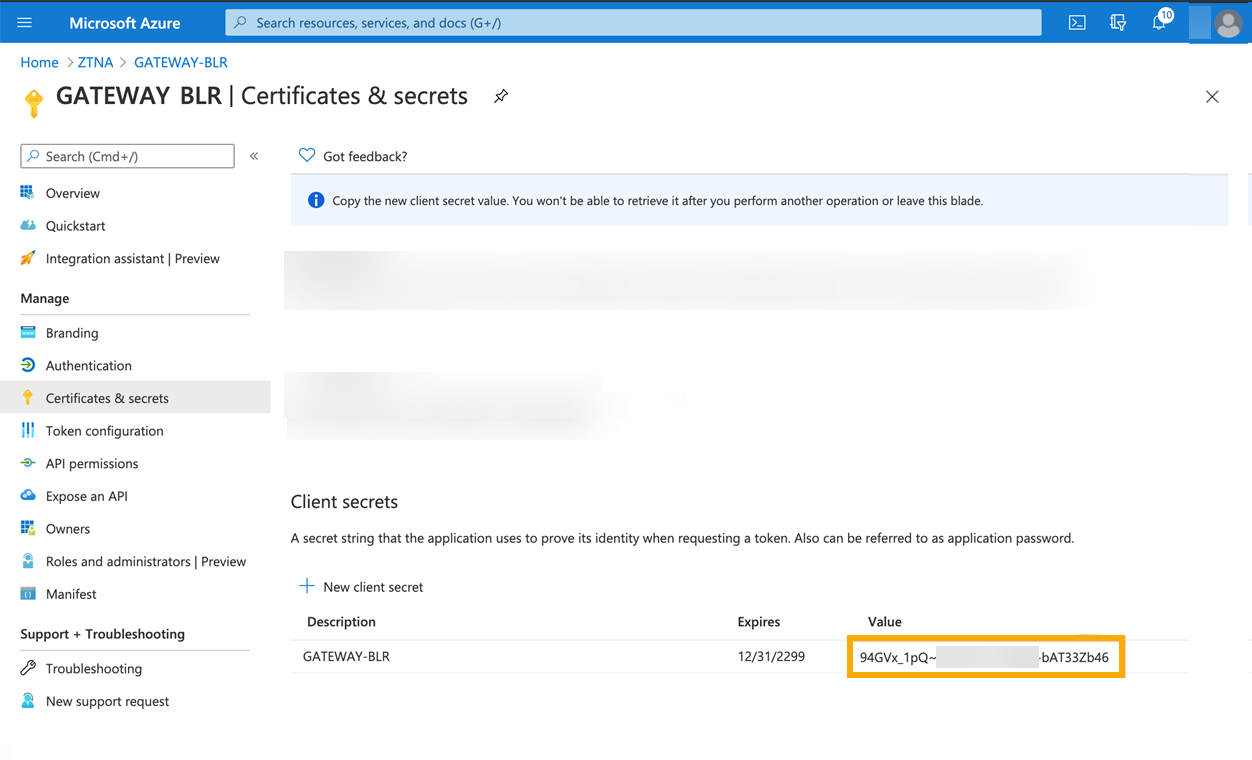
Click Certificates and secrets. Create a Client secret, make a note of the Value of the client secret, and store it securely.
Warning
The client secret isn't shown again. You can't recover it later.
Create an Microsoft Entra ID (Azure AD) user group
Warning
This section assumes you create a new user group. If you import user groups from the Microsoft O365 portal, you must ensure they're security enabled. Groups created in Microsoft Entra ID (Azure AD) are automatically security enabled.
To create a user group in Microsoft Entra ID (Azure AD), do as follows.
- Sign in to the Azure portal using a Global administrator account for the directory.
- Select Microsoft Entra ID.
-
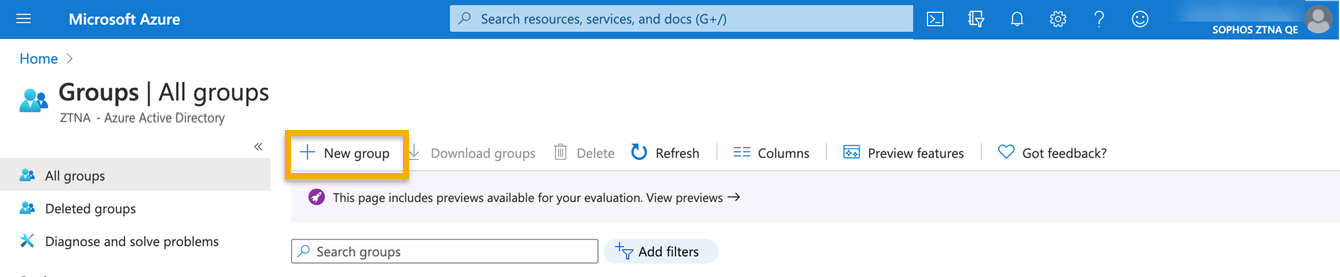
On the Active Directory page, select Groups. Click New Group.
-
In the New Group dialog, fill out the following fields:
- Select a Group type.
- Enter a Group name.
- Enter a Group email address or accept the default address shown.
- Select the Membership type. Use Assigned, which lets you choose specific users and give them unique permissions.
-
Click Create.
The group is created.
-
To check the created user group is security enabled, do as follows:
- Go to Manage view > Edit columns.
-
Under Columns, select Security enabled, then click Save.
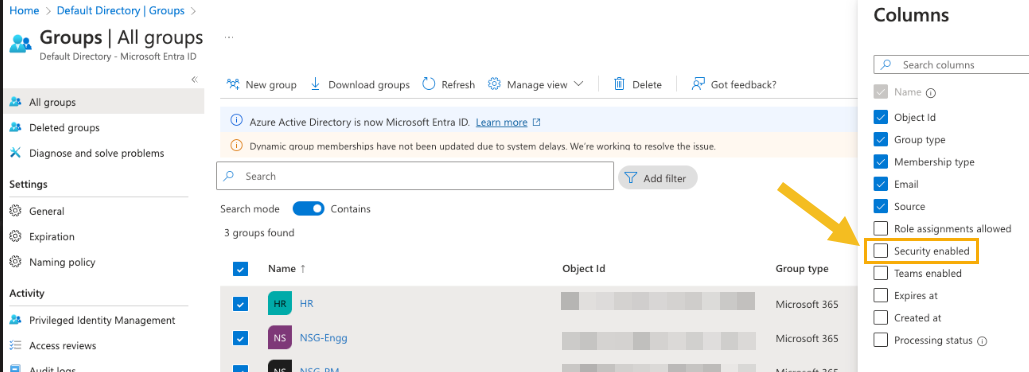
-
Under the Security enabled column, the status should show as Yes.
-
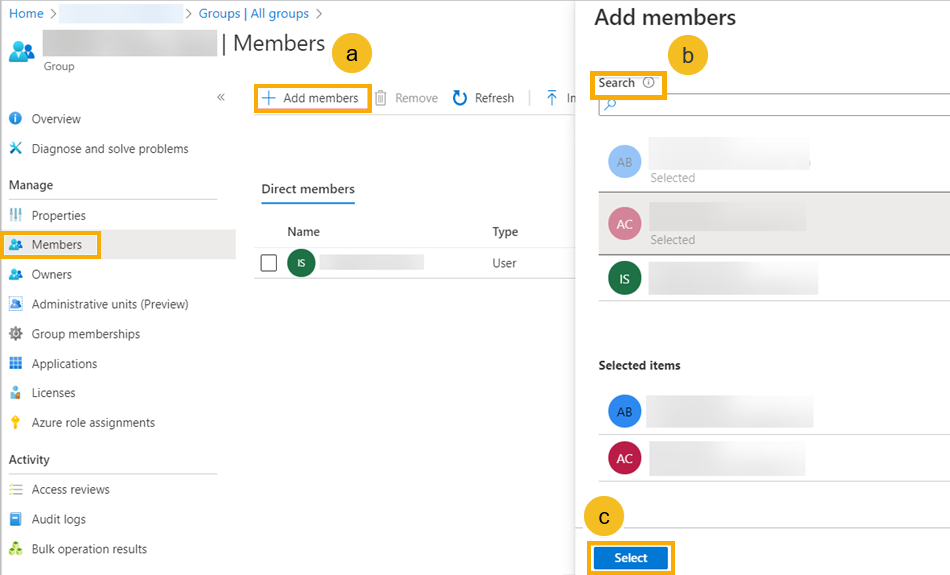
On the new group's page, click Members. Then do as follows:
- Click Add members.
- Search for the users you want and click them.
- When you finish, click Select.
Note
If you have a domain controller, you'll need to configure it as a resource later. See Domain controller as an agent-based resource.
Next, you go to Sophos Central to synchronize user groups with Microsoft Entra ID (Azure AD). See Sync users in Sophos Central.