Sync users in Sophos Central
You need to import users from your directory service.
To do this, you set up directory service synchronization in Sophos Central (if you haven't already done this).
If you're using Okta as the identity provider, you must synchronize user groups in on-premises Active Directory (AD) with both Sophos Central and Okta.
Our instructions show how to set up synchronization from Microsoft Entra ID (Azure AD) to Sophos Central.
Note
If you have on-premises Active Directory (AD), the steps depend on which identity provider (IdP) you plan to use for ZTNA:
- If your IdP will be Azure, synchronize from AD to Microsoft Entra ID (Azure AD) first (using Microsoft AD Connect). Then follow our instructions below.
- If your IdP will be Okta, follow the instructions in Set up synchronization with Active Directory.
To set up synchronization from Microsoft Entra ID (Azure AD) to Sophos Central, do as follows:
- Sign in to Sophos Central.
- Click the Global Settings icon
 .
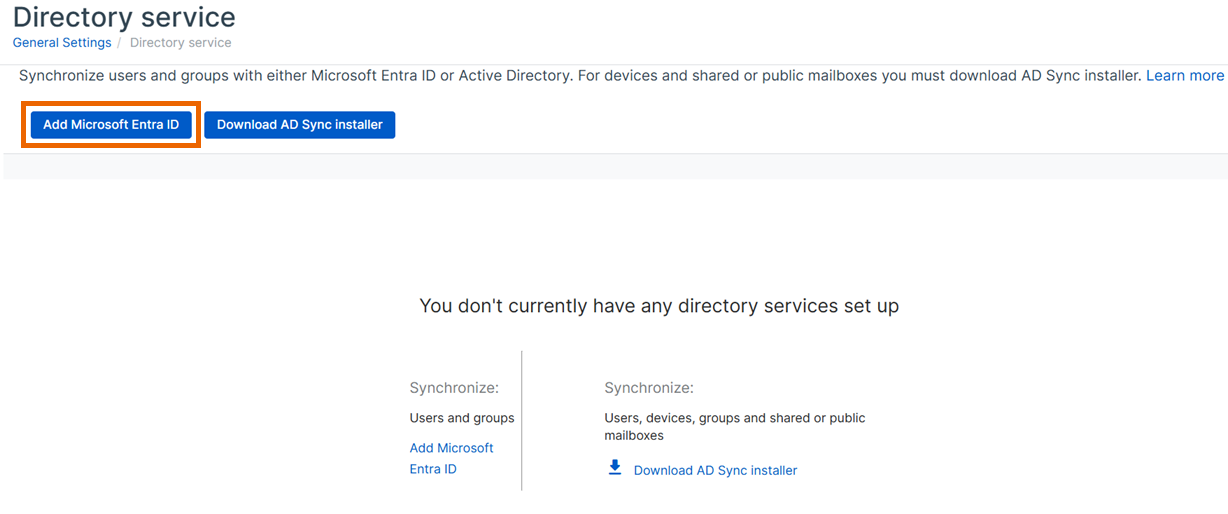
. - Go to Platform, and click Directory service.
-
Click Add Microsoft Entra ID.
-
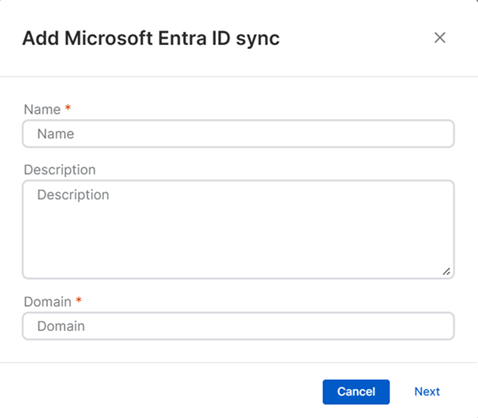
In Add Microsoft Entra ID, do as follows:
- Add a name.
- (Optional) Add a description.
- Add the domain.
-
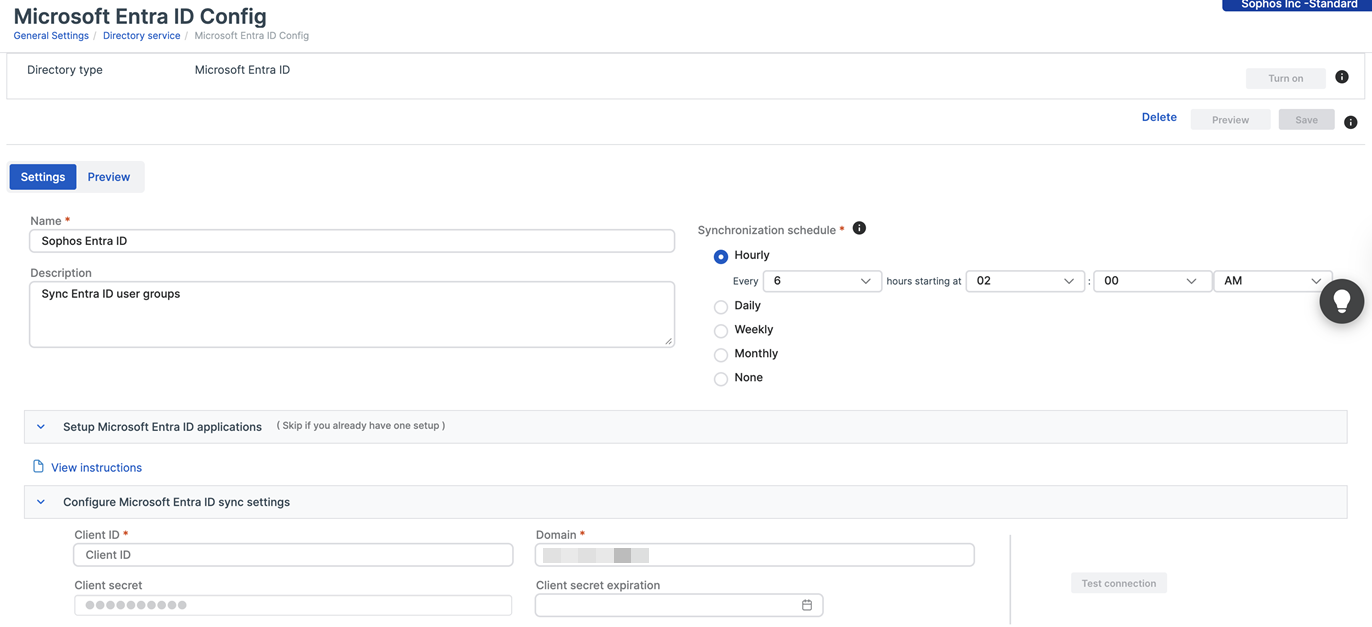
In Microsoft Entra ID Config, make sure the Settings tab is selected, and do as follows:
-
Under Synchronization schedule, select the frequency of the synchronization between Microsoft Entra ID and Sophos Central, and the start time. See "Set up your synchronization schedule" in Set up synchronization with Microsoft Entra ID (Azure AD).
-
In Configure Microsoft Entra ID sync settings, enter the settings you used for your Microsoft Entra ID tenant and click Test Connection. For more information, see Configure Microsoft Entra ID sync settings
-
In Select users and groups to include in the synchronization, select the groups you want to sync. See Filter users and groups in the Sophos Central Admin help.
Note
The groups you select must be security enabled in Microsoft Entra ID.
-
Click Save in the upper right of the page.
-
-
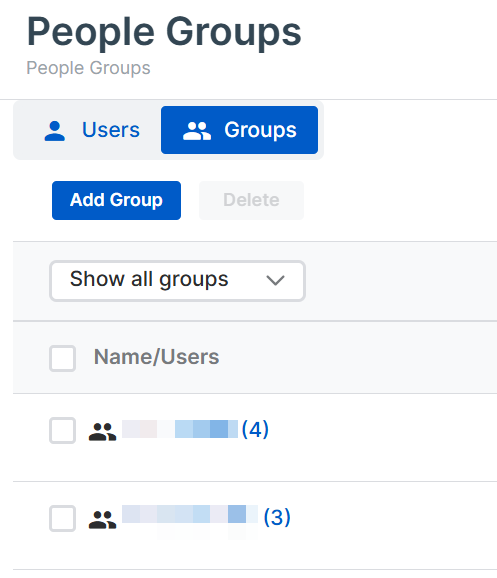
Your groups are imported. To check this, go to People > Manage Users and Groups and click the Groups tab.
Next, set up an identity provider. See Set up an identity provider.