Inbound Allow/Block
You can create a list of email addresses and domains that you trust or don't trust.
A list of addresses and domains that are allowed to connect with your email system, or are blocked from it, helps you control unwanted emails. Add addresses and domains you trust to the allow list, and those you don't trust to the block list. This setting only applies to inbound messages.
Messages from addresses on the block list are rejected before the mail server accepts them. However, in a multi-recipient message where recipients have different block list settings for the same sender address, the message is still blocked, but only after it's accepted and only for recipients who have that sender on their block lists.
Note
When adding entries to the allow list or block list, use either the SMTP envelope sender address or the "From" header address shown in the email. If either address matches an entry on the list, the appropriate action is triggered as configured, regardless of which address is used.
If a sender or client IP address is on the block list, the email is deleted without further scanning.
For information on how allow list entries are processed, see What happens when you allow an address or domain?.
Restrictions
Note the following restrictions when adding entries to the admin or user allow or block list:
- The maximum limit for all lists is 100,000 entries.
- You can add up to 500 entries per user to their allow or block list.
Note
When users add entries from smart banners, in which we don't apply the limit, the list can exceed 500 entries per user.
Enforce Message Authentication
The entries in the user allow list always enforce message authentication. To prevent spoofing, you must also enforce message authentication for entries in the admin allow list. The risk of allowing a sender address without enforcing authentication on the message from the address is that a forged message pretending to be sent from the allowed address skips scans and reaches the user's inbox. When you add or edit an allowed address or domain, you can enforce message authentication on the entry in the admin allow list.
We also recommend turning on Prevention of spoofing of allowed address, which determines how the message authentication is enforced. For information, see Prevention of spoofing of allowed address. If it's turned off, for a message from the allowed address with message authentication enforced, at least one of the authentication checks – DMARC, SPF, or DKIM – should pass for the message to skip scan. If it's turned on, the following checks are performed to authenticate a message from an allowed address:
-
DMARC
- If a message from the allowed address passes DMARC check, it's allowed to skip scan. See What happens when you allow an address or domain?.
- If the message from the allowed address fails DMARC check and the sender policy isn't set to p=none, the message is considered to have failed message authentication.
- If the message from the allowed address fails DMARC check and the sender policy is set to p=none, the DMARC check is considered not to have given a definitive result, and message authentication then must rely on SPF and DKIM checks.
- If the DMARC check can't be performed (for example, if no DMARC record exists), message authentication must rely on SPF and DKIM checks.
-
SPF: If the SPF check passes for the envelope domain of the message, the message is considered to have passed SPF authentication.
- DKIM: If the DKIM check passes for the domain in the allowed entry, the message is considered to have passed DKIM authentication.
If a message passes the authentication checks in the sequence above, the message is allowed to skip scans. Otherwise, the message is subjected to all scans to mitigate the risk of spoofing.
The options under Enforce Message Authentication in an admin allow entry are the same as those you have turned on in Prevention of spoofing of allowed address in User Settings, but you can tweak them to suit the needs of the specific entry. This gives you granular control to keep or override the settings applied to all allowed entries. However, if you decide to turn off Enforce Message Authentication for an allow list entry, then the allowed entry can be spoofed, even if Prevention of spoofing of allowed address is turned on. For more information about how these options work, see Prevention of spoofing of allowed address.
Admin list
You can allow or block domain names, IP addresses, or specific email addresses. The domain or email address is added to the list and shown as allowed or blocked. This list is global and applies to all protected mailboxes.
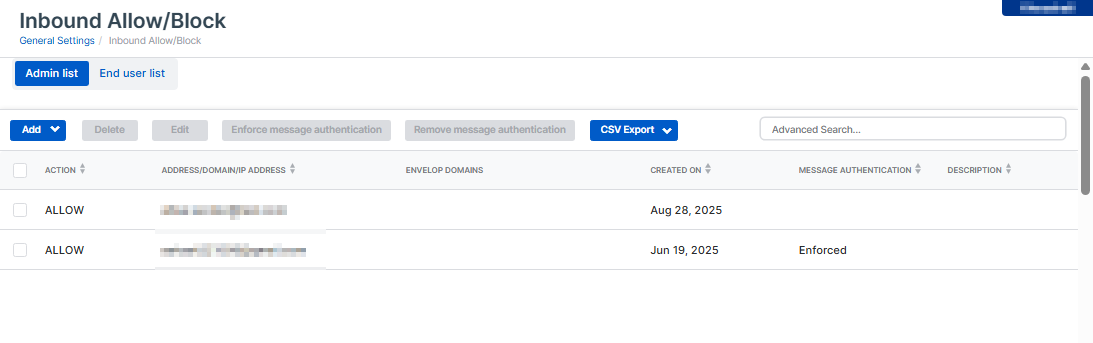
You can view email addresses, domains, and IP addresses you've already blocked through Message History.
For information on how the emails from addresses and domains in allow and block lists are processed, see Allow list authentication.
Wildcards
Wildcards are supported for email addresses and domains. Subnet masks are supported from /16 to /32 inclusive.
You can also use wildcards to block whole top-level domains (TLDs). This is useful for blocking email from generic or geographic TLDs that you don't communicate with and are common sources of unwanted email.
Wildcards can be added at the beginning, middle, or end of a domain or email address.
The following examples show supported entries for addresses, domains, IP addresses, subnet masks, and top-level domains.
Example
example.com
*.example.com
name@example.com
*name@example
name@example.*
1.2.3.4
1.2.3.0/24
*.cn
name*@example.com
name@example*.com
Manage admin list
To set up and manage the allow and block admin list, do as follows:
- In Sophos Fusion, click the Global Settings icon
 .
. - Go to Protection and Remediation > Allow and Block > Email and select the Inbound Allow/Block tab.
- Click Admin list.
-
On the admin list, do one of the following:
Note
When you add allowed or blocked addresses or domains, you can provide a brief explanation stating the reason for each entry. When you import email address or domain lists, make sure that the descriptions are not longer than 250 characters. Otherwise, they'll be truncated.
- Add an allowed address or domain.
- Add a blocked address or domain.
- Add or edit an entry to configure descriptions, message authentication, SPF checks, or envelope domains.
- Import a list of email addresses or domains to allow or block. See Import and export allow/block list.
- Export the selected entries or the entire allow/block list as a CSV file. See Import and export allow/block list.
- Enforce or remove message authentication for one or more allowed entries.
- Delete one or more addresses or domains.
If you're adding the same address or domain for an admin again, select Override duplicates. Your most recent choice will be used.
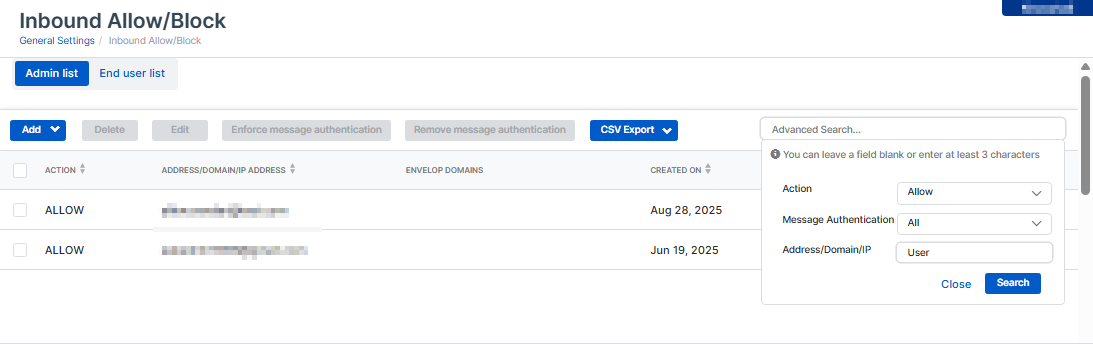
The admin list comes with an Advanced Search option. You can search entries by allow or block, by message authentication, or by sender address or domain.
For help with setting up Email Security policies, see Email Security policy.
For help on reviewing quarantined messages for your users, see Quarantined Messages.
End user list
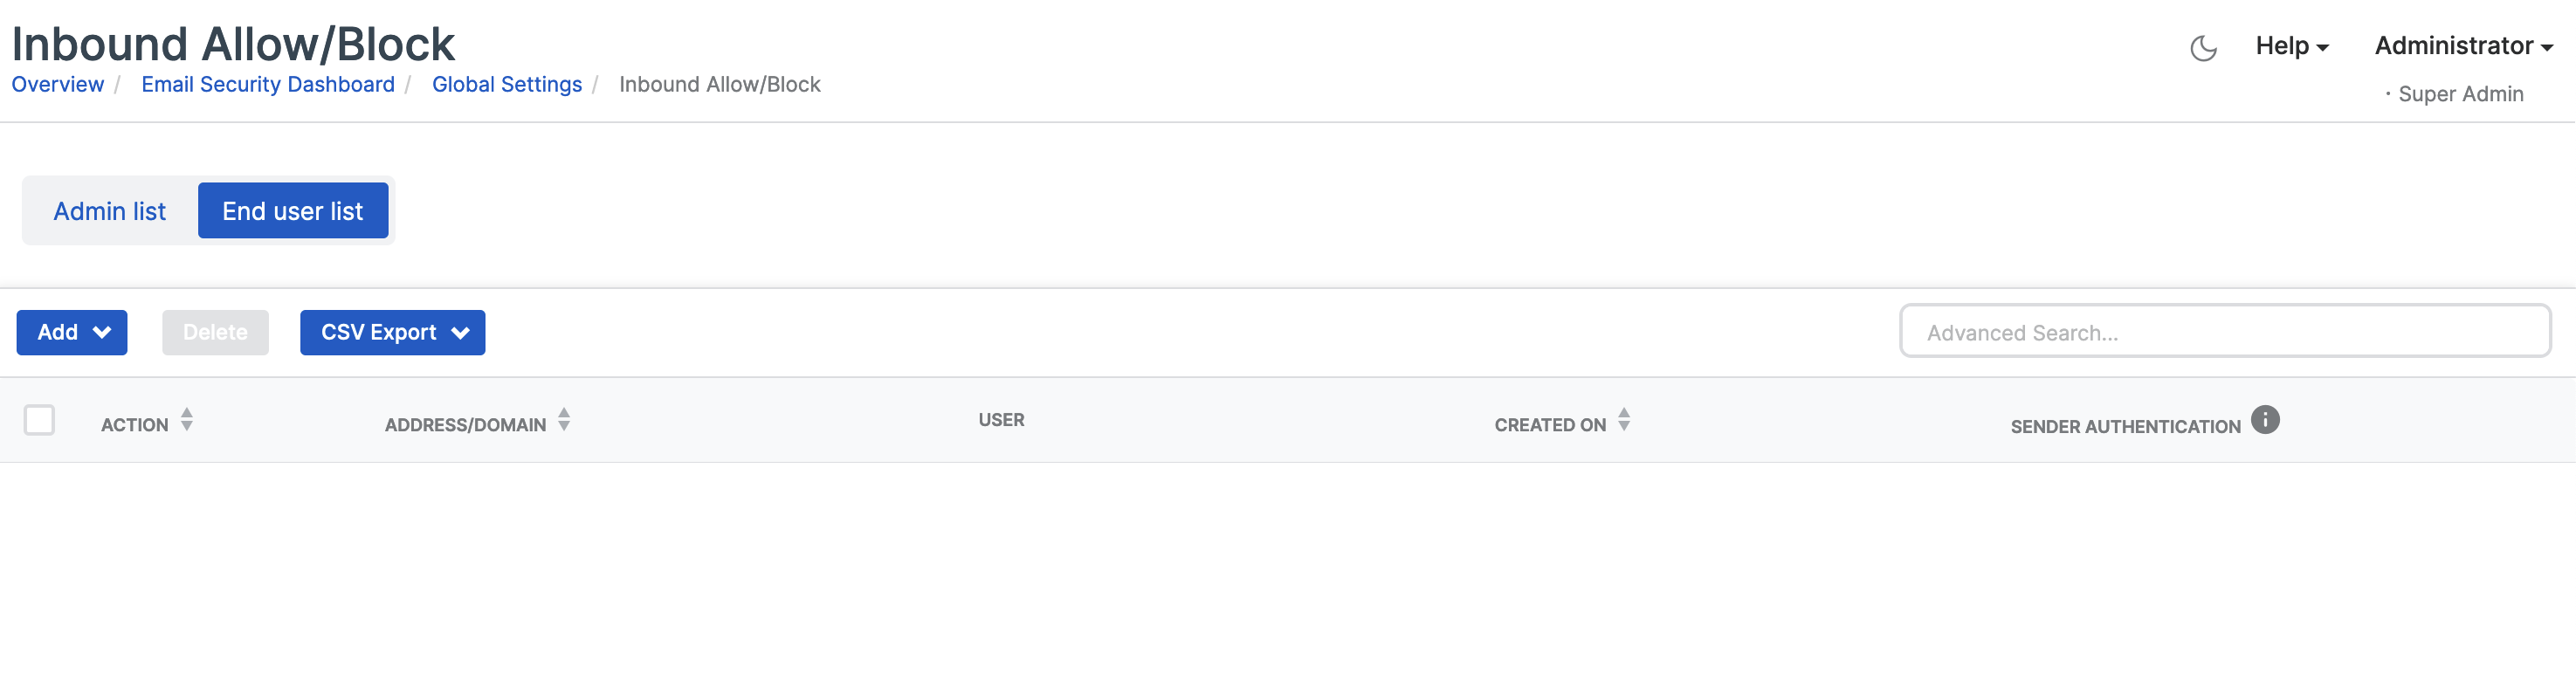
Users can set up their own allow and block lists in Sophos Fusion Self Service Portal. If there are any conflicts between their lists and the lists in Sophos Fusion Admin, the lists in Sophos Fusion Admin have priority.
You can view and modify the user allow and block lists from Sophos Fusion. Only email addresses and domains can be added to a user allow/block list. Wildcards aren't supported.
Multiple recipient emails
Emails from addresses in block lists are processed early in the checking process (the SMTP command). The emails are treated differently if they're addressed to multiple recipients who've listed the sending address differently in their respective allow/block lists.
Example
An email is sent from user@domain.com to person1@sophosuser.com and person2@sophosuser.com.
If person1 has added user@domain.com to their block list in Sophos Fusion Self Service Portal and person2 hasn't, the email is sent to person2 and not to person1.
Manage end user list
To set up and manage the allow and block user list, do as follows:
- In Sophos Fusion, click the Global Settings icon .
- Go to Protection and Remediation > Allow and Block > Email and select the Inbound Allow/Block tab.
- Click End user list.
-
On the end user list, do one of the following:
- Add an allowed address or domain.
- Add a blocked address or domain.
- Import a list of email addresses or domains to block or allow. See Import and export allow/block list.
- Export the selected entries or the entire allow/block list as a CSV file. See Import and export allow/block list
- Delete one or more addresses or domains.
When you add the same address or domain for a user again, select Override duplicates. Your most recent choice will be used.
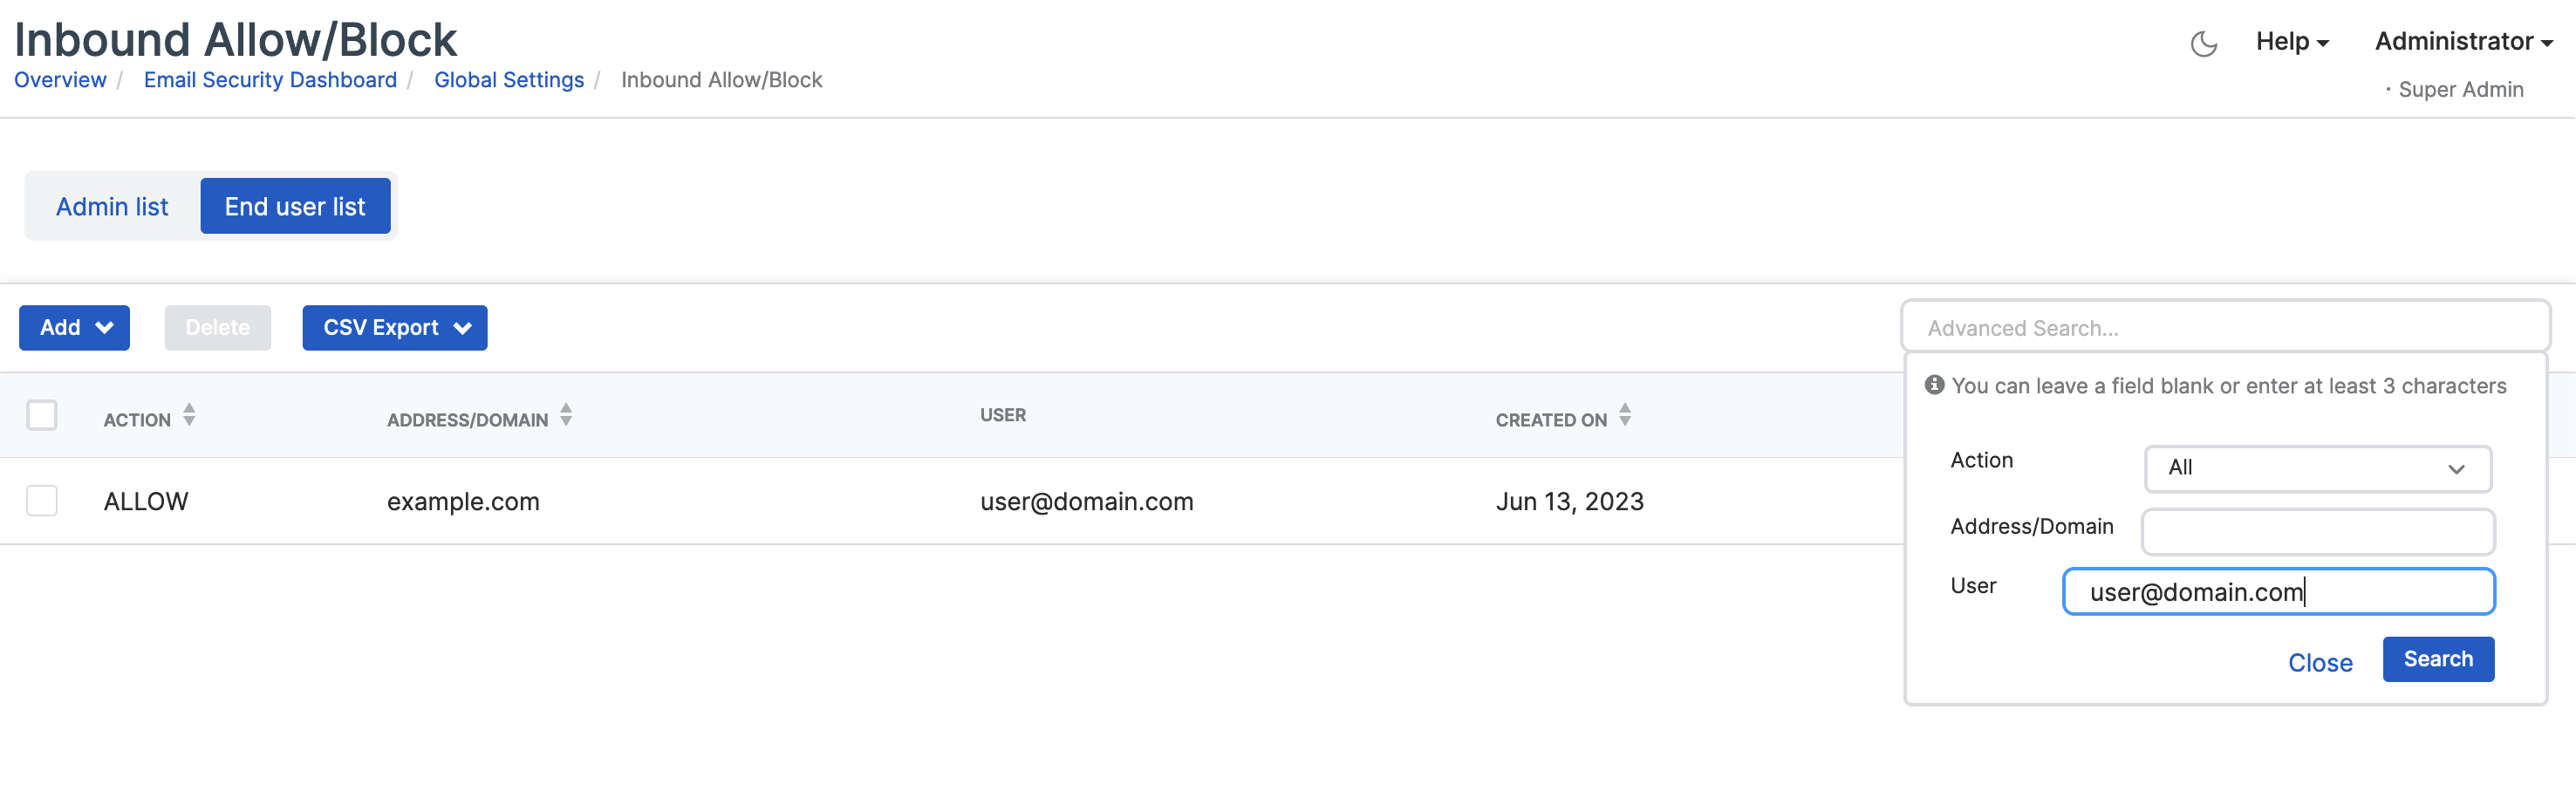
The user list comes with an Advanced Search option. You can search entries by allow or block, by sender email address or domain, or by specific users.
Edit descriptions for admin allow and block entries
You can edit your allow or block entry descriptions to better organize and manage them.
To edit a description, do as follows:
- In Sophos Fusion, click the Global Settings icon .
- Go to Protection and Remediation > Allow and Block > Email and select the Inbound Allow/Block tab.
-
Click Admin list and take one of the following actions:
- Select a single allow or block entry.
- Select a combination of allow and block entries.
- Select multiple allow entries.
- Select multiple block entries.
-
Click Edit.
A pop-up window appears.
-
Enter a new or updated description in the field provided.
You can enter up to 250 characters.
Use the description to specify the reason for allowing or blocking the entry.
Example
Blocked due to spam. -
(Optional) If you selected an allow entry or multiple allow entries and Enforce Message Authentication is turned off, you can turn it on.
- Click Save to apply the changes.
The description is now updated. This helps you track the reason for each allow or block entry.