Set up an Azure Application
To synchronize with Microsoft Entra ID, you need some Microsoft Azure information.
To get this information, you must set up an Azure Application. If you already have one, you can skip this section.
Note
We recommend that you check Add an enterprise application and Prerequisites to access the Azure Active Directory reporting API for the latest help. You may also find Microsoft's Quickstart Guide for registering applications useful, see Quickstart: Register an application with the Microsoft identity platform. You should use the instructions given by Microsoft if they differ from ours.
You can only use this Azure Application with Sophos Central, you can't use it with other Sophos products.
You must set up application permissions in your Azure portal to use all of the Microsoft Entra ID synchronization options in Sophos Central. You must set up the following permissions:
Microsoft Graph Directory.Read.All
To set up an Azure Application, do as follows:
- Create an Azure application.
- Create a client secret.
- Set up application permissions.
- Find your tenant domain information.
Warning
You must follow these instructions exactly.
Create an Azure Application
To create an application, do as follows:
- Sign in to your Azure portal.
- Click View under Manage Microsoft Entra ID, or click the portal menu, and then click Microsoft Entra ID.
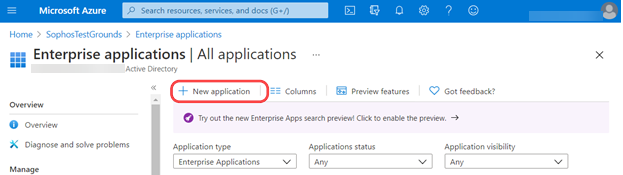
- On the Microsoft Entra ID page, click Enterprise applications.
-
Click New application on the top menu.
-
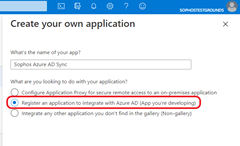
Click Create your own application.
This opens Create your own application.
-
Enter a name for your application, for example,
Sophos Microsoft Entra ID Sync. -
Select Register an application to integrate with Microsoft Entra ID (App you're developing).
-
Click Create.
This opens Register an application.
-
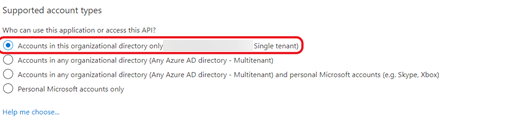
Under Supported account types, select Accounts in this organizational directory only (Single tenant).
-
Under Redirect URI (optional), select Web and enter
https://central.sophos.com.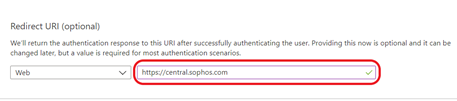
-
Click Register.
You now need to create a client secret.
Create a client secret
To create a client secret, do as follows:
- Sign in to your Azure portal.
- Click View under Manage Microsoft Entra ID, or click the portal menu, and then click Microsoft Entra ID.
-
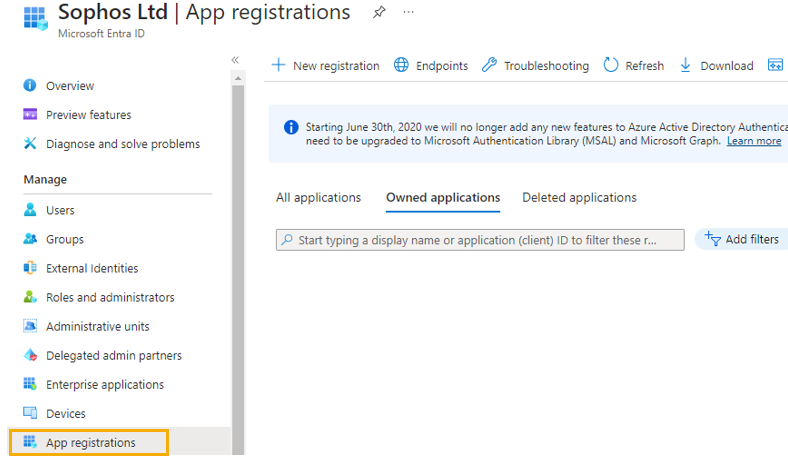
Click App registrations.
-
Select your newly added application. In this example, it's Sophos Microsoft Entra ID Sync.
-
Make a note of the Application (client) ID.
You'll need to enter this as the Client ID when you're configuring Microsoft Entra ID Sync in Sophos Central.

-
Click Certificates & secrets, and then click New client secret.
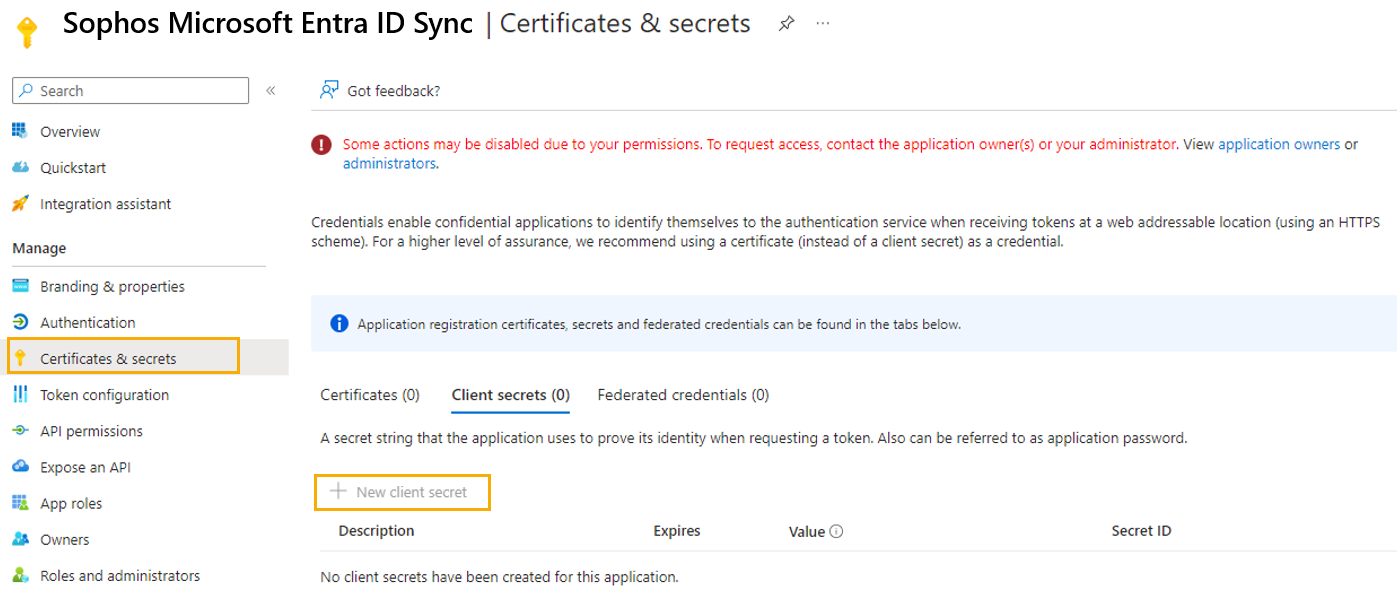
-
Create a client secret.
-
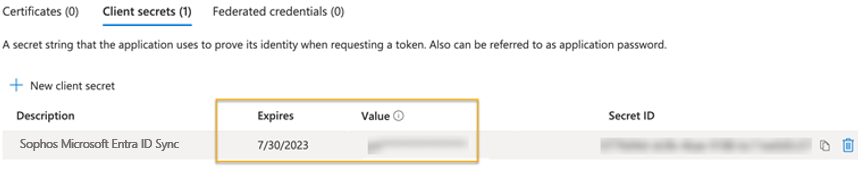
Make a note of the information in the Value field and the Expires field.
The Value field contains your Client secret and the Expires field contains your client secret expiration.
When configuring the Microsoft Entra ID sync in Sophos Central, use the Value and Expires field values for the client secret and client secret expiration fields, respectively. See Set up synchronization with Microsoft Entra ID.
Note
The client secret isn't shown again. You can't recover it later.
You now need to set up your application permissions.
Set up application permissions
Warning
You must follow the instructions in this section exactly.
To set up permissions, do as follows:
- Sign in to your Azure portal.
- Click View under Manage Microsoft Entra ID, or click the portal menu, and then click Microsoft Entra ID.
-
Click App registrations.
-
Select your newly added application. In this example, it's Sophos Microsoft Entra ID Sync.
-
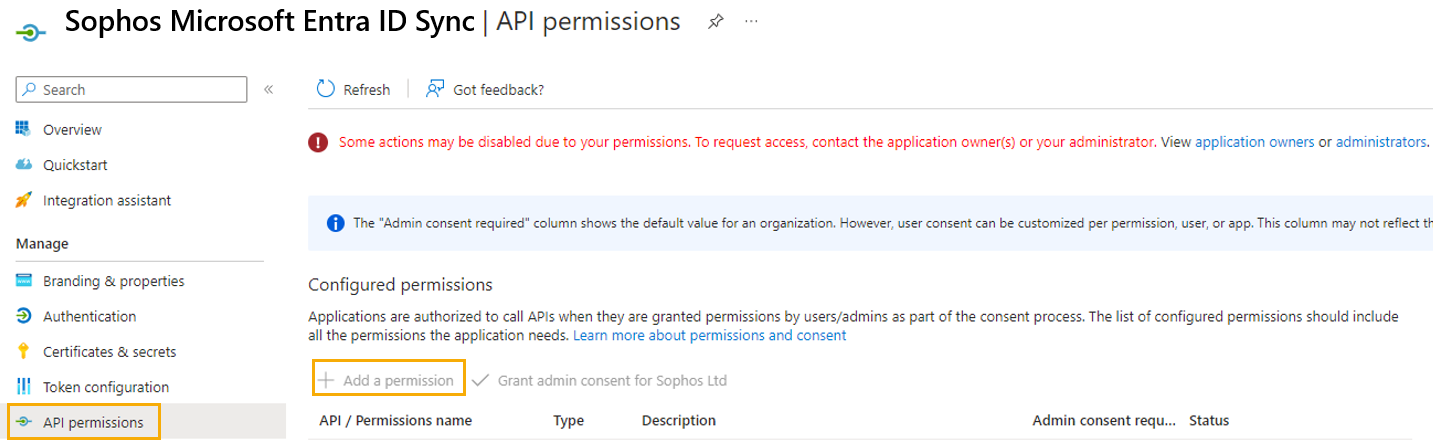
Click API permissions on the left-hand side and click Add a permission.
-
You need to add the Microsoft Graph permission. To do this, do as follows:
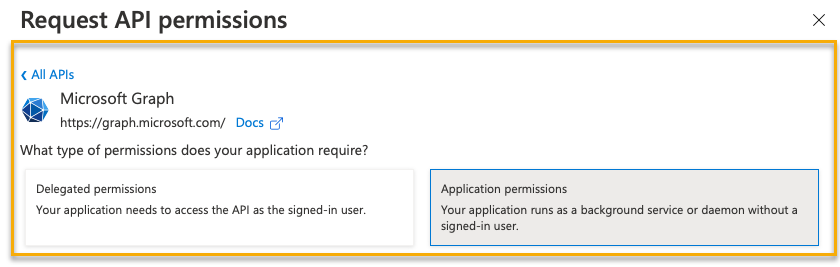
- Under Request API Permissions, click Microsoft Graph.
-
Under What type of permissions does your application require?, click Application permissions.
-
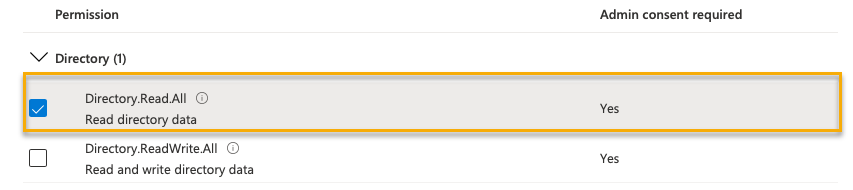
Select Directory from the list.
-
Under Directory, click Directory.Read.All.
-
Under Grant consent, click Grant admin consent for <account> and then click Yes.
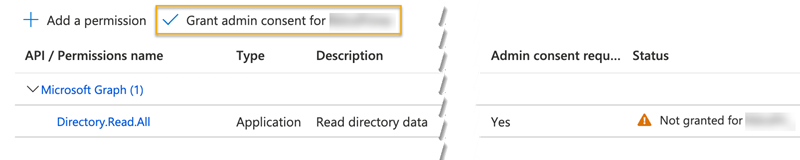
You should see a message saying that you've granted consent.
You now need to find your tenant domain information and check that you have all the required information for setting up Microsoft Entra ID synchronization in Sophos Central.
Find your tenant domain information
You must make a note of your tenant domain information and check that you have all the Azure information you need. To do this, do as follows:
-
Go to your Microsoft Entra ID configuration and open Custom domain names. Make a note of your tenant domain.
This is the primary domain assigned to your Microsoft Entra ID instance. You must enter this in Domain in Sophos Central.
-
Check you have a note of the following information:
- Application ID. You need to enter this in Client ID in Sophos Central.
- The value for your client secret. You need to enter this in Client Secret in Sophos Central.
- Client secret expiration. You need to enter this in Client secret expiration in Sophos Central.
You're now ready to configure your Microsoft Entra ID settings. You can find help on how to do this in Set up synchronization with Microsoft Entra ID.