Configure Mac devices to use DNS Protection with Secure DNS
You can configure your users' devices to directly use DNS Protection with Secure DNS if you're using a DNS cloud service, such as Google Public DNS or Cloudflare DNS. When you configure your users' devices as described on this page, DNS Protection handles all DNS requests instead of your configured cloud service.
Requirements
In Sophos Central, make sure you copy the DNS over HTTPS URL that's generated when you add a location with Secure DNS. See Add a location.
Configure Mac devices
To configure Mac devices to use DNS Protection with Secure DNS, do as follows:
- On the Mac device, open a terminal and create a file with the name
sophos-dns.sh. -
Paste the following script into the file:
#!/bin/bash # Sophos DNS Configuration Generator # Usage: ./sophos-dns.sh <doh_url> # Example: ./sophos-dns.sh https://dns.com/dns-query DOH_URL=${1:?Usage: $0 <doh_url>} OUTPUT="dns-config.mobileconfig" UUID1=$(uuidgen) UUID2=$(uuidgen) cat > "$OUTPUT" << EOF <?xml version="1.0" encoding="UTF-8"?> <!DOCTYPE plist PUBLIC "-//Apple//DTD PLIST 1.0//EN" "http://www.apple.com/DTDs/PropertyList-1.0.dtd"> <plist version="1.0"> <dict> <key>PayloadContent</key> <array> <dict> <key>PayloadDescription</key> <string>Configures DNS settings</string> <key>PayloadDisplayName</key> <string>DNS Settings</string> <key>PayloadIdentifier</key> <string>com.apple.dnsSettings.managed.custom</string> <key>PayloadType</key> <string>com.apple.dnsSettings.managed</string> <key>PayloadUUID</key> <string>$UUID1</string> <key>PayloadVersion</key> <integer>1</integer> <key>DNSSettings</key> <dict> <key>DNSProtocol</key> <string>HTTPS</string> <key>ServerURL</key> <string>$DOH_URL</string> </dict> </dict> </array> <key>PayloadDescription</key> <string>DNS Protection DoH</string> <key>PayloadDisplayName</key> <string>DNS-Global DNS over HTTPS</string> <key>PayloadIdentifier</key> <string>com.example.dns.profile</string> <key>PayloadRemovalDisallowed</key> <false/> <key>PayloadType</key> <string>Configuration</string> <key>PayloadUUID</key> <string>$UUID2</string> <key>PayloadVersion</key> <integer>1</integer> <key>PayloadScope</key> <string>System</string> </dict> </plist> EOF echo "✓ Created: $OUTPUT" echo " DoH URL: $DOH_URL" echo "" echo "Opening installation dialog..." open "$OUTPUT" -
Run the following command to make the
sophos-dns.shfile an executable file:chmod +x sophos-dns.sh -
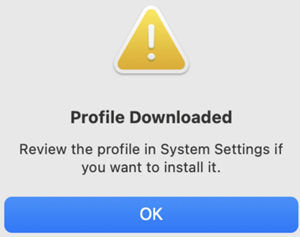
Run the following command to download the DNS-Global DNS over HTTPS profile, replacing
<DNS over HTTPS URL>with the DNS over HTTPS URL you copied from Sophos Central.sudo ./sophos-dns.sh <DNS over HTTPS URL> -
Enter your administrator password.
-
Click OK.
-
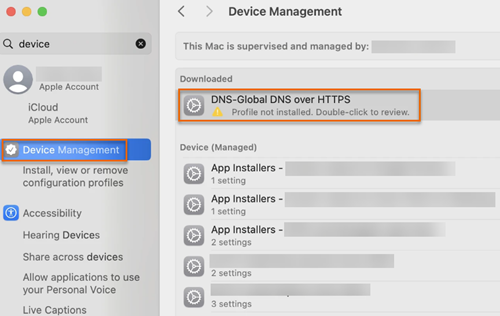
Go to Device Management and double-click DNS-Global DNS over HTTPS.
-
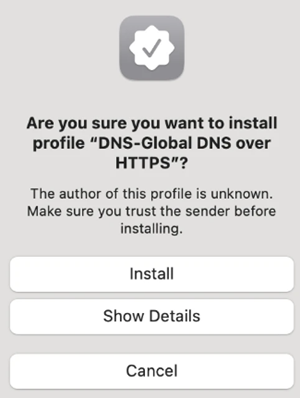
Click Install.

-
Click Install.
-
Enter your administrator password.
After the installation is complete, the device is ready to use DNS Protection with Secure DNS.