How to configure LAG ports
You can combine multiple Ethernet or SFP links into Link Aggregation Group (LAG) ports. LAG ports create high-bandwidth and high-availability links between two network devices.
To configure LAG ports, do as follows:
- Go to My Products > Switches.
- Click the switch you want to configure.
-
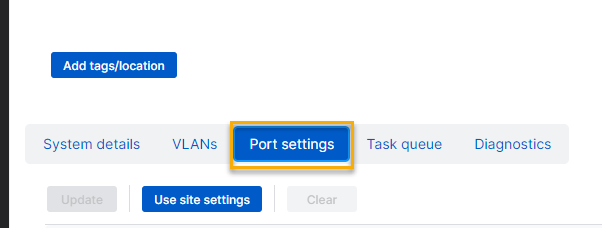
Click Port settings.
-
Scroll down to the LAG Ports section, and click the LAG port you want to edit.
-
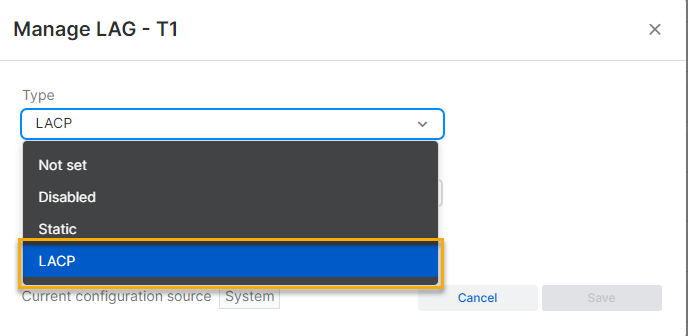
For Type, select LACP.
-
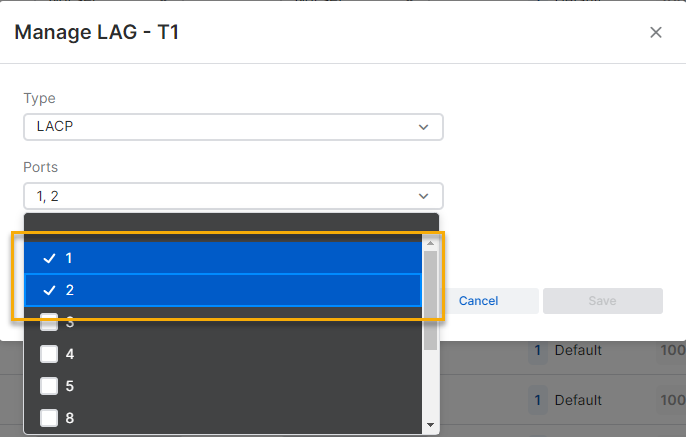
Select the ports to add to the LAG group from the Ports drop-down menu.
-
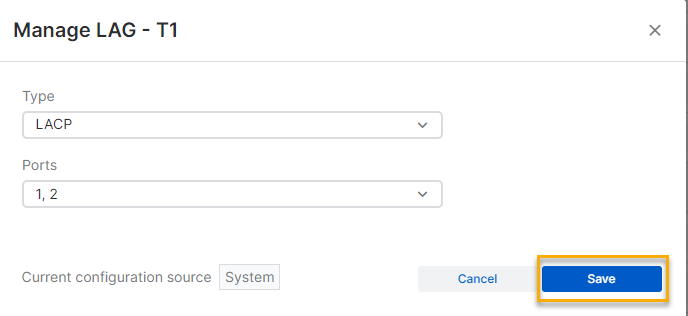
Click Save.
-
Give your LAG port a Label.
-
Select Enable in the Flow control column.
-
Choose the Speed/Duplex setting for the LAG port or select Auto to let the switch auto-negotiate the settings.
-
Scroll back to the top of the page and click Update to push the new settings to the switch.
More resources


