Create a floorplan
You can create a floorplan to visualize the placement of your access points and see their wireless coverage.
Note
The wireless coverage shown on a floorplan is only an estimate. We recommend conducting a professional site survey to identify your actual wireless coverage. See Site survey.
To create a floorplan, do as follows:
- Go to My Products > Wireless > Sites.
-
Click on a site.
If you don't have any sites, you must create one first. See Create a site.
-
Click Create a floor.
-
Click Choose a file to choose your floorplan file, and click Upload. The floorplan must be an image file (PNG, JPEG, BMP, GIF, or WBMP) or a PDF.
Note
You must have the Admin or Super Admin role in Sophos Central to upload a floorplan. See Compare administration roles.
-
(Optional) Adjust the image boundaries and click Crop image to create the new floor.
If you want to upload the image without any changes, click Proceed without changes.
-
Click Edit to assign dimensions to the floorplan. Measured dimensions are required to correctly show the network range of access points. Do as follows:
- Place two pins on the floorplan at points of known distance.
- Enter the distance, in meters, and click the check mark
 when done.
Tip
If you need to change the scale later, click Edit, then click Change scale to place new pins and update the distance between them.
-
Drag an access point from the available tab and place it on the floorplan. If you don't have any access points available, you can use the Simulated AP to see simulated wireless coverage on your floorplan.
Tip
You can delete access points from the floorplan on the placed tab.
-
Click Save to save your floorplan.
The floorplan with the positions of the access points has been added to the site.
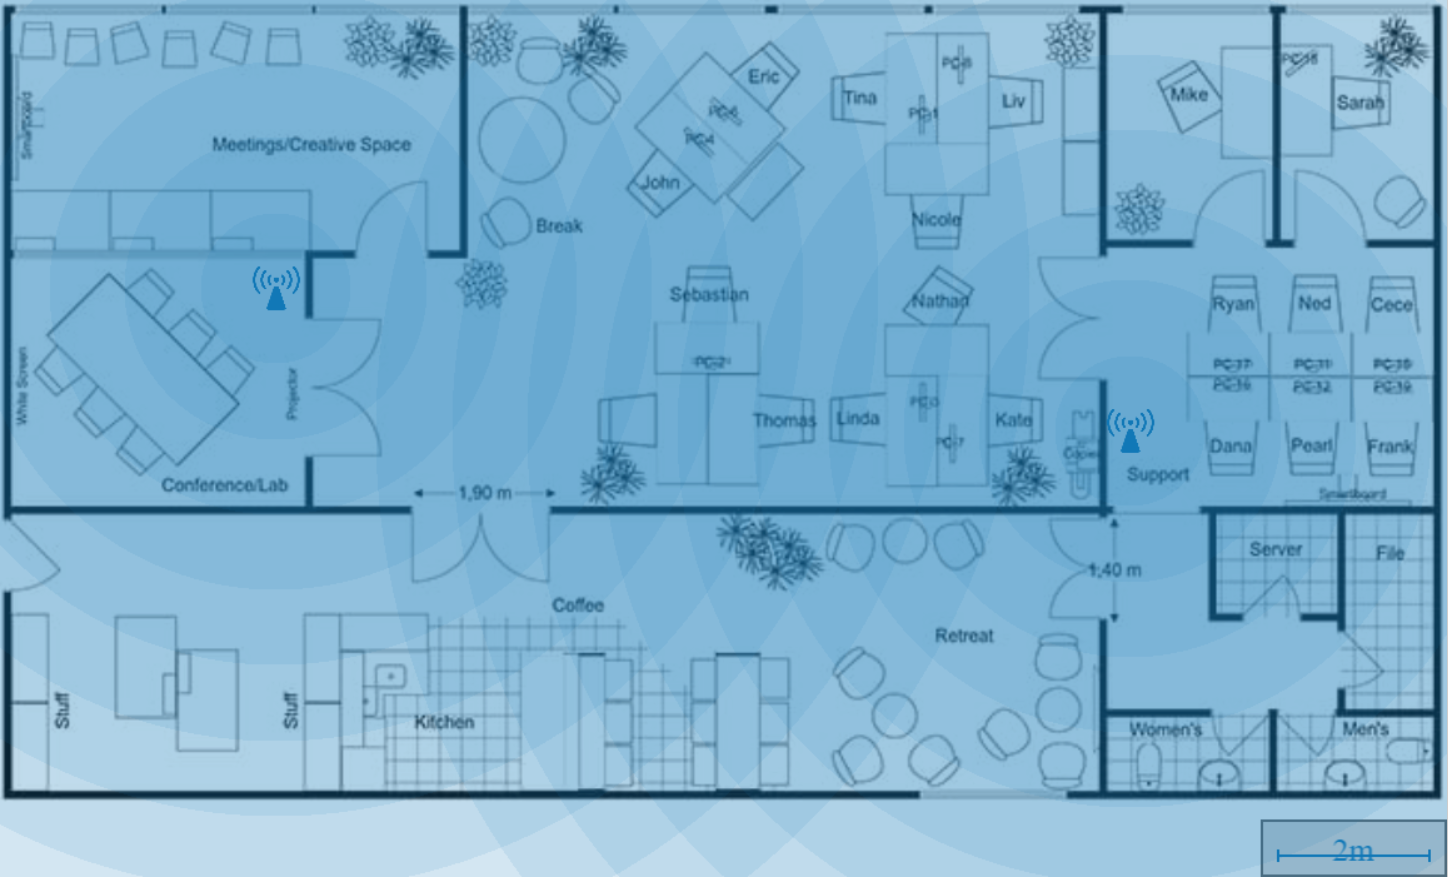
Here's an example of a wireless floorplan showing the scale, two placed access points, and their wireless coverage: