Security permissions on macOS
You need to grant Sophos Endpoint security permissions to run on your Macs. You may need to do this more than once as Apple frequently updates its security requirements.
If you use remote deployment, you grant security permissions during the deployment setup. See Installing Endpoint using Jamf Pro.
We check that we have the permissions we need every 30 minutes. We use the Sophos Service Manager to do this.
You can manually check you have the correct permissions by closing the Sophos Service Manager. You do this in Activity Monitor. Sophos Service Manager restarts automatically and checks permissions after 30 seconds. It then checks every 30 minutes.
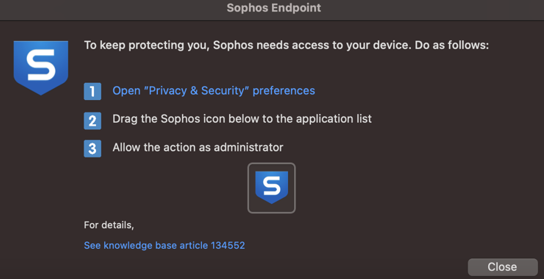
Sophos Endpoint shows a notification when it needs permissions. You can grant permissions from this notifiication.
You need to grant permissions to allow scanning and web protection to work. You also need to grant full disk access.
Grant permissions for scanning and Web Protection
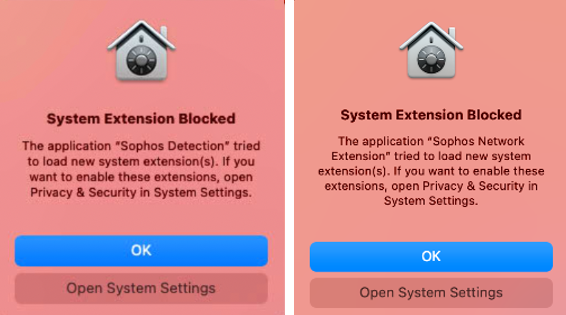
You need to grant disk access permissions for scanning and Web Protection. You also need to grant proxy permissions for Web Protection. Without these permissions, scanning and Web Protection don't work properly.
To grant permissions, do as follows:
-
Click Open System Settings for each Sophos program notification that needs permissions.
-
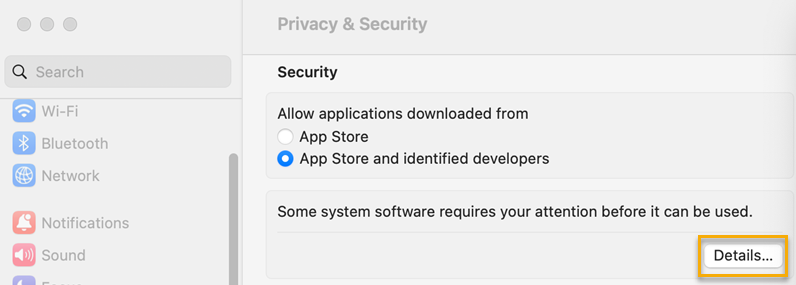
In Privacy & Security, click Details to see more details about the notification.
-
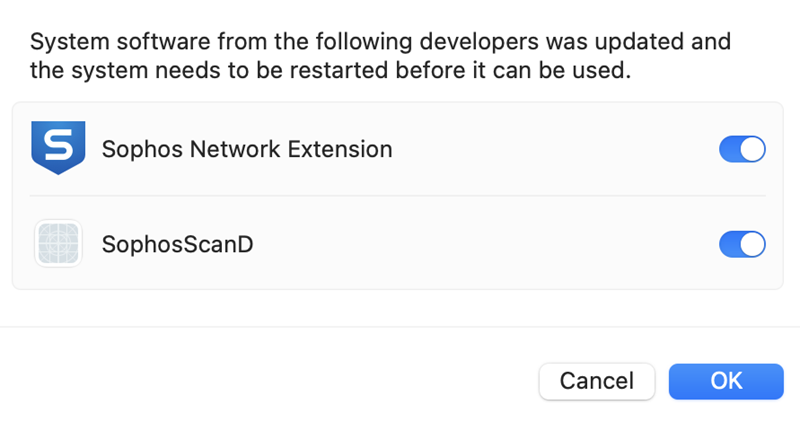
Click Allow for both system extensions.
- Turn on Sophos Network Extension and SophosScanD.
-
Click OK to restart both services.
-
Close Privacy & Security.
-
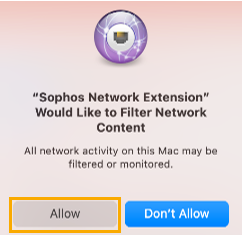
Click Allow to allow Sophos Network Extension to act as a proxy.
- Click Open System Settings for each Sophos program notification that needs permissions.
-
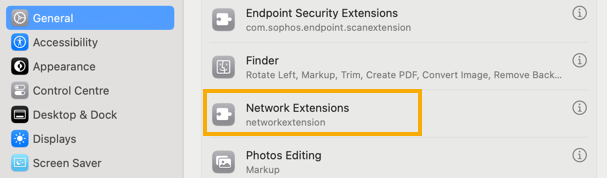
Click General.
-
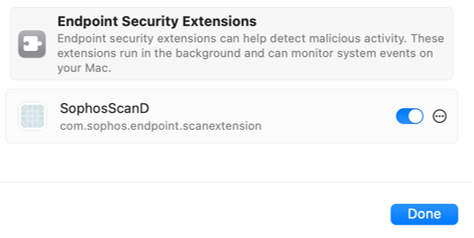
For SophosScanD, do as follows:
-
In Login Items & Extensions, click Endpoint Security Extensions.

-
Turn on SophosScanD.
-
Click Done.
-
-
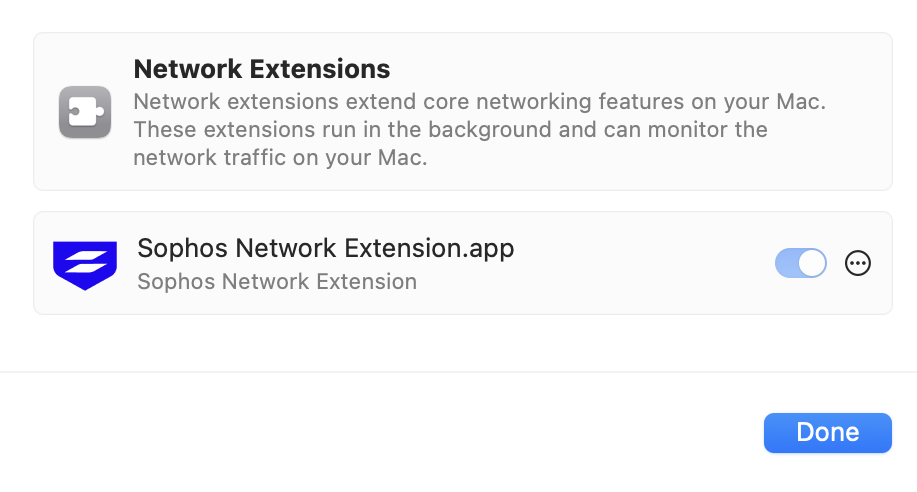
For Sophos Network Extension, do as follows:
-
In Login Items & Extensions, click Network Extensions.
-
Turn on Sophos Network Extension.
-
Click Done.
-
Click Allow.
-
-
You must then grant full disk access. See the next section for more details.
Grant full disk access
You must sign in as an administrator.
To grant full disk access, do as follows:
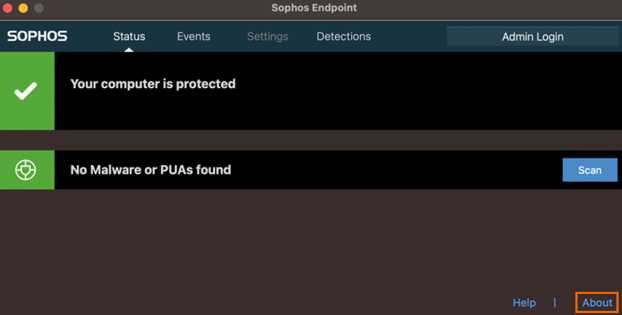
- Click the Sophos icon on your menu bar, and then click Open Sophos Endpoint.
- Click About.
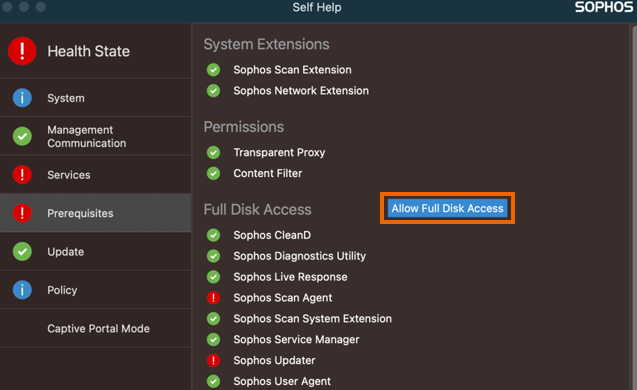
- Click Open Endpoint Self Help Tool.
- Click Prerequisites, and then click Allow Full Disk Access.
-
In the Sophos Endpoint window, do as follows:
- Click Open "Privacy & Security" preferences.
- Click Full Disk Access.
-
Drag the Sophos icon from Sophos Endpoint to the applications list in Full Disk Access.

-
You must grant full disk access to Sophos User Agent. Choose from the following options:
- Click Quit & Reopen to do this immediately.
- Click Later to give permissions and continue working. You'll need to restart your Mac to give full disk access. You're still protected.
-
Close Privacy & Security.
Sophos update failures
On macOS 14 Sonoma and macOS 15 Sequoia, Apple may require full disk access for the Sophos Updater to update Sophos files on the system. This requirement occurs at irregular intervals on devices running macOS 15 but has become significantly more frequent on devices running macOS 14.
Note
Sophos Endpoint supports devices running on macOS 15 Sequoia version 2024.3 (10.9.1) and later.
If you're using the latest macOS 14 Sonoma or macOS 15 Sequoia MDM profiles, you shouldn't experience this issue. The MDM profiles are found in the SophosMacDeploymentTools.zip file. For more information, see Installing Endpoint using Jamf Pro.
To find out if you're affected by the Sophos update failures, see the following information.
Check in Reports
You can find out if you're affected by the Sophos update failures by checking the Reports page in Sophos Central. Do as follows:
- In Sophos Central, go to Reports.
- Under General Logs, click Events.
- In Choose period, select Last 7 days.
- In Type, deselect all events except Product Updates.
- Click Export, and then click CSV of current view.
- Open the CSV file.
-
Search for ""Sophos Installer" couldn't be moved because you don't have permission to access "CID"".
If a result is returned, this means that you have the permission issue.
Check in Computers
You can find out if you're affected by the Sophos update failures by checking the Computers page in Sophos Central. Do as follows:
- In Sophos Central, go to Devices > Computers and servers.
-
Click the Filters icon
 , and then do as follows:
- In Device type, select Computer.
- In Operating System, select macOS.
-
Click any macOS 15 Sequoia computer.
-
Check the "Agent Version".
If the agent version is earlier than 2024.3.x and the "Last Agent Update" shows a failure, it may be affected by the update failure issue.
-
Repeat steps 3 and 4 to check other computers.
-
Go to Reports, and then click Events.
If you have an event that says ""Sophos Installer" couldn't be moved because you don't have permission to access "CID"", you're affected by the update failure issue.
Check using a terminal
To find out if you're affected by the Sophos update failures, use the terminal to run the following command:
sudo log show --predicate "subsystem == 'com.sophos.macendpoint'" --last 1d | grep -i 'Error renaming Installer directory'
If there are any results, you're impacted by the issue.
Resolve Sophos update failures
You must sign in as an administrator to access full-disk access and resolve the update failure issue.
To resolve the update failure issue, do as follows:
- Go to System Settings.
- Click Privacy & Security, and then click Full Disk Access.
-
Turn on SophosUpdater.
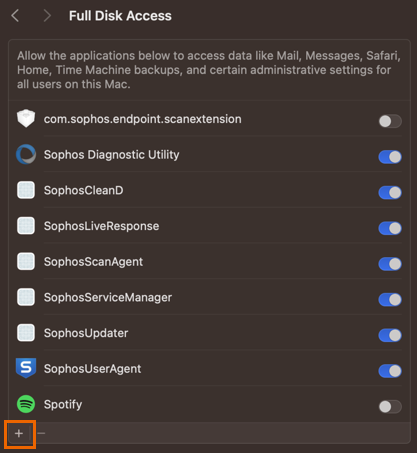
If you don't see SophosUpdater on the list of applications, do as follows:
- Go to System Settings.
- Click Privacy & Security, and then click Full Disk Access.
-
Click the Plus icon at the bottom of the page to add an application.
Note
You'll be asked to enter your password.
-
On the search bar, search for
/Library/Sophos Anti-Virus/SophosUpdater.app. - Click SophosUpdater.app.
-
Click Open.

SophosUpdater is added to the list of applications.
-
Turn on SophosUpdater.
Sophos Updater service health
From version 2024.4 (10.9.5) and later, the Sophos Updater service health will be marked as bad if its full disk access rights aren't present via MDM or manually. This will trigger a red health status even if there's no updating issue at that time.
Sophos Updater won't trigger a bad health status if you're already using the Sophos MDM profile version 3 or later or have manually added the Sophos Updater full disk access rights.
Resolve bad health issue
If you're using an MDM profile such as JAMF, InTune, and so on, you must update to the latest profile version. For more information, see Installing Endpoint using Jamf Pro.
If you're not using an MDM profile, do as follows:
- Open Sophos Endpoint Agent.
-
Click About.
-
Click Open Endpoint Self Help Tool.

-
Click Prerequisites.
-
Click Allow Full Disk Access.
-
Follow the instructions to drag and drop the permissions.