Get started with work profile management
The work profile management mode lets you manage a dedicated workspace, the work profile, on a user's Android device. This management mode is commonly used for a Bring Your Own Device (BYOD) setup, because you can only monitor and manage apps, accounts, and data within the work profile.
Requirements
- You set up Android Enterprise in Sophos Mobile. See Set up Android Enterprise.
- You created the device group you want to add the device to. See Device groups.
- Depending on your Android Enterprise configuration, you added the device user to Sophos Fusion or to your Google Workspace or Cloud Identity account. See Manage Android Enterprise users.
See the following sections to learn how to set up Android Enterprise work profile enrollment and enroll devices.
Set up work profile management
You must perform the following one-time tasks before enrolling the first device in work profile management mode.
Create policy
- In Sophos Fusion, go to My Products > Mobile.
- In the Sophos Mobile menu, go to Policies > Android.
-
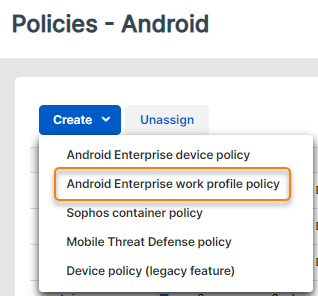
Click Create > Android Enterprise work profile policy.
-
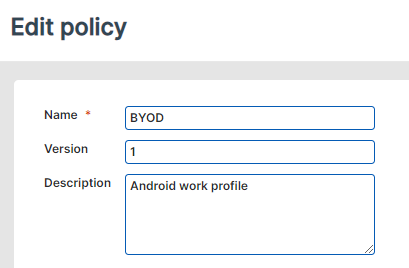
On the Edit policy page, enter a name for the policy and, optionally, a description.
-
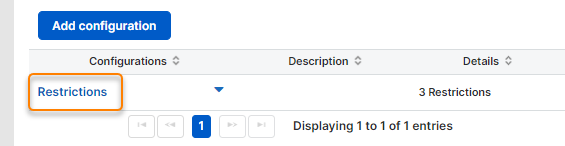
Sophos Mobile automatically adds a Restrictions configuration, which you can't delete.
Click Restrictions to view and edit the settings as required.
See Restrictions configuration (Android Enterprise work profile policy).
-
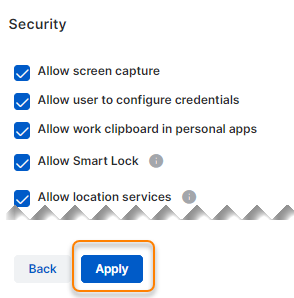
After you make the required changes, click Apply.
-
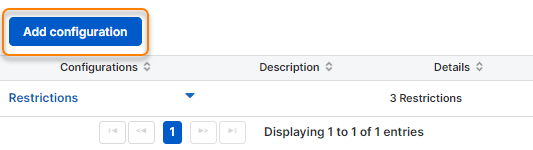
Click Add configuration to add more configurations to the policy.
For a description of available configurations and their settings, see Configurations for Android Enterprise work profile policies.
-
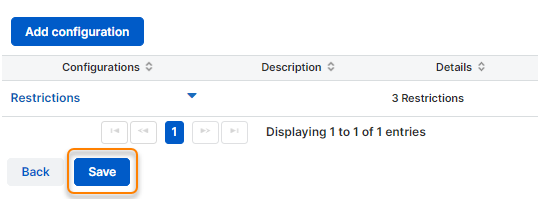
After you add all required configurations, click Save.
Next, add the policy to an enrollment task bundle.
For a general description of creating device policies, see Create policy.
Create enrollment task bundle
- In Sophos Fusion, go to My Products > Mobile.
- In the Sophos Mobile menu, go to Task bundles > Android.
-
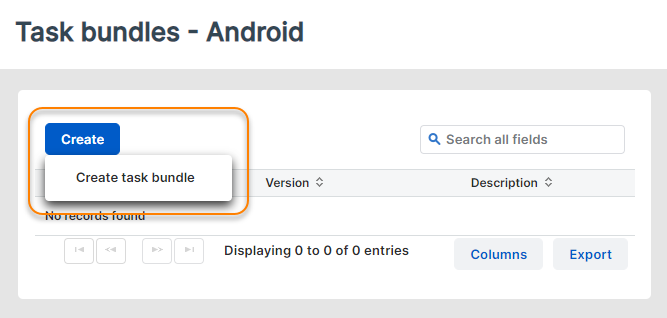
Click Create > Create task bundle.
-
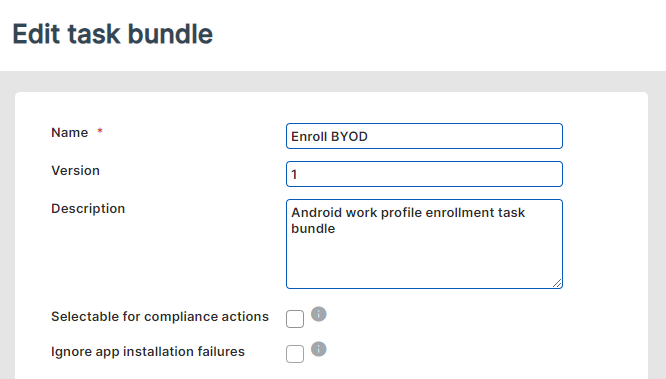
On the Edit task bundle page, enter a name for the task bundle and, optionally, a description.
-
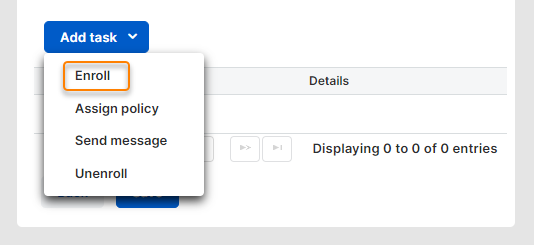
Click Add task > Enroll.
-
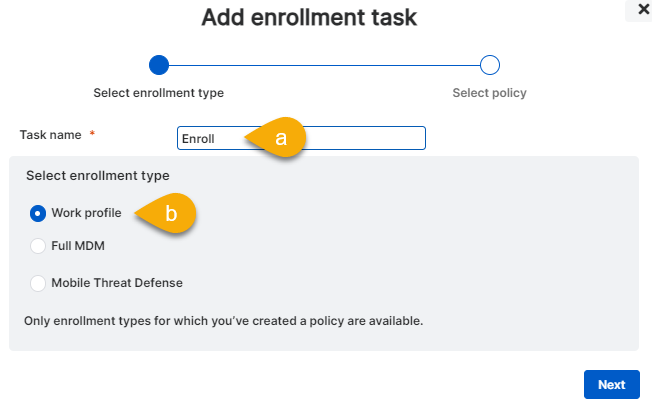
In the Select enrollment type step of the assistant, do as follows:
-
In Task name, enter a name for the task, for example, “Enroll”.
Sophos Mobile shows the name on the Task details page when it processes the task bundle for a device.
-
In Select enrollment type, select Work profile.
-
-
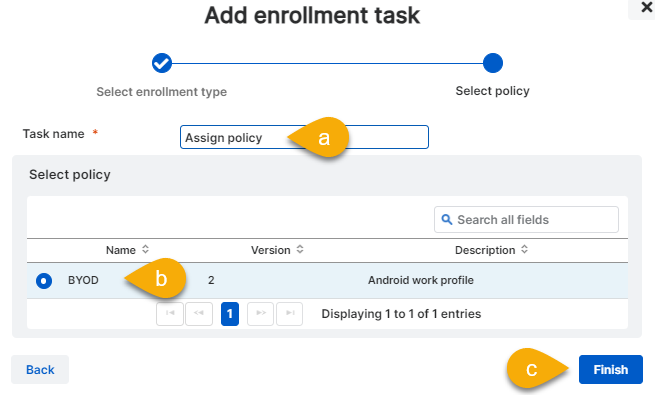
In the Select policy step, do as follows:
- In Task name, enter a name for the task, for example, “Assign policy”.
- In Select policy, select the policy you created before.
- Click Finish.
-
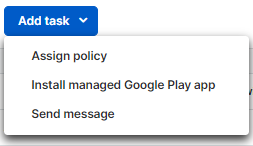
Optionally: Click Add task and select another task to add to the task bundle.
For a list of available tasks, see Task types (Android).
-
After you add all required tasks, click Save.
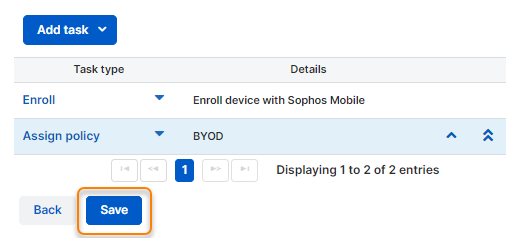
For a general description of creating task bundles, see Create task bundle.
Enroll device
Add device to Sophos Mobile
To add an Android Enterprise work profile device to Sophos Mobile, do as follows:
- In Sophos Fusion, go to My Products > Mobile.
- In the Sophos Mobile menu, go to Devices.
-
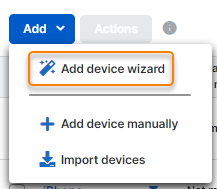
Click Add > Add device wizard.
-
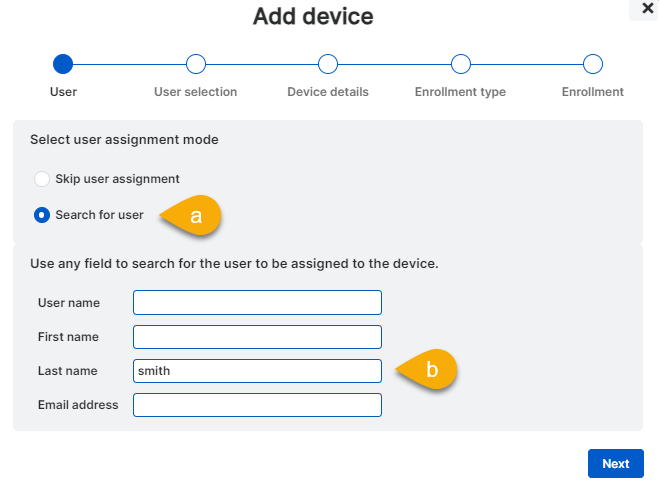
In the User step of the assistant, do as follows:
- Select Search for user.
-
Enter search criteria for the user account in one or more of the following fields:
- User name
- First name
- Last name
- Email address
-
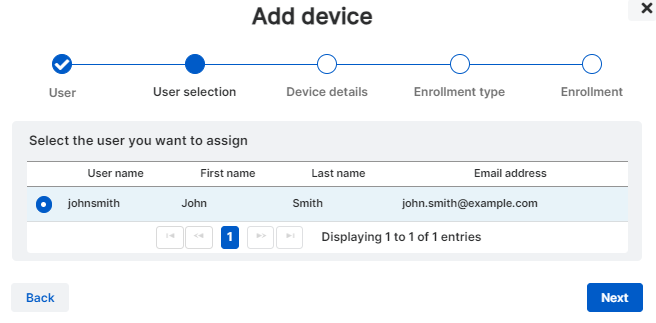
In the User selection step, you see a list of all users matching your search criteria. Select the user you want to assign to the device.
-
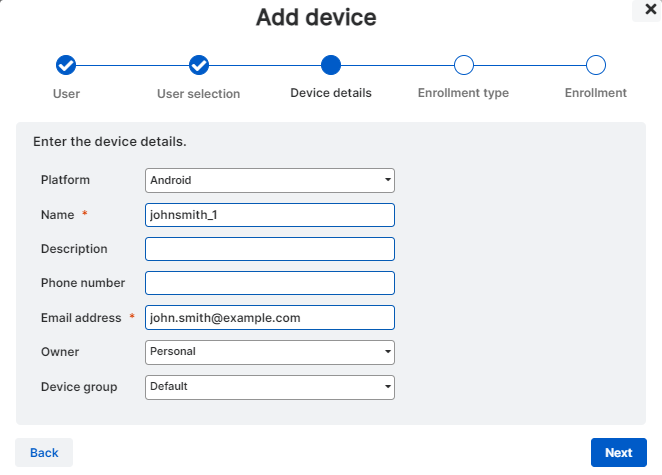
In the Device details step, do as follows:
- In Platform, select Android.
- In Name, enter the name of the device in Sophos Mobile.
- Optional: In Description, enter a description for the device.
- Optional: In Phone number, enter the device's phone number in international format.
- In Owner, select Personal.
- In Device group, select the device group you want to add the device to.
Email address is a read-only field showing the user's email address.
-
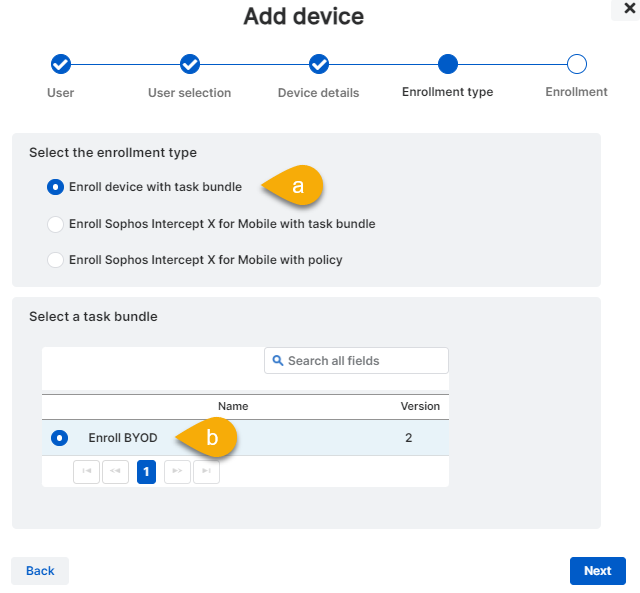
In the Enrollment type step, do as follows:
- In Select the enrollment type, select Enroll device with task bundle.
- Select the task bundle you created before.
-
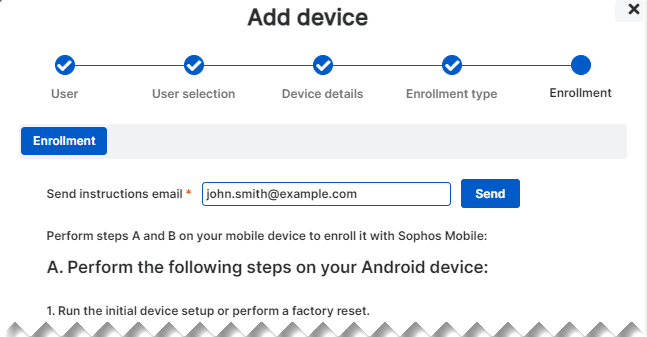
In the Enrollment step, you see the enrollment instructions the user must follow on their Android device.
-
Optional: Click Send to send the enrollment instructions to the user's email address.
Sophos Mobile sends the instructions to the email address configured in the user account by default. To send the instructions to a different address, edit the Send instructions email field before clicking Send.

-
Tell the user to follow the enrollment instructions on their device.
See Enroll device with Sophos Mobile for a detailed description of the enrollment steps.
-
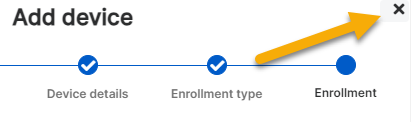
Close the assistant by clicking the X button in the top right.
Alternatively, wait until the device is enrolled and then click Finish.
-
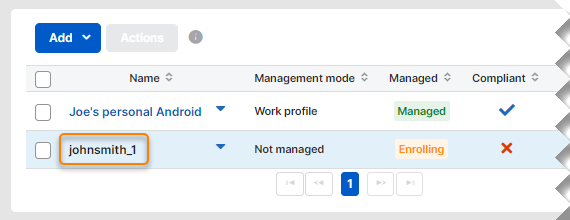
You can monitor the enrollment status on the device's Show device page. Do as follows:
- In the Sophos Mobile menu, go to Devices.
-
Click the name of the device.
-
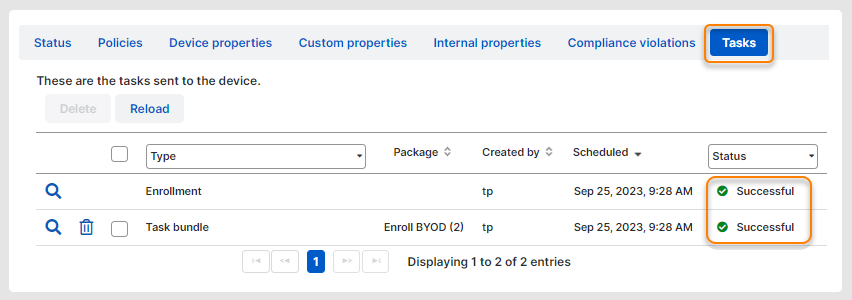
Go to the Tasks tab.
When all tasks have the status Successful, enrollment is completed.
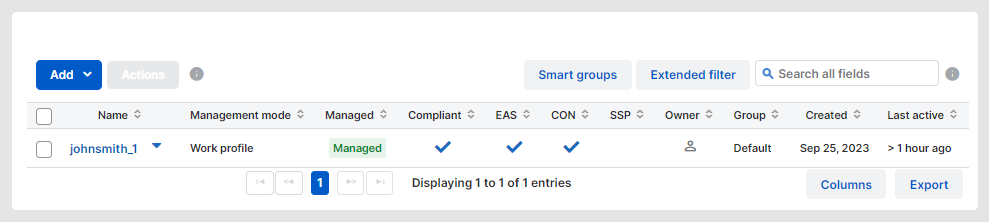
When the user has completed the steps described in Enroll device with Sophos Mobile, the Devices page shows the device with management mode Work profile and status Managed.
Enroll device with Sophos Mobile
After you add the device to Sophos Mobile, the user must follow the enrollment instructions on their device.
Requirement
Before the user can enroll the device, they must set it up with their personal Google account.
To enroll the device with Sophos Mobile, the user must do as follows:
-
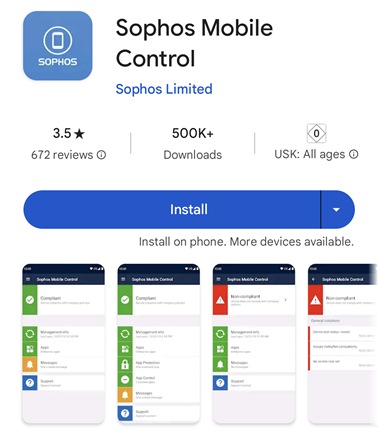
On the device you want to enroll, open Google Play, go to the Sophos Mobile Control app, and tap Install.
-
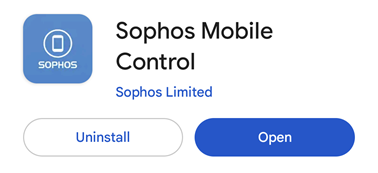
When Google Play has installed the app, tap Open.
-
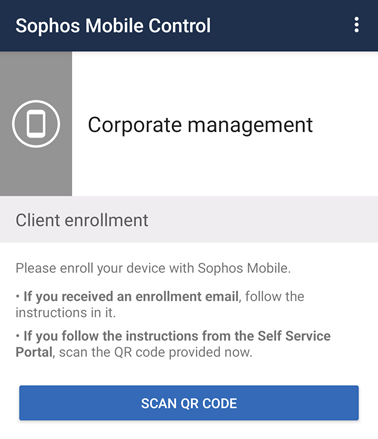
Enter the enrollment information. Usually, you do this by scanning the QR code from the enrollment instructions. If required, you can enter the information manually.
Note
For managed Google domain device enrollment, Google creates an enrollment token with a validity period of one hour after you enter the enrollment information. You must complete the following steps up to step 9 within this period.
Click the relevant tab below for instructions on how to enter the enrollment information.
-
Tap Scan QR code.
-
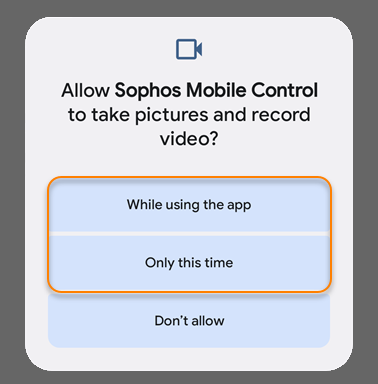
Allow Sophos Mobile Control to take pictures.
Tap While using the app or Only this time.
-
Scan the QR code from the enrollment instructions.
-
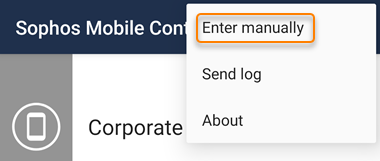
Tap More (three dots) in the upper right.

-
Select Enter manually.
-
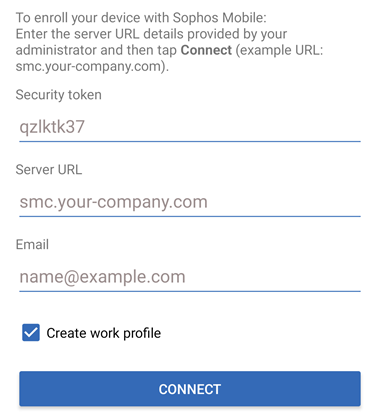
Enter the information from the enrollment instructions. Make sure you select Create work profile.
-
Tap Connect.
After you enter the enrollment information, Android starts an assistant to create the work profile and enroll Sophos Mobile Control with Sophos Mobile.
-
-
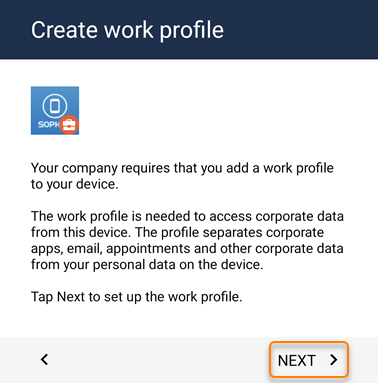
On the Create work profile page, tap Next.
-
Follow the instructions of the assistant. Depending on your device model and Android version, the pages you see may differ.
Note
The following steps 6 to 8 only apply to managed Google domain device enrollment. For other enrollment types, go to step 9.
-
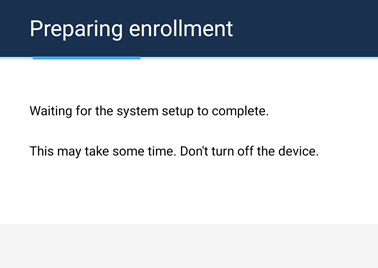
After the work profile is created, you see the Preparing enrollment page.
Warning
You may see the Preparing enrollment page for several minutes before the assistant proceeds. If you close the app or turn off the device during this period, the enrollment may fail. You may have to delete the work profile before starting over.
-
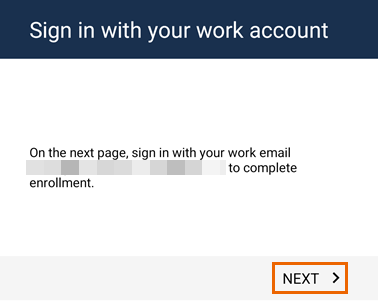
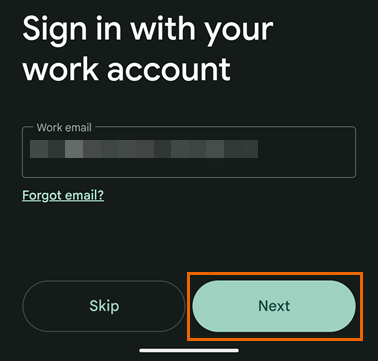
On the Sign in with your work account page, you see the email address to use for authenticating with Google. Tap Next to open the sign-in page.
-
On the sign-in page, tap Next without changing the pre-filled work email.
Warning
If you change the pre-filled work email, the enrollment fails. You may have to delete the work profile before starting over.
-
If required, enter your password or other authentication details.
-
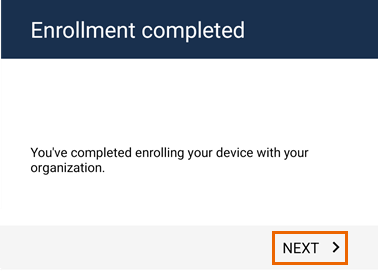
On the Enrollment completed page, tap Next.
-
The Sophos Mobile Control app in the work profile opens. Follow the setup assistant to allow the required permissions. See Allow app permissions.
-
After you set up Sophos Mobile Control in the work profile, uninstall the personal app.
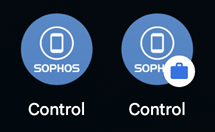
At this stage of the enrollment process, there are two Sophos Mobile Control apps on the device: A personal app you installed from Google Play and a work app the assistant installed in the work profile. You only need the work app and can uninstall the personal app.
In the image below, the personal app is on the left, and the work app is on the right. You can identify the work app by its briefcase badge.
-
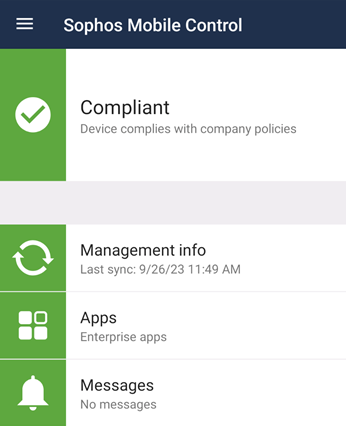
Open the Sophos Mobile Control work app to check the device status and server connection.
-
On the app's dashboard, all tiles are green when your device is compliant and there are no actions to take.
-
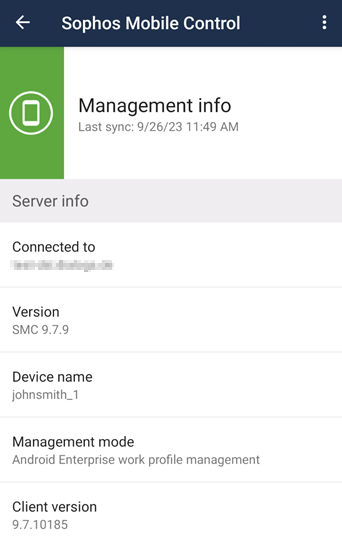
Tap the Management info tile for details about the Sophos Mobile server.
-
Allow app permissions
Note
The steps for configuring app permissions depend on device type and Android version and may be different on your device.
Note
Sophos Mobile Control doesn't request the Location permission if finding devices is turned off in the Sophos Mobile Privacy settings. See Configure privacy settings.
-
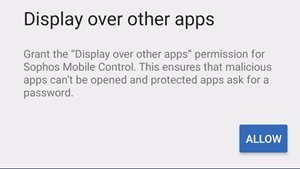
Allow Sophos Mobile Control the Display over other apps permission.
-
In the Display over other apps notification, tap Allow.
-
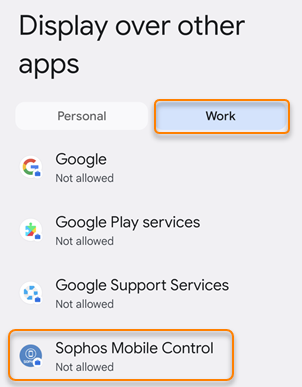
On the Work tab, tap Sophos Mobile Control.
-
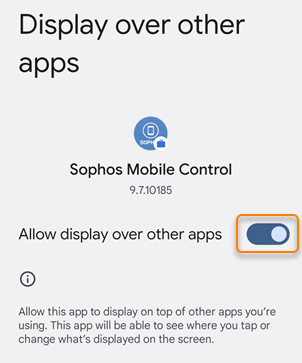
Turn on Allow display over other apps.
-
Go back several times until you're back in Sophos Mobile Control.
-
-
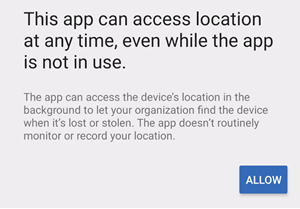
Allow Sophos Mobile Control the Location permission.
-
Tap Allow.
-
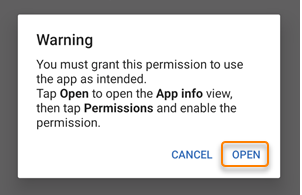
Tap Open.
-
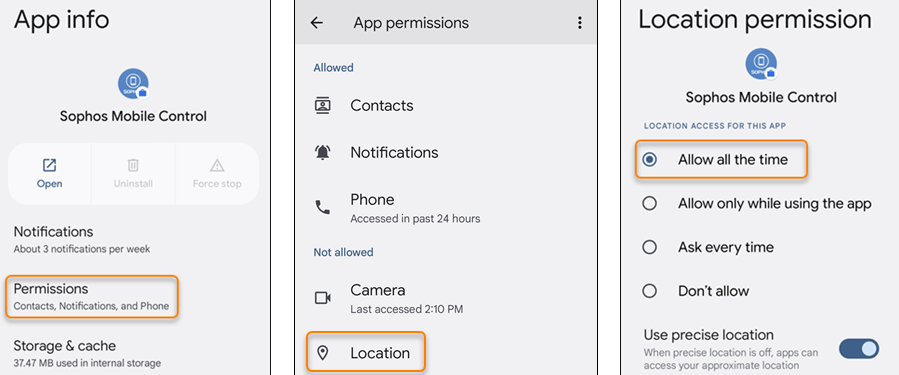
Tap Permissions > Location > Allow all the time.
-
Go back several times until you're back in Sophos Mobile Control.
-
-
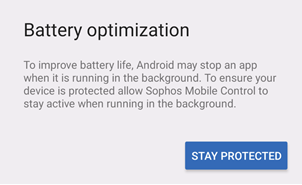
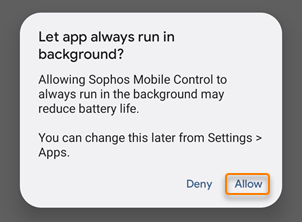
Allow Sophos Mobile Control to always run in the background.
-
In the Battery optimization notification, tap Stay protected.
-
Tap Allow.
-