Initial setup in ConnectWise
This page tells you how to integrate with ConnectWise.
Make sure that you have the integrator login account in ConnectWise. If the integrator account has been removed or deleted, you must create it again before you start integrating. See ConnectWise Integrator Login Setup Table.
We recommend that you generate API keys for a member and not for an account. This allows you to control who can access APIs, lets you track activity by members, and helps with debugging, for example, if there's a synchronization error.
To generate API keys, do as follows:
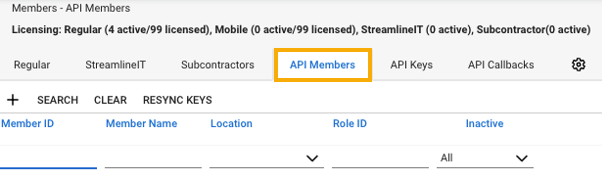
- In ConnectWise, go to System > Members.
-
Click API Members, and then click the Plus icon
 .
.
-
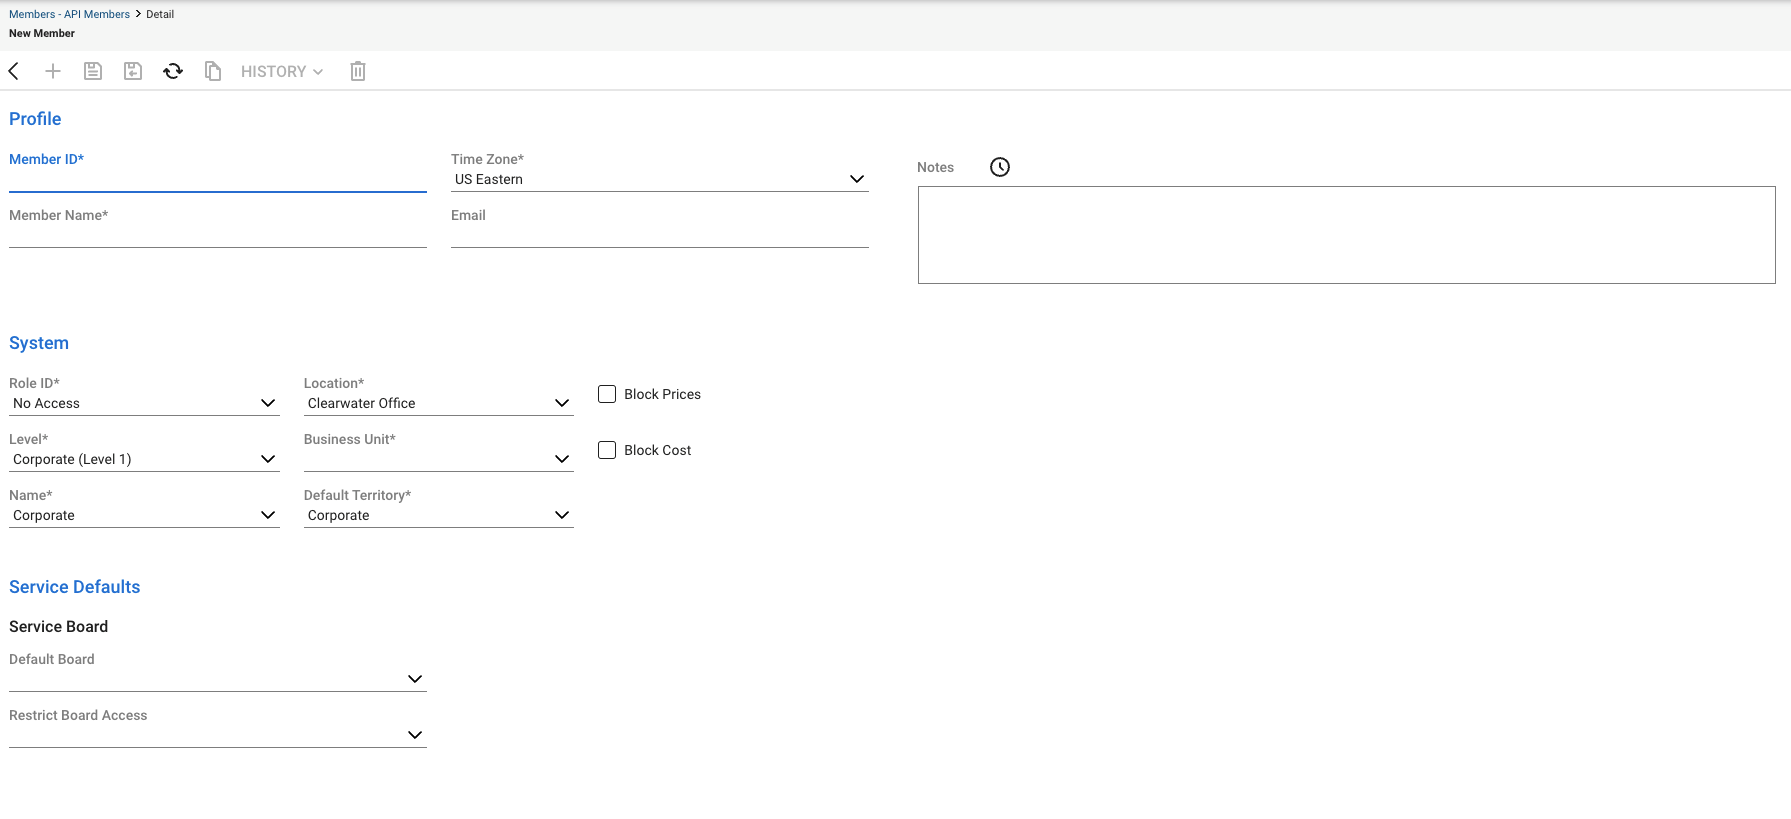
Enter the new member's details.
-
Save the changes.
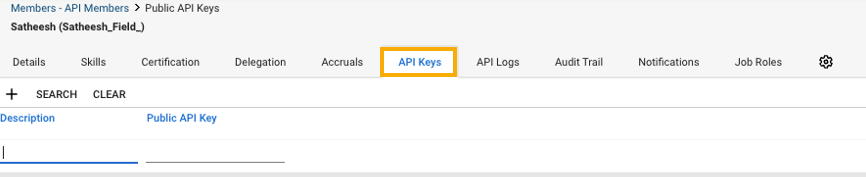
- In the list of members, click the new member's name.
-
Click API Keys, and then click the Plus icon
.
-
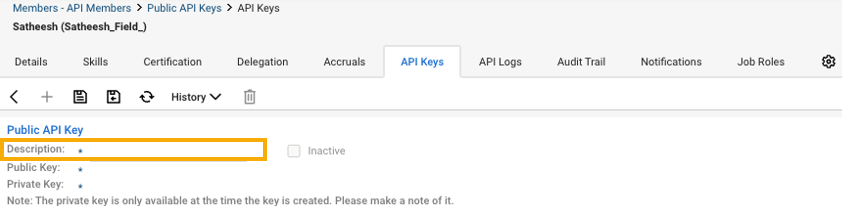
In the Description field, enter a description for the new key. For example, "Sophos Central Integration".
-
Click Save. Don't use Save and Close.
Two API keys are generated and displayed: a public Key and a private key. The private key is only displayed when the key is created.
Note
Make a note of both keys or copy them to the clipboard as, the private key can't be recovered once the tab is closed. You'll need the keys to synchronize Sophos Central customers with ConnectWise.
-
Check that the credentials for the API Keys have the correct permissions to access the Catalog.
Set up permissions
Permissions are based on security roles.
To set up the permissions, do as follows:
- Go to System > Security Roles and select a role for this integration.
- Set Member as the Security Permission.
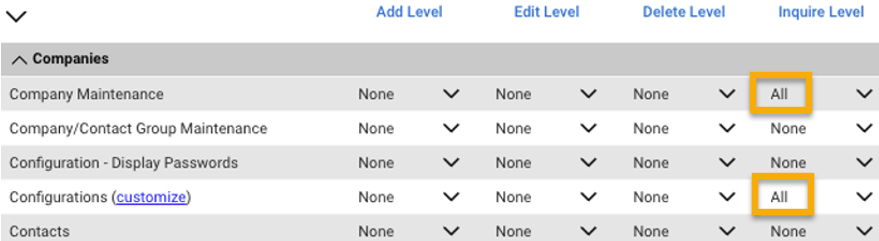
- Click Companies.
- In Company Maintenance, set the value for Inquire Level to All.
-
In Configurations, set the value for Inquire Level to All.
-
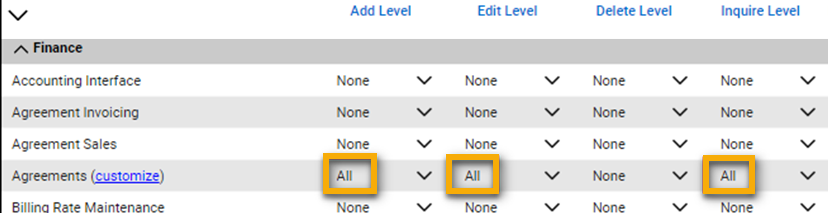
Click Finance.
-
In Agreements, do as follows:
-
Set the following values:
- Add Level: All
- Edit Level: All
- Inquire Level: All
-
Click customize.
-
In Update Security, make sure all agreement types that should sync with Sophos are in Allow Access to these.
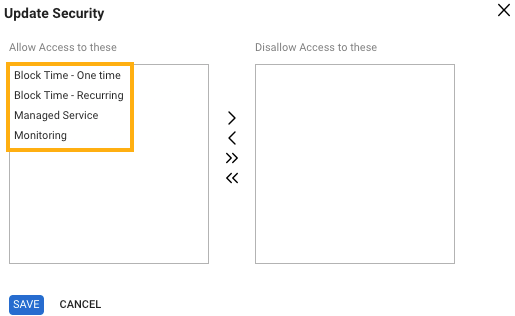
-
Click Save.
-
-
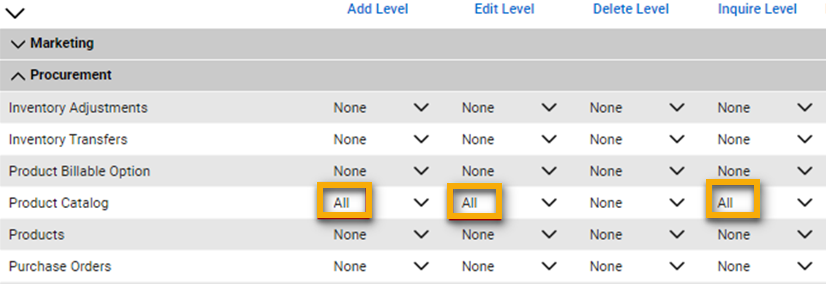
Click Procurement.
-
In Product Catalog, set the following values:
- Add Level: All
- Edit Level: All
- Inquire Level: All
-
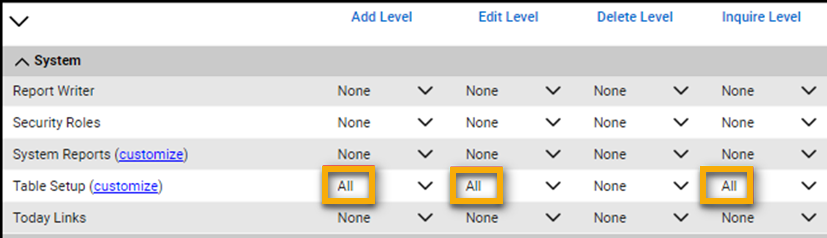
Click System.
-
In Table Setup, set the following values:
- Add Level: All
- Edit Level: All
- Inquire Level: All
-
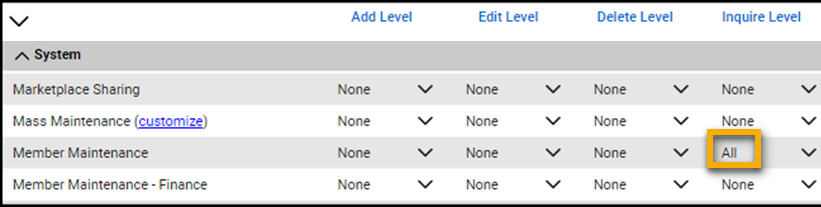
In Member maintenance, set the value for Inquire Level to All.
-
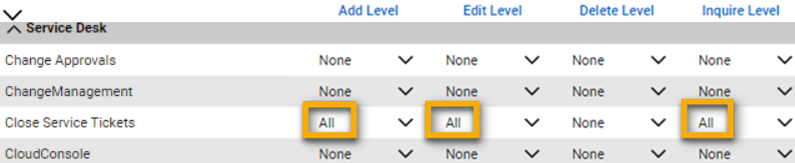
Click Service Desk.
-
In Close Service Tickets, set the following values:
- Add Level: All
- Edit Level: All
- Inquire Level: All
-
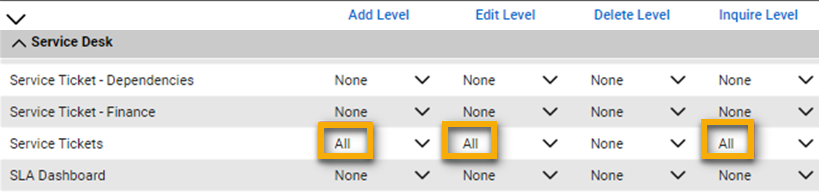
In Service Tickets, set the following values:
- Add Level: All
- Edit Level: All
- Inquire Level: All
-
In API Reports, set the value for Inquire Level to All.
