Classic Sophos NDR on AWS
Classic Sophos NDR is being replaced by Sophos NDR.
For migration options, see Migrate to Sophos NDR.
You can integrate classic Sophos NDR with Sophos XDR using Amazon Web Services (AWS) so that its detections are available for investigation in Security Operations.
The main steps are as follows:
- Check the requirements below.
- Create and download a CloudFormation template for the Sophos appliance.
- Subscribe to Sophos Integration Appliance in AWS.
- Create a stack. You specify the VPC and subnets for NDR here.
- Create a traffic mirror session. This sends traffic to NDR for analysis.
- Edit security groups to allow syslog traffic and give access to Sophos Appliance Manager, which lets you monitor and manage the classic Sophos NDR appliance.
Requirements
To set up classic Sophos NDR on AWS, you need the following accounts and infrastructure:
- An AWS account.
- A Sophos Fusion account.
- EC2 instances.
- VPCs, subnets, and availability zones. You can use the ones you already have.
- At least one allocated Elastic IP Address to be used by the NDR management interface.
We support these EC2 instance types:
- c5n.2xlarge
- c6i.4xlarge
- c7i.16xlarge (nitro virtualization)
You must create and save your SSH private key for the AWS account.
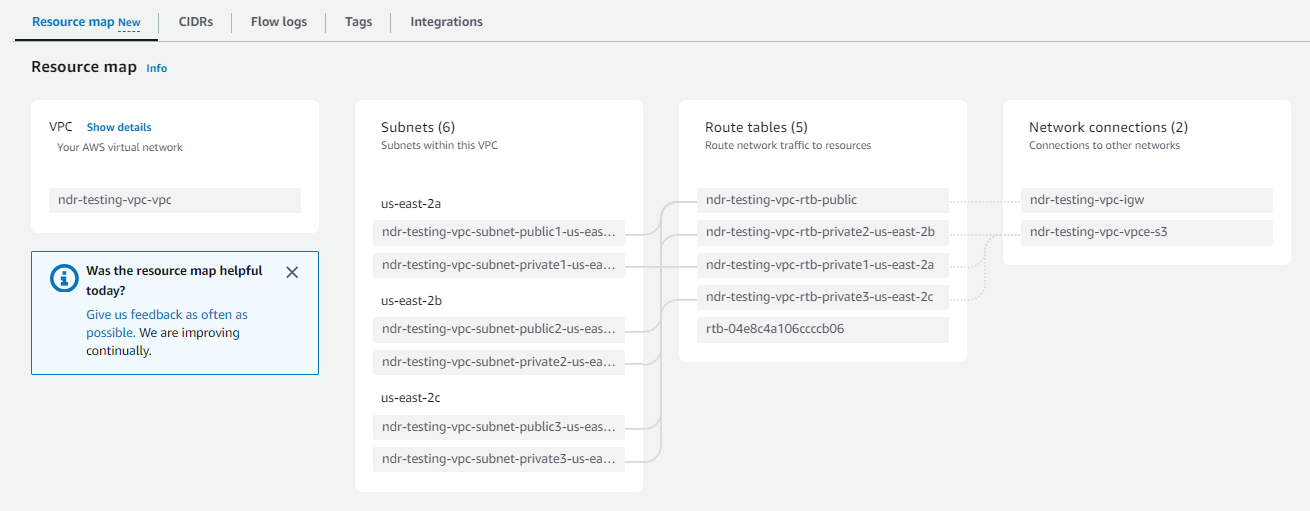
You must have a VPC created in any of the regions of your choice. Here’s an example of a VPC resource map:
Create a CloudFormation template
To create a CloudFormation template for the appliance, do as follows:
- Sign in to Sophos Fusion as an Admin or Super Admin.
- Go to Security Operations > Integrations > Marketplace.
- Click Sophos NDR.
- Click Continue to be redirected to the classic Threat Analysis Center, where you configure the integration.
-
On the NDR page, in Data Ingest (Security Alerts), click Add Configuration.
Integration setup steps appears.
-
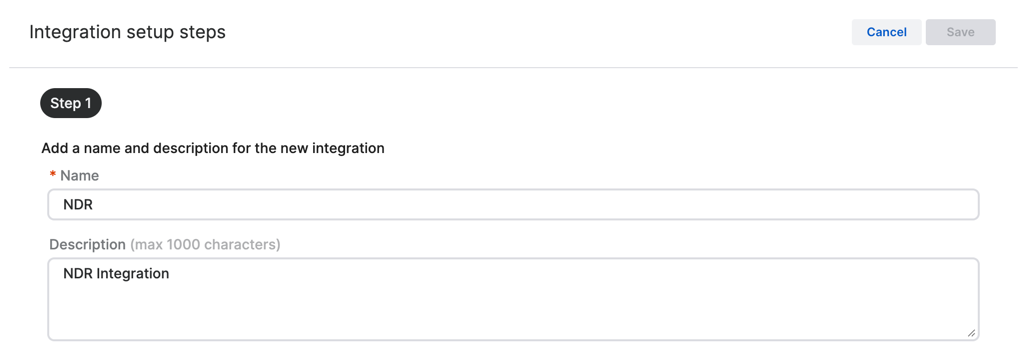
In Step 1, enter a name and description for the integration.
-
In Step 2, select or create the appliance that will collect NDR logs.
You can only have one NDR integration per appliance.
If you need a new appliance, click Create new appliance and follow the instructions in the next step.
If you want to use an existing appliance, select it from the drop-down list and skip the next step to create a new appliance.
-
To create a new appliance, do as follows:
- Enter the appliance name and description. You must enter a unique name.
-
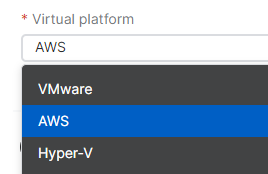
Select the virtual platform (AWS).
-
Specify the internet-facing network ports.
-
Select DHCP to assign the IP address automatically.
Note
If you select DHCP, you must reserve the IP address.
-
Select Manual to specify network settings.
Example
- IP address: 10.0.252.5
- Subnet mask: 255.255.255.0
- Gateway address: 10.0.252.1
- DNS 1: 8.8.8.8
- DNS 2: 8.8.4.4
-
-
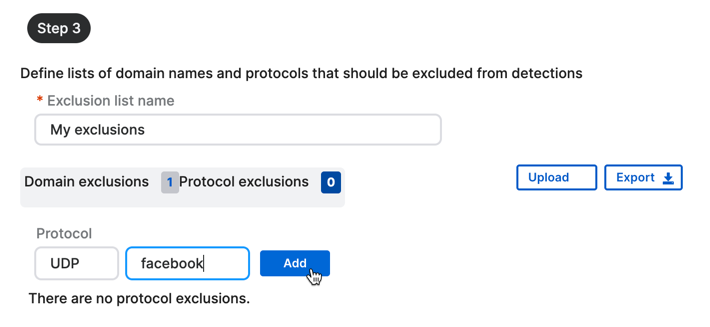
In Step 3, exclude specific domains and protocols from checking. For example, you might do this if you have a domain that causes false positives.
You can set up your exclusions later, but you must enter an exclusion list name now.
- Enter an Exclusion list name.
- To exclude a domain, click Domain exclusions. Enter the domain name, for example,
sophos.com, and click Add. -
To exclude a protocol, click Protocol exclusions. You can enter information in either or both of the fields:
- In the first field, enter a master protocol. For example,
TCPorUDP. - In the second field, enter a sub-protocol (website). For example,
facebook.
If you enter information in both fields, we assemble them into one string with a single dot separator.
We don't recommend excluding a master protocol completely. Only do this if a high-traffic protocol that isn't usually risky, like a routing protocol, generates too much data.
- In the first field, enter a master protocol. For example,
-
Click Add.
You can export your exclusions as a JSON file. You can also upload exclusions to the list from a previously exported JSON file.
-
Click Save.
The CloudFormation (CF) JSON file, aws_ndr_cf_latest.json, is created. In the NDR page, you see the new integration in the list of configured integrations.
Download the CloudFormation template
To download the CloudFormation template, do as follows:
-
Next to the new integration, click the three dots in the Actions column, and click Download image.
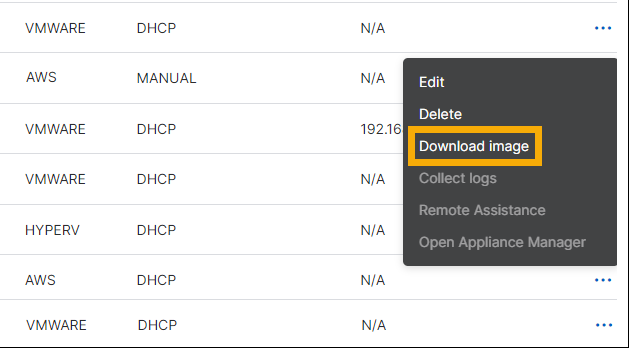
The aws_ndr_cf_latest.json file is downloaded to your Downloads folder.
Subscribe to Sophos Integration Appliance
You must subscribe to Sophos Integration Appliance in the AWS Marketplace console. To do this, do as follows:
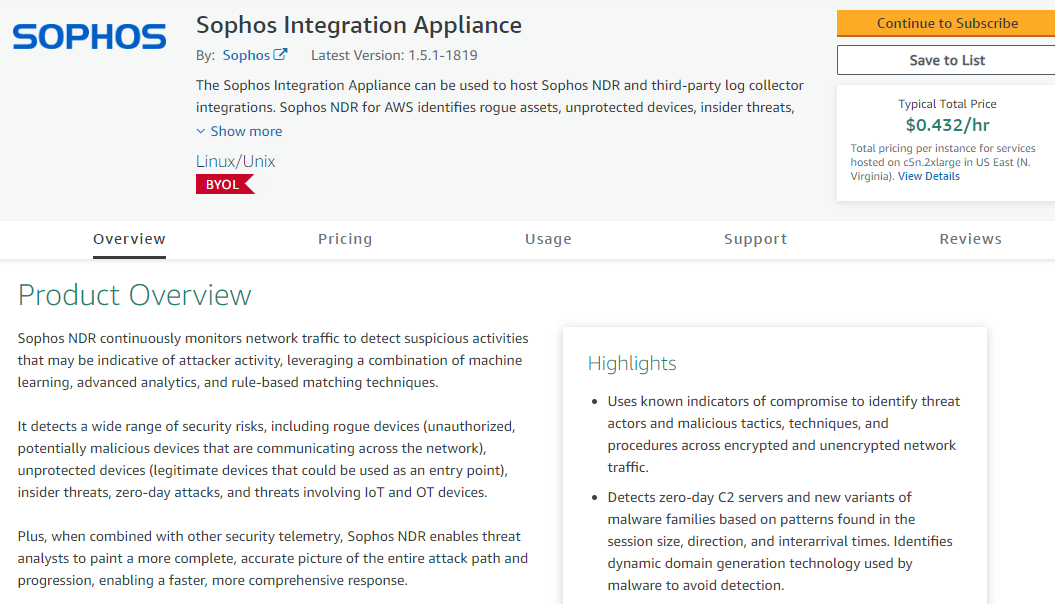
- In AWS, go to the AWS Marketplace page and find Sophos Integration Appliance.
-
On the Product Overview page, click Continue to Subscribe.
-
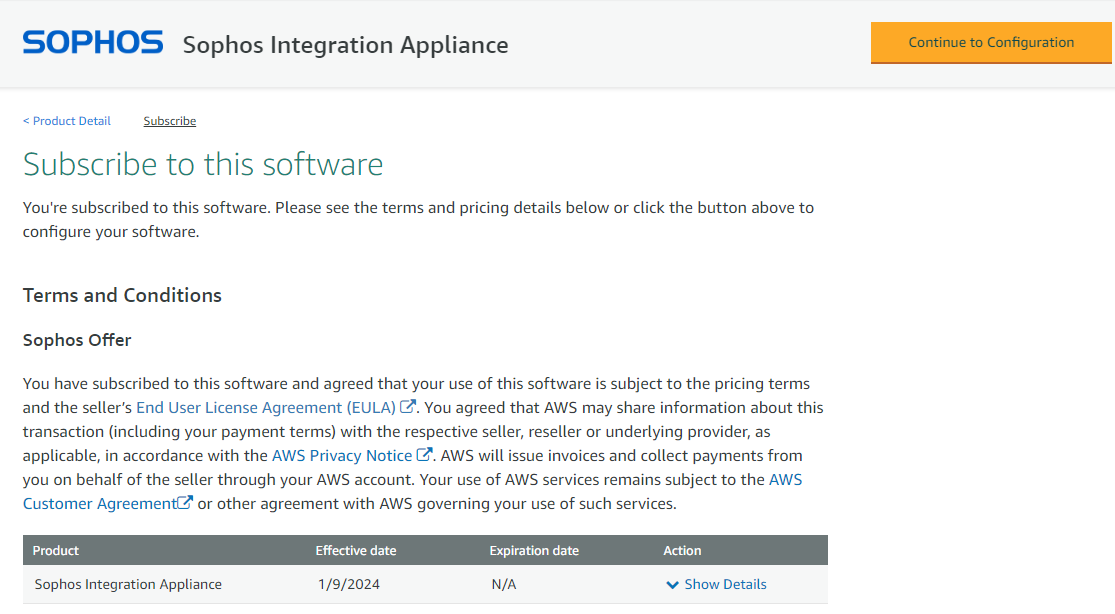
On the Subscribe to this software page, accept the terms and conditions and click Continue to Configuration.
-
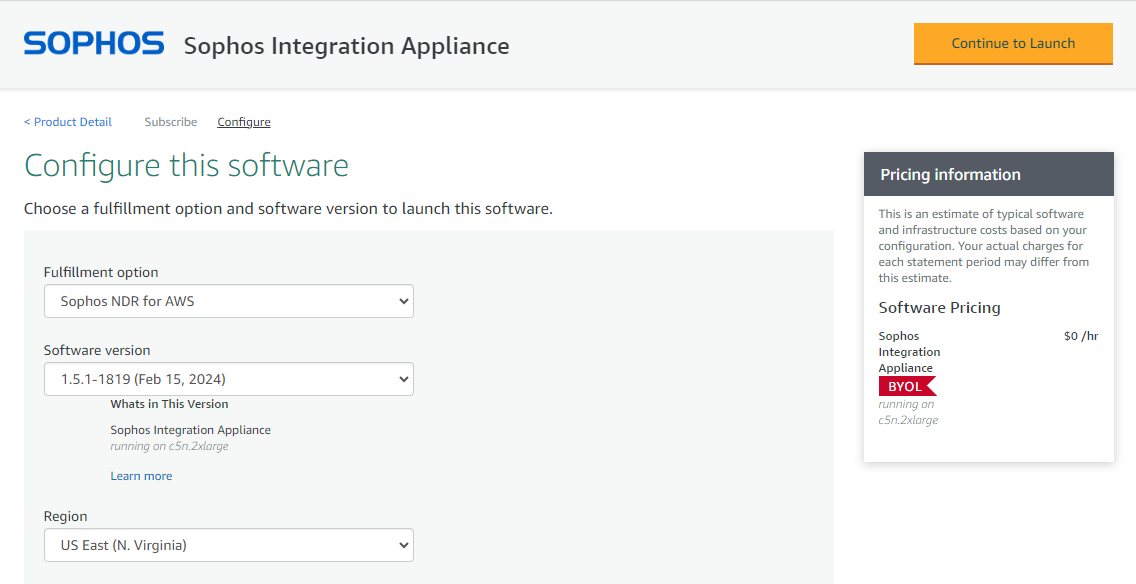
On the Configure this software page, check the version and region, and click Continue to Launch.
-
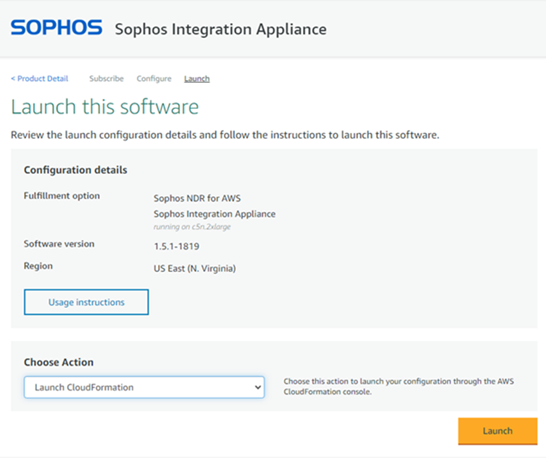
On the Launch this software page, click Usage instructions to see how to access Sophos Appliance Manager.
-
Click Launch.
AWS opens the Create stack page.
Create stack
Now you use the downloaded CloudFormation template to create an NDR Sensor for your AWS Account. To do this, you create a stack.
-
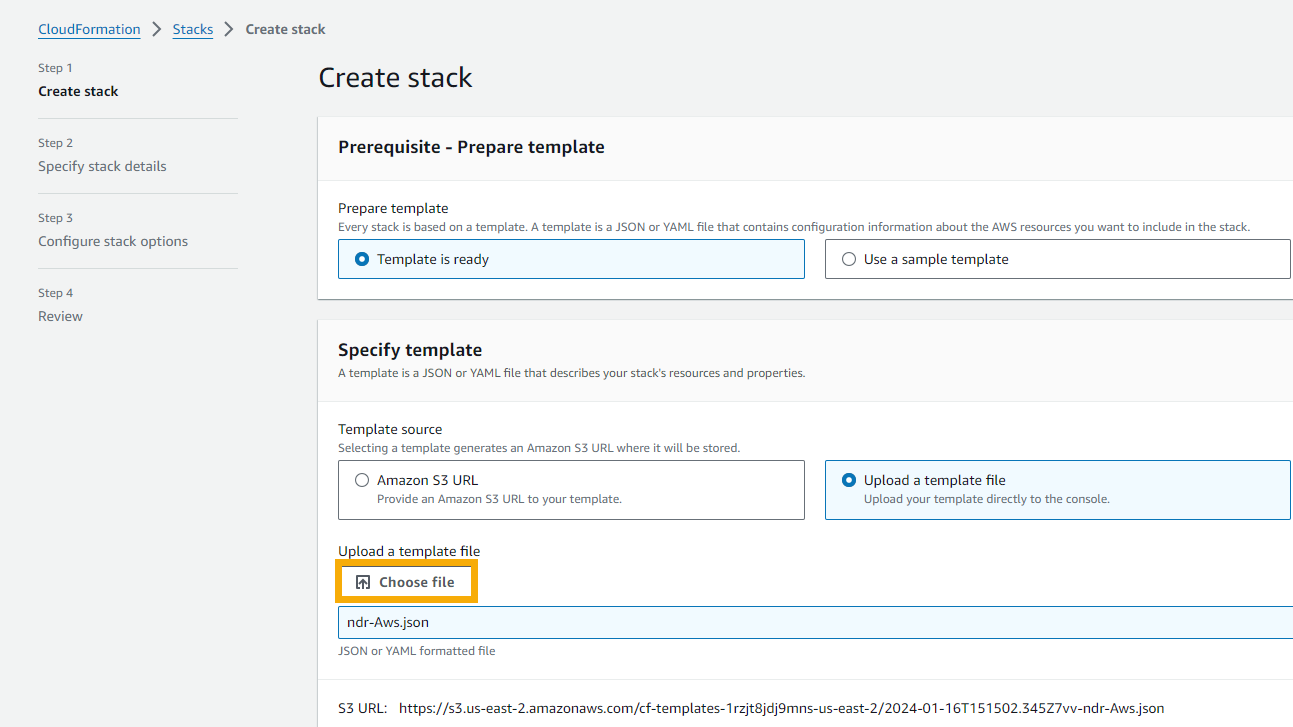
In AWS, on the Create stack page, do as follows:
- Leave Template is ready selected.
- In Specify template, select Upload a template file.
- Click Choose file and select
aws_ndr_cf_latest.json. - Click Next.
-
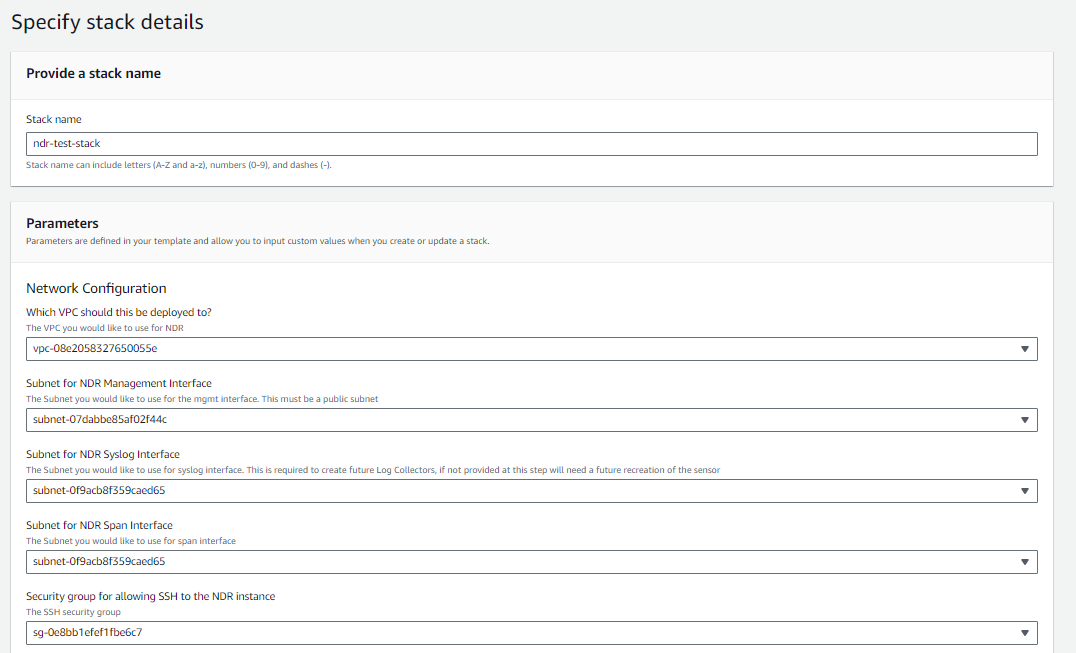
On the Specify stack details page, enter a name and the following Network Configuration details:
- An existing VPC that you want to use for NDR.
- A subnet for the NDR Management Interface. This is a public subnet.
- A subnet for the NDR syslog interface.
- A subnet for the NDR SPAN interface. The SPAN interface takes a mirrored copy of network traffic and sends it to NDR for analysis.
- The security group that gives admins SSH access to the NDR instance.
The completed network configuration details look like this example:
-
Under EC2 Instance Configuration, enter the SSH key needed to access the NDR EC2 instance, and click Next.
Note
You created and saved this SSH key pair earlier.

-
On the Configure Stack options page, accept the default AWS settings or make changes if you want to. Click Submit.
The CloudFormation template automatically selects the appropriate regions and AMIs based on the AWS region of the account used to upload the template.
Wait for the NDR Sensor to be created. This can take five or six minutes.
Create a traffic mirror session
Create target mirror sessions to mirror network traffic and forward it to NDR. To do this, do as follows:
- In AWS, go to VPC > Traffic mirror sessions > Create traffic mirror session.
-
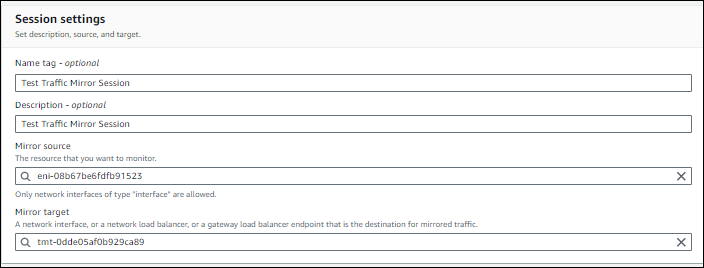
In Session settings, do as follows:
- Enter a Name Tag and Description.
- In Mirror Source, select the network interface from which you want to mirror network traffic.
- In Mirror Target, enter the SPAN interface to mirror network traffic to. Select the NDR SPAN Target that the CloudFormation template created for you.
-
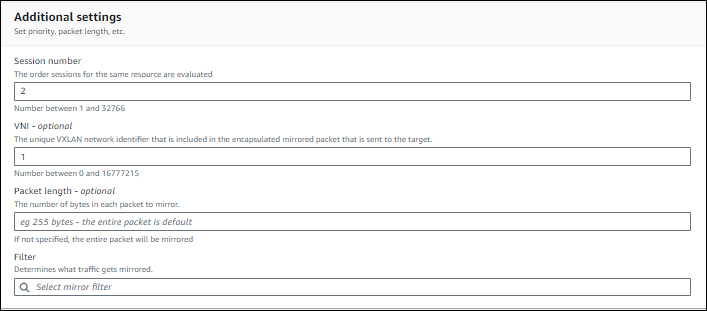
In Additional settings, do as follows:
- Enter a session number. The number decides the order in which to evaluate sessions from the same source.
- Set VNI (Virtual Network Interface) to 1.
- In Filter, select the NDR Traffic Mirror Filter that the CloudFormation template has already created.
- Click Create.
Edit the security groups
You need to edit the AWS security groups. This lets you make these changes:
- Allow syslog traffic to go to the appliance.
- Give access to Appliance Manager.
To edit security groups, do as follows:
-
In AWS, go to the security details for the Sophos NDR appliance.
To do this, enter the appliance name in the AWS console search bar. When you find it, select the EC2 tab and click the Sophos Appliance instance.
-
On the Instance Summary page, scroll down to the tabbed pages and select the Security tab.
- Find the
InternalSyslogSGgroup and enter the source from which you want to allow traffic for log collection. -
Find the
InternalMgmtSGsecurity group. The CloudFormation template created this for you. Add your admins to the group and grant them access to port 8443 in Inbound rule.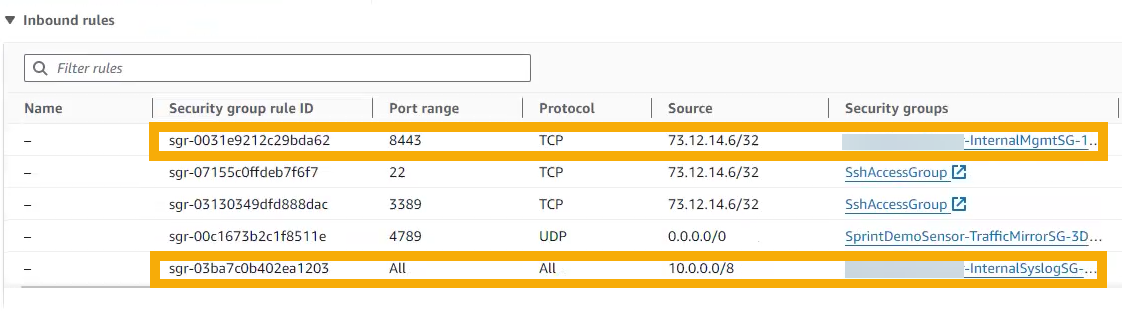
Before you can use Appliance Manager, you must set a password. To do so, see Manage appliances.