How to deploy Sophos Firewall on Amazon Web Services (AWS)
Sophos Firewall runs as a virtualized security appliance on an Amazon EC2 instance and deploys inline into an Amazon Virtual Private Cloud (VPC) to scan inbound and outbound traffic.
This information is provided as-is without any guarantees. If you require assistance with your specific AWS environment, contact Sophos Professional Services.
-
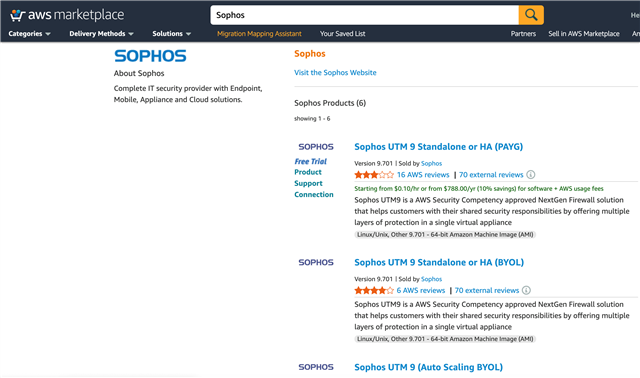
Go to the Sophos AWS Marketplace Product page and choose the listing you want to use.
Sophos Firewall is available for standalone deployment using both the BYOL and PAYG licensing methods. Free trial options are available for both license types.
-
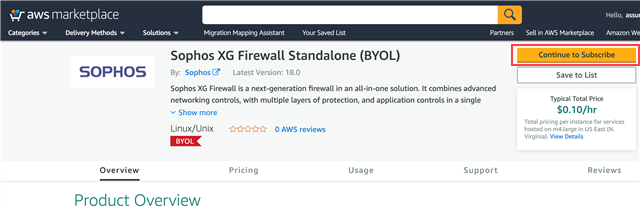
To subscribe to the software terms, click Continue to Subscribe.
-
Click Continue to Configuration.

-
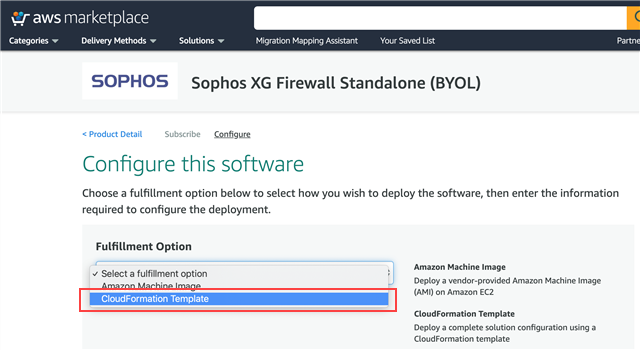
Choose your configuration options. Under Fulfillment Option, select CloudFormation Template.
-
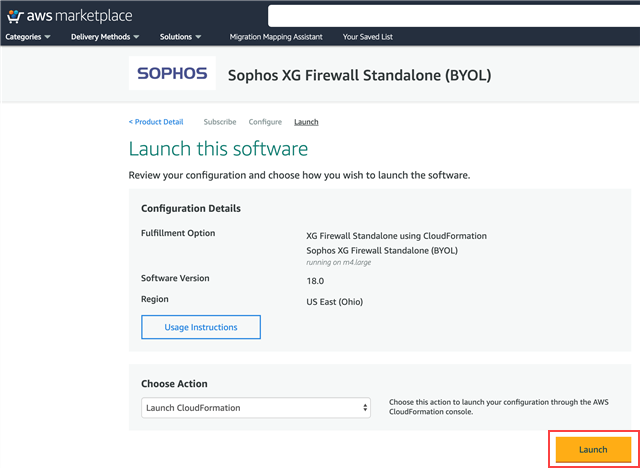
Select your AWS region.

-
Click Launch, which redirects you to the AWS CloudFormation console.
-
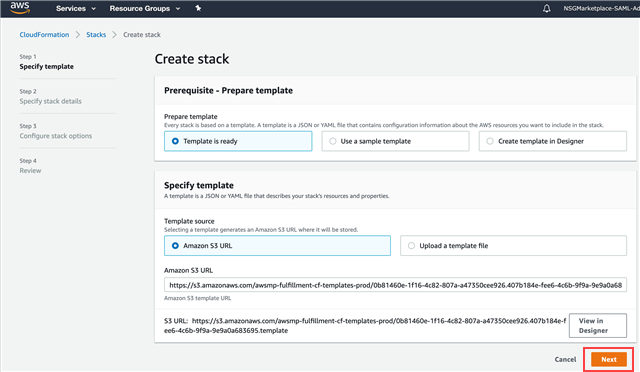
On the Create stack page, click Next.
A CloudFormation template simplifies the process of deploying Sophos Firewall into an AWS account.
As shown in the following screenshot, the AWS Marketplace listing page redirects you to the AWS CloudFormation console and starts a stack creation in your region of choice.
-
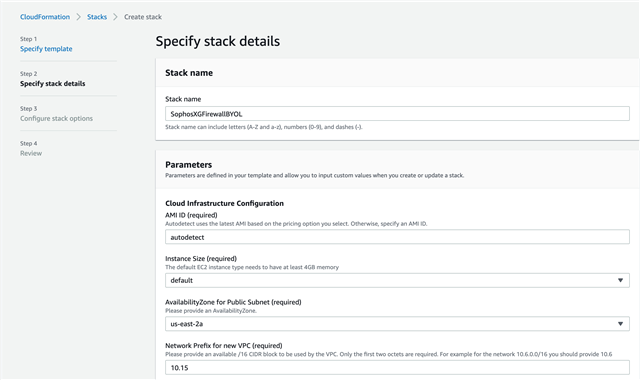
On the Specify stack details page, enter a Stack name.
If you want to use an existing Virtual Private Cloud (VPC), don't change the default parameters. If you want to create a new VPC, accept or change the default parameters for AMI ID, EC2 Instance size, Public Subnet Availability Zone, and Network Prefix.
-
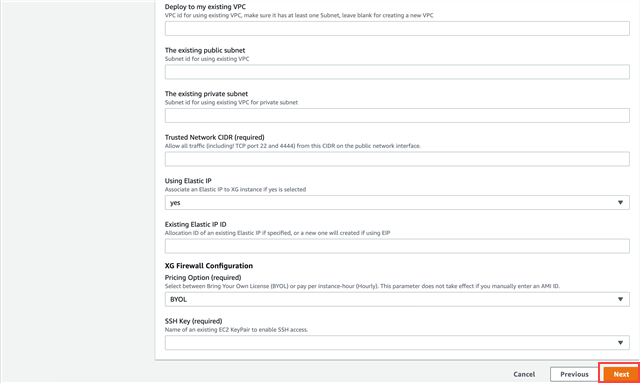
Enter the required parameters such as the trusted network CIDR used to manage Sophos Firewall, select the pricing option you want to use (BYOL or PAYG), and enter the SSH key used for shell access to Sophos Firewall.
-
If you're deploying into an existing VPC, enter the VPC ID, an existing public subnet ID, an existing private subnet ID, and choose to have the template create a new Elastic IP (EIP) address or utilize an existing available EIP address.
-
Click Next.
-
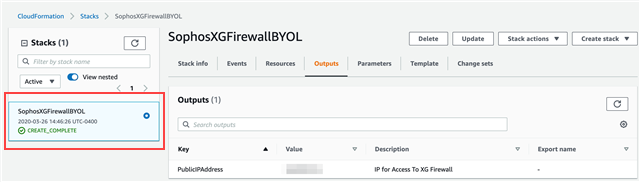
Click Next and then click Create Stack.
Stack creation typically takes from five to ten minutes. When stack creation is complete, the status changes to CREATE_COMPLETE. The Outputs tab shows the EIP address assigned to the Sophos Firewall. After stack creation, the EC2 instance may need additional time to complete startup before it's ready. You can see the status of the EC2 instance in the EC2 console. You can see details about the EC2 instance, including its physical ID, under the Resources tab.
-
When the EC2 instance is running, copy the assigned public IP address and use both HTTPS and the web admin port to begin initial configuration:
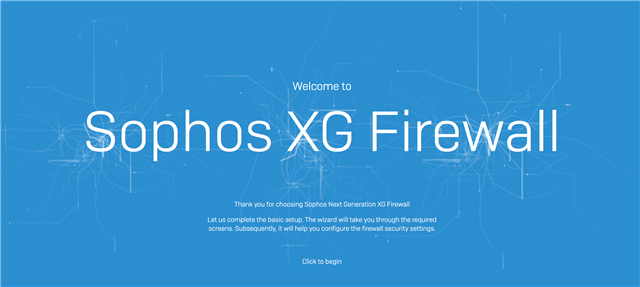
https://PublicIPAddress:4444.By default, Sophos Firewall uses a locally-signed certificate so that your browser shows a warning message. Once you go past the certificate warning, you see the Welcome to Sophos Firewall page.
-
Click Click to begin at the bottom of the screen.
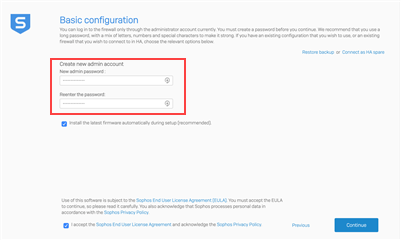
You're then prompted to perform basic configuration.
-
Set a password for the default admin account used to sign in to the Sophos Firewall.
-
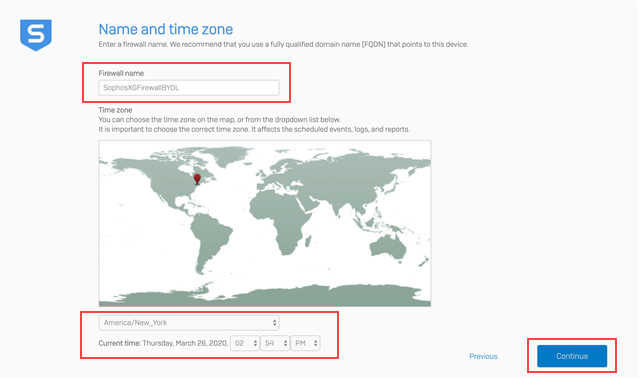
Configure a firewall name and choose the time zone.
-
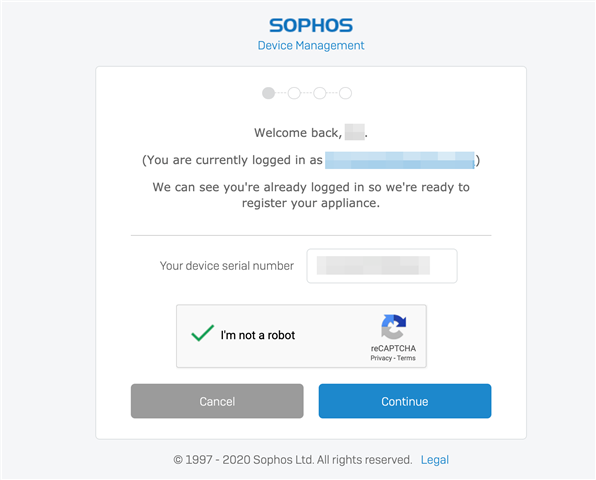
Do one of the followng to register your Sophos Firewall:
- Enter an existing Sophos Firewall serial number.
- Start a 30-day trial (which automatically generates a Sophos Firewall serial number).
- Migrate an existing UTM 9 license.
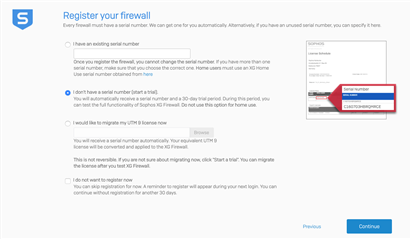
You're redirected to the Sophos Firewall licensing portal if you start a trial, where a new serial number is generated.
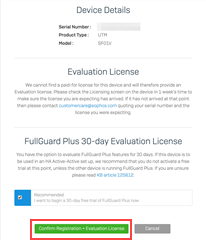
-
When complete, click Confirm Registration and Evaluation license.
-
Click Initiate License Synchronization.
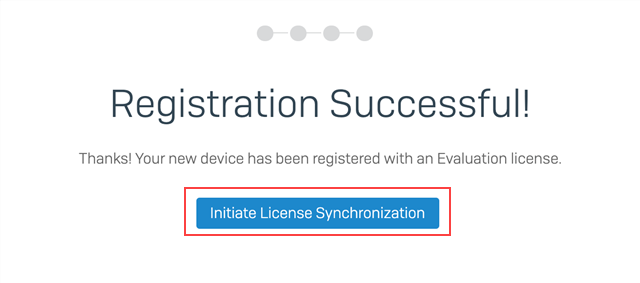
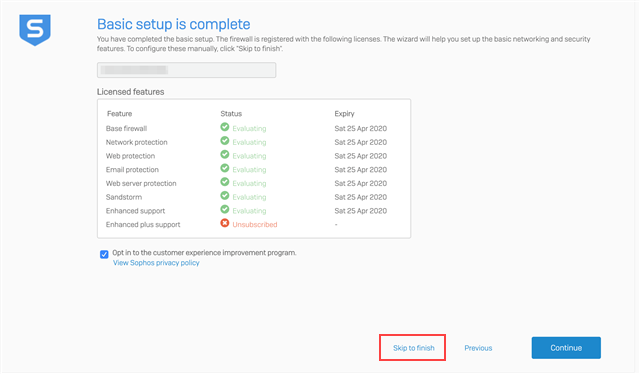
Once the basic setup is complete, the license details are shown.
-
Do one of the following:
- If you want to configure advanced settings, click Continue.
- Otherwise, click Skip to finish.
Warning
By default, only management access (web admin console and SSH access) is turned on for a firewall running in AWS. You must use AWS security group rules to allow access to the firewall from different locations or to access other firewall services, such as SSL VPN, IPsec, RED, user portal, or WAF. For example, to establish a RED tunnel with a firewall in AWS, add port 3410 to the AWS security group.
More resources