Add an SD-WAN profile
Select a routing strategy (first availability or SLA) and configure the health check settings when adding a profile. After adding an SD-WAN profile, add it to an SD-WAN route.
To add an SD-WAN profile, do as follows:
-
Go to Routing > SD-WAN profiles and click Add.
Alternatively, you can add a profile when adding an SD-WAN route. See Add an SD-WAN route.
-
Enter a name and description for the profile.
-
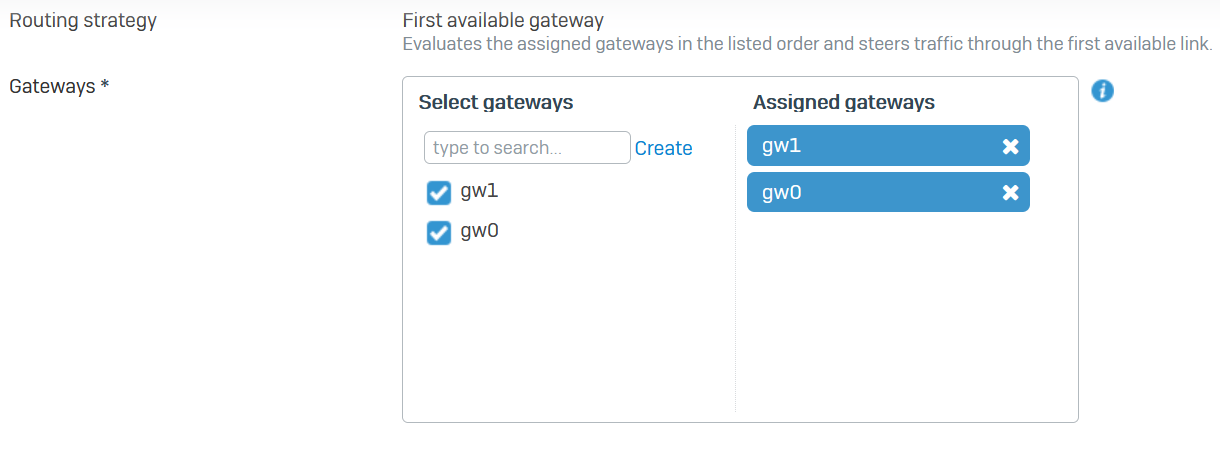
Select gateways and assign them an order.
Name Description Select gateways Select two or more gateways. You can add up to eight gateways to a profile. If you haven’t created any gateways or want to create more, click Create. Assigned gateways Drag and drop the gateways in the order you want the firewall to evaluate them. Here's an example:
-
Specify the SLA settings to route traffic based on the performance of the gateways.
Name Description SLA Routes traffic based on the performance of the gateways.
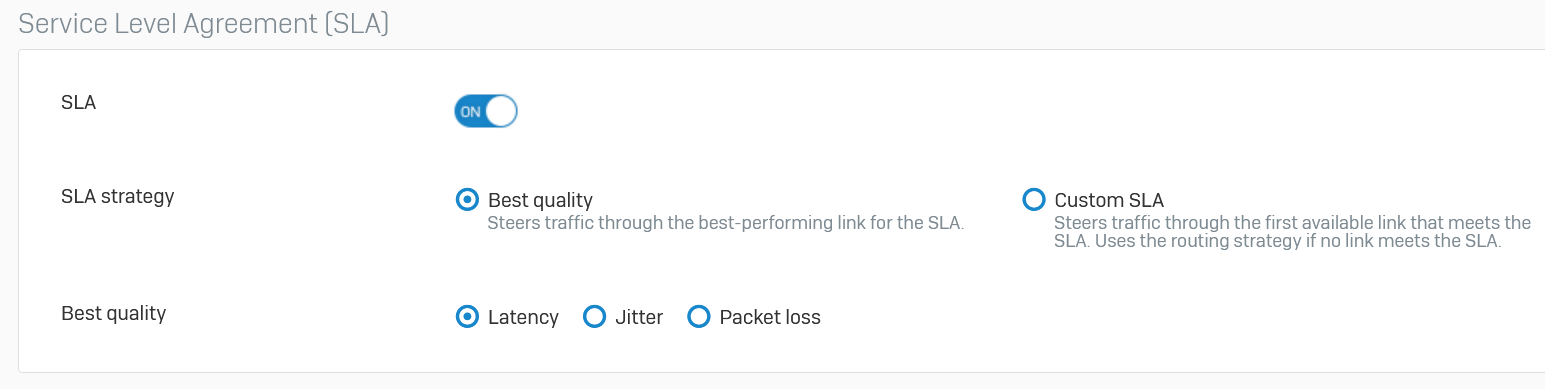
Turn it off if you want to route traffic based on the default routing strategy (first availability).SLA strategy Select one of the following:
Best quality: Select to route traffic through the best-performing link based on one of the following performance monitoring criteria:- Latency: Selects the gateway with minimum latency.
- Jitter: Selects the gateway with minimum jitter.
- Packet loss: Selects the gateway with minimum packet loss.
You can select this option for non-critical business use cases.
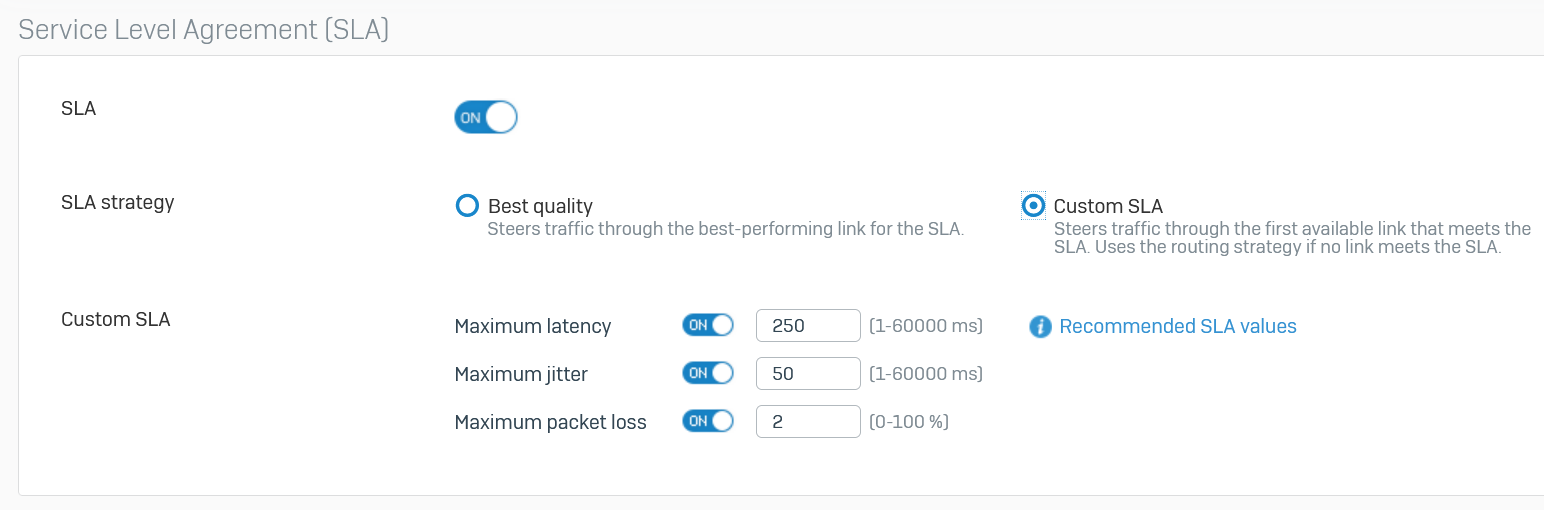
Custom SLA: Select to route traffic through the best-performing link based on the custom values you define for the following:- Maximum latency: Maximum acceptable latency in milliseconds.
- Maximum jitter: Maximum acceptable jitter in milliseconds.
- Maximum packet loss: Maximum acceptable packet loss in percentage points.
Here's an example if you select Best quality:
Here's an example if you select Custom SLA:
-
Specify the health check settings.
Name Description Health check Turn it on to perform health checks for monitoring the gateway's status.
If you turn on SLA, Health check is automatically turned on, and you can’t turn it off.Protocol Protocol for checking the gateway's status. You can select either Ping or TCP. Probe target Sophos Firewall sends requests to host IP addresses behind the gateway. It considers the gateway active if the hosts respond to health check probes. You can add multiple probe targets.
Specify the following details:
IP address: IP address of a host device behind the gateway.
Port: If you select the TCP protocol, you must specify the port number to use for health check probes.Health check attempts Interval between checks: Time interval between probes for the health check.
Response time-out: The gateway must respond within this time to be considered active.
The firewall selects a different path if it doesn't receive the probe target's reponse within the specified time. For example, if you've set the minimum value of one for the interval between checks, response time, and number of attempts, the firewall waits for two seconds before it determines the gateway is inactive. It then uses the next gateway based on the routing strategy.
Action Specify the following settings:
Deactivate gateway after: Number of consecutive attempts to probe the gateway's health. If the gateway doesn't respond to these attempts, Sophos Firewall considers the gateway unreachable.
Activate gateway after: Number of consecutive responses after which Sophos Firewall can consider a link as active.Sample size for SLA Number of probe samples to be collected to determine the average performance of a gateway. -
Click Save.