Limit bandwidth for a web category
You can apply a traffic shaping policy that guarantees bandwidth to a website.
In this example, you apply a bandwidth limit to the following website: example.com
Do as follows:
- Create a traffic shaping policy.
- Create a custom web category and assign the traffic shaping policy to it.
- Create a web policy with a rule for this website.
- Add the web policy to a firewall rule and apply traffic shaping.
Create a traffic shaping policy to limit bandwidth for websites
The following are example settings:
-
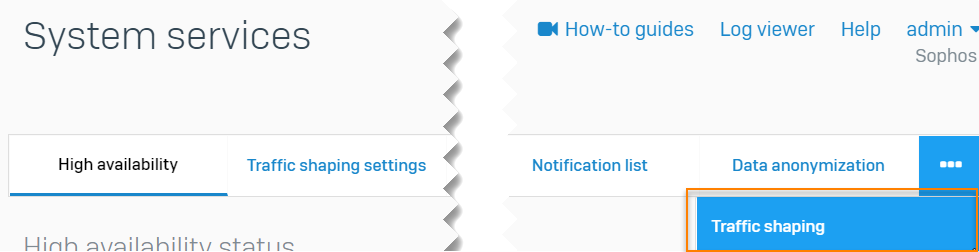
Go to System services > Traffic shaping and click Add.
-
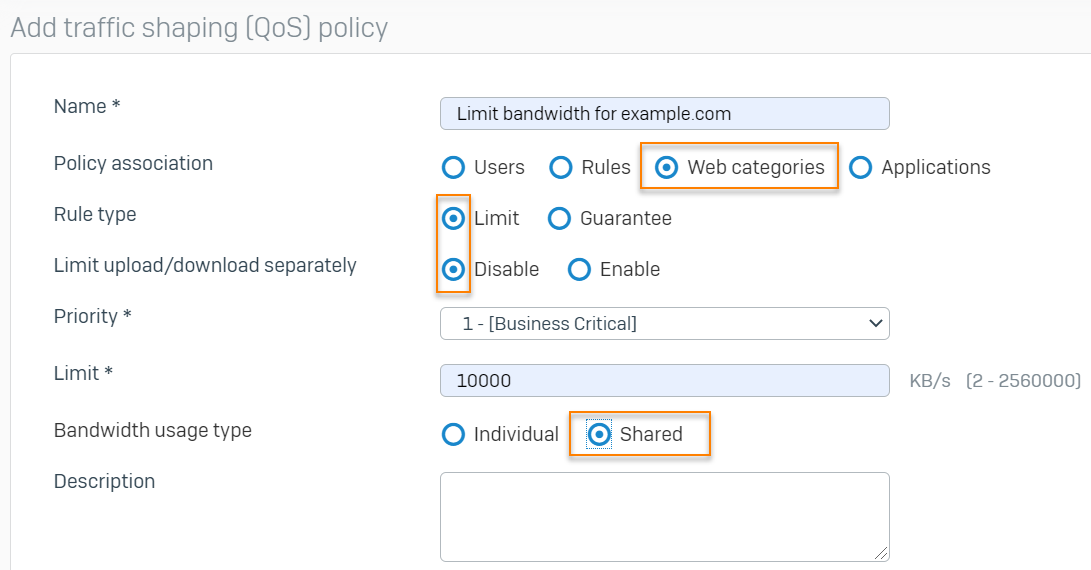
Enter a name.
- Set Policy association to Web categories.
- Set Rule type to Limit.
- Set Priority to 1.
- Set Limit upload/download separately to Disable.
- Enter the following for Limit: 10000
This is the maximum bandwidth the websites can use. - Set Bandwidth usage type to Shared.
All applications and application categories to which you assign this policy will share the guaranteed bandwidth. -
Click Save.
Here's an example:
Create a custom web category for the website
The following are example settings as follows:
- Go to Web > Categories.
- Click Add.
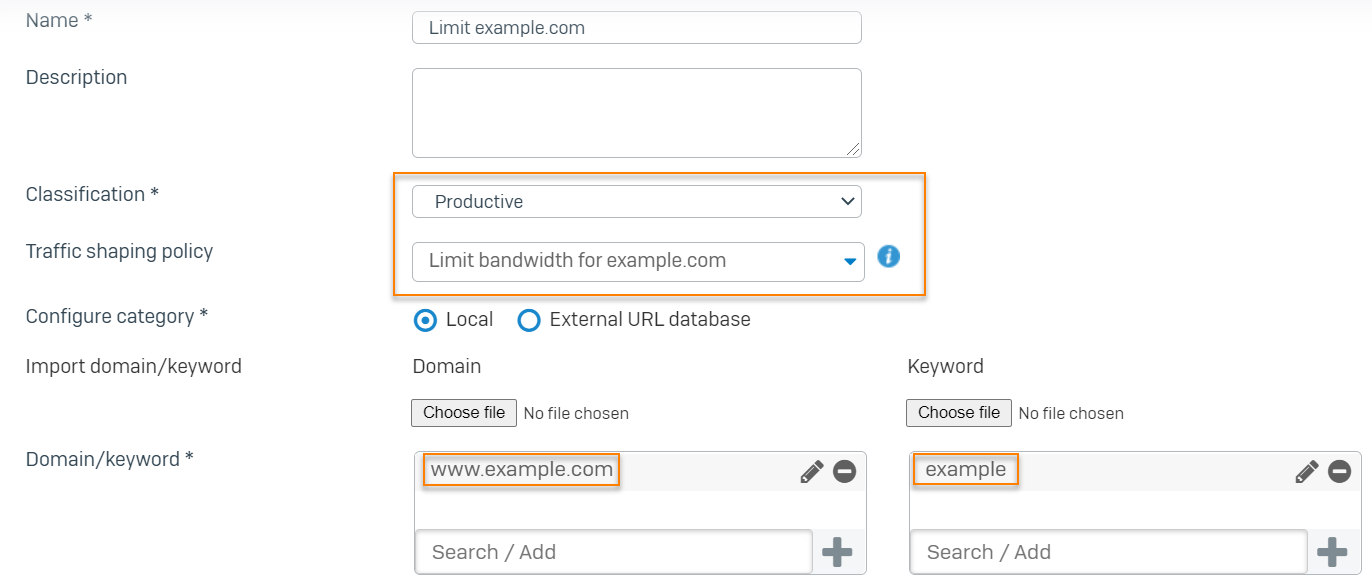
- Enter a name.
- Set Classification to Productive.
- Select the traffic shaping policy you created.
- Set Configure category to Local.
- For Domain/keyword, do as follows:
- For domain, enter
www.example.comand click the plus (+) button. - For keyword, enter
exampleand click the plus (+) button.
- For domain, enter
-
Click Save.
Here's an example:
Add a web policy
The following are example settings:
- Go to Web > Policies.
- Click the edit button next to the web policy you want.
- Click Add to add a web policy rule.
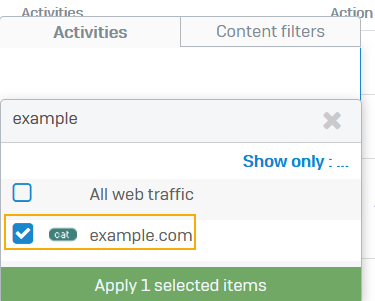
- Under Activities, click the field and click Show only.
-
Select Web categories, select the example category you created, and click Apply selected items.
Here's an example:
-
Click Save.
Select web policy and traffic shaping in a firewall rule
To edit an existing firewall rule, do as follows:
- Go to Rules and policies > Firewall rules.
- Click the firewall rule that currently matches the traffic you want to shape.
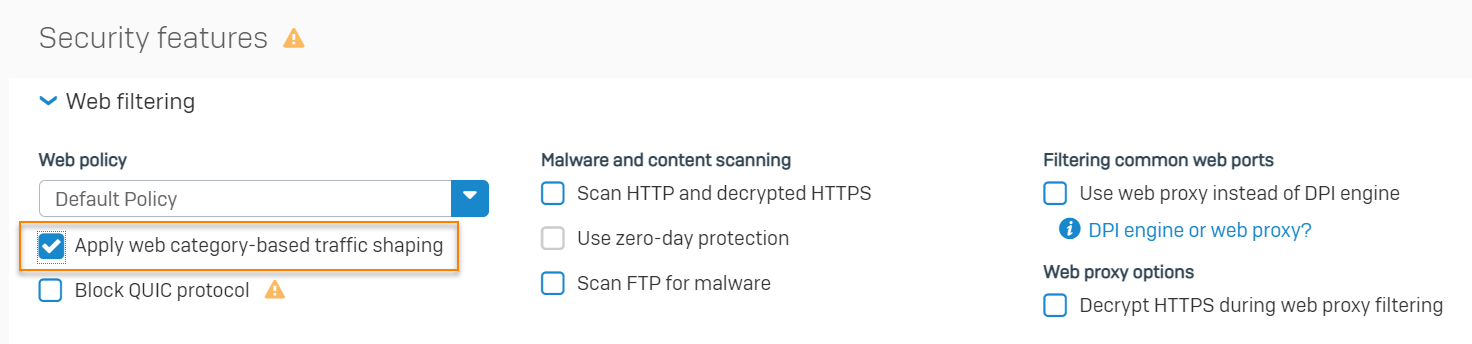
- Go to Security features and click Web filtering.
-
Click Apply web category-based traffic shaping.
The web policy to which you've added the category has already been added to the firewall rule.Here's an example:
-
Click Save.
More resources