Provisioning IPsec and SSL VPN
The provisioning (.pro) file enables the Sophos Connect client on your endpoint to automatically fetch the remote access IPsec and SSL VPN configurations. The .pro file automatically imports any configuration changes your administrator makes later.
You must download the Sophos Connect client and import the provisioning file your administrator provides if they aren't automatically installed on your endpoint.
Supported endpoints
You can use the Sophos Connect client and the provisioning file to configure the connection on the following endpoints:
- Windows 10 and 11 devices
Download the Sophos Connect client
- Sign in to the VPN portal.
- Go to VPN.
-
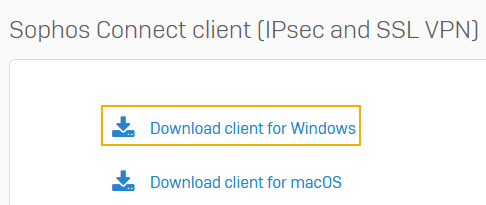
Under Sophos Connect client (IPsec and SSL VPN), click Download client for Windows.
-
Click the downloaded file to install the Sophos Connect client on your device.
You can see the client on your desktop.
-
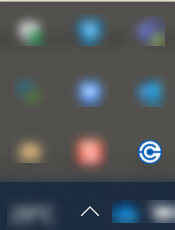
Double-click the client.
You can then see it in the tray in the lower-right corner for Windows.
Import the provisioning file
-
Click the
.profile your administrator provides.If a text file is provided, change the extension to
.pro.The file is then automatically imported into the Sophos Connect client.
-
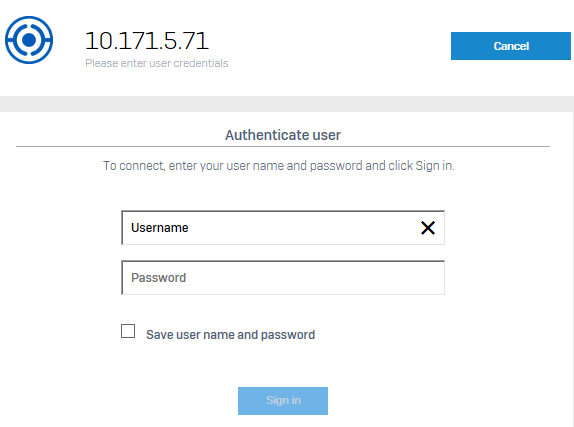
Click Connect to sign in.

-
Enter your VPN portal username and password.
-
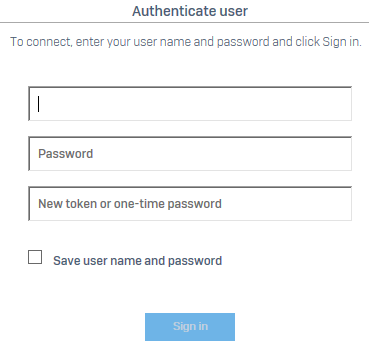
If multi-factor authentication is configured, do as follows based on the option configured:
-
OTP token (Sophos Firewall or third-party tokens): Enter the passcode.
If it's a token generated by Sophos Firewall, see OTP token for more information.
-
Duo Push: Enter
pushand approve the notification on your mobile device. - Duo Phone: Enter
phone. You'll receive a call for authentication. - Duo SMS: Enter
sms. In the next sign-in screen, enter your username, password, and the OTP token.
Note
If you're using the provisioning file the first time, the sign-in screen is shown twice. The first sign-in downloads the configuration file, and the second establishes the connection.
-
-
Click Sign in.
This establishes the remote access connection.