Install Sophos Firewall on Nutanix Prism Central
You can install Sophos Firewall QCOW2 disks on the Nutanix Prism Central platform.
Download the image disk
To download the .zip file containing the Sophos Firewall QCOW2 disk for the Nutanix Prism Central platform, do as follows:
-
Go to Firewall Installers, scroll to Virtual Installers: Firewall OS for KVM, and click Download to download the .zip file containing the following QCOW2 disks:
PRIMARY-DISK.qcow2AUXILIARY-DISK.qcow2
-
Extract the
.zipfile and save the disks on the device from which you access Nutanix Prism Central.
Upload the image to Nutanix Prism
- Sign in to the Nutanix Prism Central console.
-
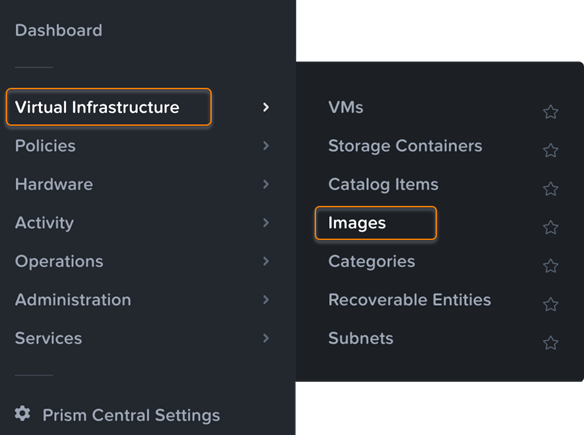
From the top-left menu, go to Virtual Infrastructure > Images.
-
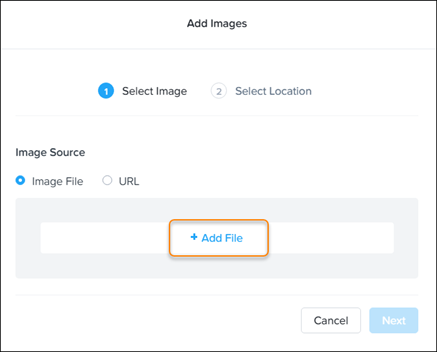
Click Add Image.
-
Click Add File.
-
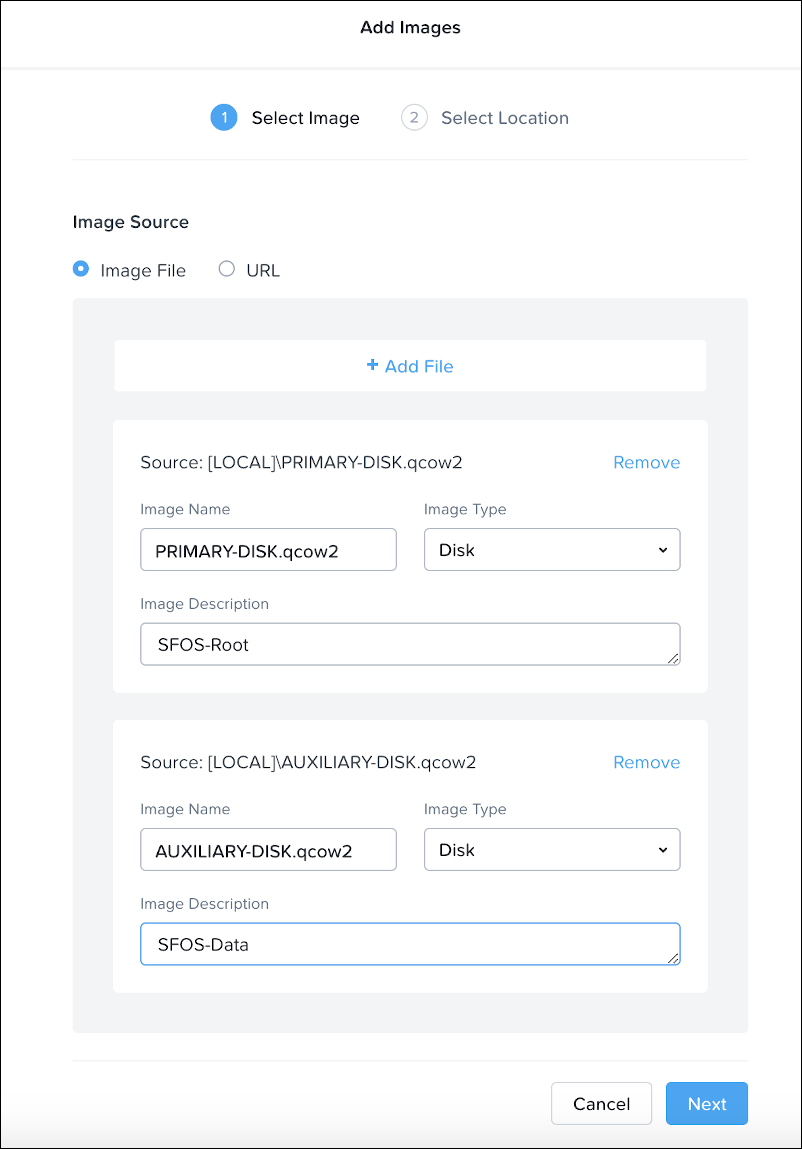
Select one of the image files you extracted.
Make sure that the selected Image Type is Disk.
You can enter a description in the Image Description field.
-
Repeat the last step for the second image.
After you've added both images, you should see them in the dialog.
-
Click Next.
- Specify the settings for Placement Method and Select Clusters according to your needs.
- Click Save.
-
Wait a few minutes and then refresh the browser.
You'll find the newly created images in the images list.
Create the Sophos Firewall virtual machine
-
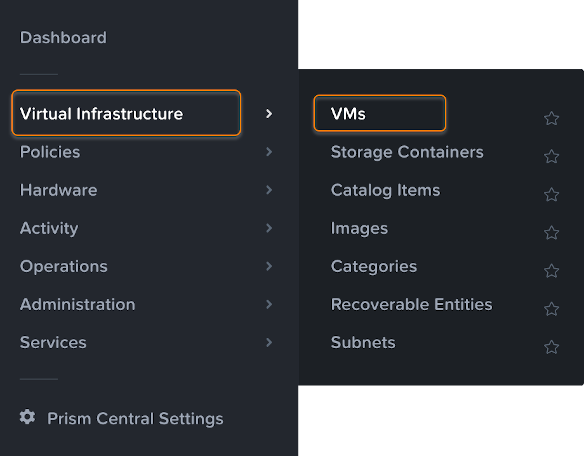
From the top-left menu, go to Infrastructure > VMs.
-
Click Create VM.
- In General Configuration, enter a name for the VM and select a timezone.
-
In Compute Details, enter your desired number of virtual CPUs and RAM.
Select a minimum of 4 GB of RAM.
-
In Disks, delete the CD-ROM that is shown by default.
You must create a startup disk and a log disk for the VM.
-
Create a startup disk as follows:
-
Create a log disk as follows:
- Click Add New Disk.
-
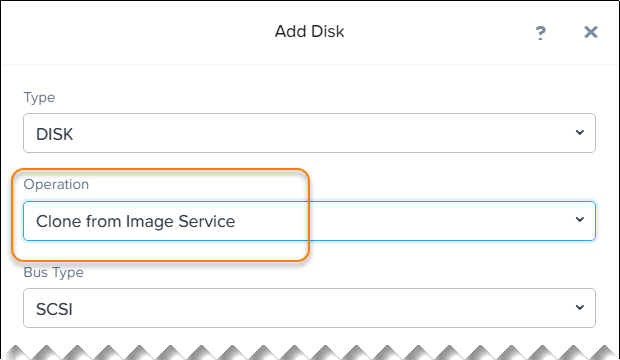
In Operation, select Clone from Image Service.
The startup disk will be cloned from the VM image you uploaded.
-
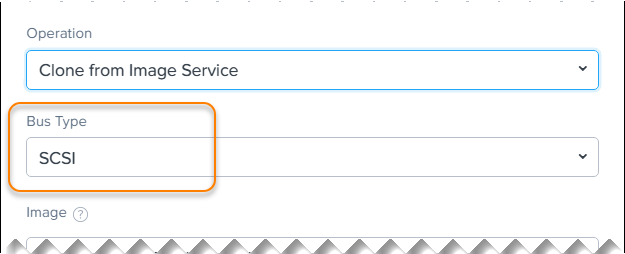
Select the desired Bus Type (for example, SCSI).
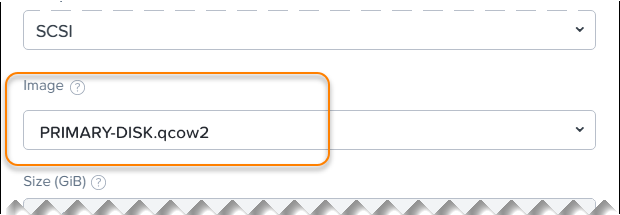
- In Image, select AUXILIARY-DISK.qcow2.
-
Click Add.
The log disk is added.
-
Add a network interface for the VM:
-
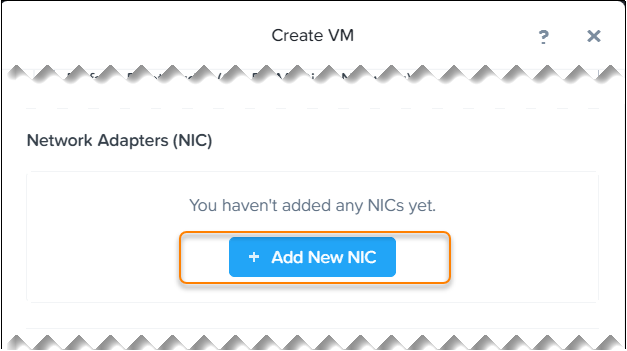
In Network Adapters (NIC), click Add New NIC.
-
In VLAN Name, select the desired VLAN.
You can select DHCP first to check connectivity. We recommend that you change the VLAN to a static IP address later.
-
Click Add.
-
Repeat these substeps to add a second network interface.
Sophos Firewall requires two network interfaces.
-
-
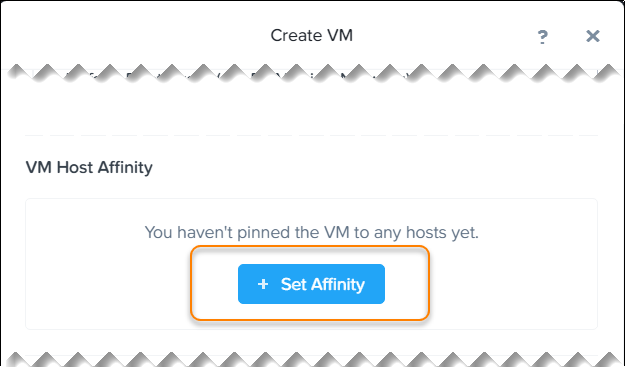
Pin the VM to a host:
-
Click Save.
The system shows a success message when the VM has been created with no error.
Configure Sophos Firewall
To power on and configure the virtual firewall, do as follows:
- Find your newly created VM in the VM list and power it on.
-
Click Launch console.
A window opens and shows the command line interface of Sophos Firewall.
-
Enter the administrator password
admin. - Enter
https://172.16.16.16:4444into your web browser to connect to the firewall. - Review and accept the Sophos End User Terms of Use.
-
Click Start setup to begin registration and basic setup. See Registration and basic setup.
Restriction
The setup assistant won't start if you've changed the default password from the CLI console. You can complete the basic setup manually or reset the firewall to default to use the setup assistant.
To manage your Sophos Firewall licenses and subscriptions, see Licensing.
