Configure 5G module
The 5G wireless allows 5G cellular network connections with download speeds of up to 4.5 Gbps and upload speeds of up to 660 Mbps.
Click the appropriate tab to see which XGS Series firewalls are compatible with the 5G wireless module.
Sophos XGS Gen.2 firewalls must be running SFOS 20 MR2 or later.
- XGS 118/118w
- XGS 128/128w
- XGS 138/138w
- XGS 116/116w
- XGS 126/126w
- XGS 136/136w
Warning
The 5G wireless module isn't hot-swappable. So, you must power off the firewall device, insert the module, and power on the device again.
To configure the 5G wireless module on a firewall device, you must do as follows:
- Insert the 5G wireless module into the firewall device.
- Turn on Cellular WAN.
- Configure the WWAN1 interface.
Insert the 5G wireless module into the firewall device
Do as follows:
- Power off the firewall device.
- Insert the SIM card obtained from your ISP into the SIM card slot of the 5G module.
- Insert the 5G wireless module into the firewall device.
- Power on the firewall device.
Turn on Cellular WAN
Make sure Cellular WAN is turned on in the web admin console.
Do as follows:
- Go to Network > Cellular WAN.
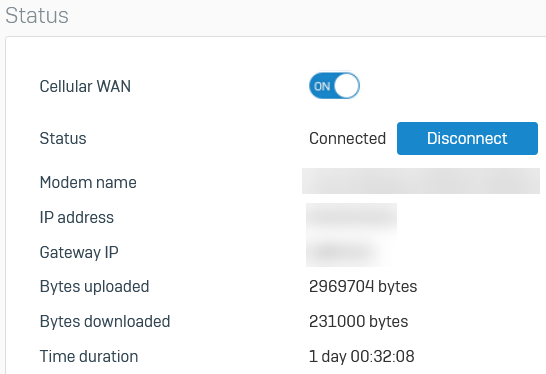
- Make sure Cellular WAN is turned on.
-
Wait for the firewall to detect the module.
The Status changes to "Connected" when the firewall connects to the module.
Configure the WWAN1 interface
Edit the WWAN1 interface to load the recommended settings for the 5G wireless module.
Do as follows:
- Go to Network > Interfaces and click the WWAN1 interface.
-
Click Show recommended configuration and click Load recommended configuration to load the 5G wireless module settings.
Note
For 5G wireless modules, only the Network adapter (DHCP) IP assignment method is available. Dial-up (PPP) is turned off. You can't turn it on.
-
Enter the Username and Password for the connection.
- For SIM card PIN code, enter the code required to unlock the PIN-enabled SIM card.
- For APN, enter the access point name.
- Click Save.
