Deploy Sophos Firewall on Microsoft Azure
You can deploy a Sophos Firewall virtual machine (VM) on Microsoft Azure.
This guide includes instructions for third-party products. We recommend that you check the vendors' latest documentation.
Video
The following video shows you how to deploy Sophos Firewall in your Microsoft Azure environment.
Microsoft Azure configuration
You can use a basic stock-keeping unit (SKU) or a standard SKU public IP address for the firewall. See Public IP addresses.
Warning
Basic SKU public IP addresses will be retired on September 30, 2025. See Retirement announcement.
We recommend using a standard SKU public IP address.
The firewall only supports a dynamic basic SKU public IP address. To deploy the firewall using a basic SKU public IP address, do as follows:
- Sign in to Microsoft Azure portal.
-
Go to Marketplace. You can also search for it in the search box.
-
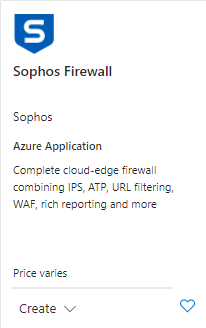
Search for
Sophos Firewallin the Marketplace search box and click Sophos Firewall. -
Click Create.
-
Under Basics, configure the following settings:
- Subscription: Select the subscription associated with your Microsoft Azure portal account.
- Resource group: Select a resource group or create a new one.
- Region: Select a region. We recommend you select the region closest to your location.
- VM name: Enter a name.
- Password: Enter a password. The 'admin' user will use this password to sign in to the firewall.
- Confirm password: Re-enter the password.
-
Click Next.
-
Under Instance details, configure the following settings:
-
License type: Select the license type.
- BYOL: You can get a Bring Your Own License (BYOL) from a Sophos reseller. Contact your Sophos account representative or send an email to
publiccloud@sophos.comfor more information. - PAYG: You can pay hourly using Pay As You Go (PAYG).
- BYOL: You can get a Bring Your Own License (BYOL) from a Sophos reseller. Contact your Sophos account representative or send an email to
-
Virtual machine size: Select the size of the VM instance. The default size and minimum requirement for the firewall is Standard F2s v2 (2 virtual CPUs and 4 GB memory). You can click Change size to change the size of the VM according to your requirements.
- Virtual network: Select a virtual network. To edit the virtual network, click Edit virtual network.
- LAN subnet: Select a LAN subnet. To edit the subnet, click Edit subnet.
- WAN subnet: Select a WAN subnet. To edit the subnet, click Edit subnet.
-
Public IP name: For the public IP address you select here, make sure SKU is set to Basic and Assignment to Dynamic.
Note
Creating a Standard SKU public IP address here isn't supported.
-
Domain name: Enter a unique domain name. Use this to access the web admin console and CLI console of the firewall.
- Storage account: Select a storage account or create a new one.
-
-
Click Next.
A validation test starts. If it fails, check your configuration.
-
When the validation test succeeds, review the details and click Create.
The deployment process takes a few minutes.
-
When the deployment is complete, click Go to resource group to see the resources deployed in your account.
A standard SKU public IP address is static and supports availability zones. To deploy the firewall using a standard SKU public IP address, do as follows:
Create a standard SKU public IP address
- Sign in to Microsoft Azure portal.
-
Go to Public IP addresses. You can also search for it in the search box.
-
Click Create.
-
Under Basics, configure the following settings:
- Subscription: Select the subscription associated with your Microsoft Azure portal account.
- Resource group: Select a resource group or create a new one.
- Region: Select a region. We recommend you select the region closest to your location.
- Name: Enter a name.
- IP version: Select IPv4.
- SKU: Select Standard.
-
Availability zone: Select 1.
Note
The firewall only supports one availability zone.
-
Tier: Select Regional.
- IP address assignment: Select Static.
- Routing preference: Select Microsoft network.
- Idle timeout (minutes): Enter an idle timeout duration.
- DNS name label: Enter a DNS name.
- Domain name label scope (preview): Select None.
-
Under DDoS protection > Protection type, select Network, then click Next.
-
Under Tags, click Next.
A validation test starts. If it fails, check your configuration.
-
When the validation test succeeds, review the details and click Create.
The deployment process takes a few minutes.
-
When the deployment is complete, click Go to resource to see the details.
Deploy the firewall
-
Go to Marketplace. You can also search for it.
-
Search for
Sophos Firewallin the Marketplace and click Sophos Firewall. -
Click Create.
-
Under Basics, configure the following settings:
- Subscription: Select the subscription associated with your Microsoft Azure portal account.
- Resource group: Select a resource group or create a new one.
- Region: Select the same region you used for the standard SKU public IP address.
- VM name: Enter a name.
- Password: Enter a password. The 'admin' user will use this password to sign in to the firewall.
- Confirm password: Re-enter the password.
-
Click Next.
-
Under Instance details, configure the following settings:
-
License type: Select the license type.
- BYOL: You can get a Bring Your Own License (BYOL) from a Sophos reseller. Contact your Sophos account representative or send an email to
publiccloud@sophos.comfor more information. - PAYG: You can pay hourly using Pay As You Go (PAYG).
- BYOL: You can get a Bring Your Own License (BYOL) from a Sophos reseller. Contact your Sophos account representative or send an email to
-
Virtual machine size: Select the size of the VM instance. The default size and minimum requirement for Sophos firewall is Standard F2s v2 (2 virtual CPUs and 4 GB memory). You can click Change size to change the size of the VM according to your requirements.
- Virtual network: Select a virtual network. To edit the virtual network, click Edit virtual network.
- LAN subnet: Select a LAN subnet. To edit the subnet, click Edit subnet.
- WAN subnet: Select a WAN subnet. To edit the subnet, click Edit subnet.
- Public IP name: Select the standard SKU public IP address you created.
-
Domain name: This is automatically filled with the DNS name of the standard SKU public IP address. Use this to access the web admin console and CLI console of the firewall.
-
Storage account: Select a storage account or create a new one.
-
-
Click Next.
A validation test starts. If it fails, check your configuration.
-
When the validation test succeeds, review the details and click Create.
The deployment process takes a few minutes to complete.
-
When the deployment is complete, click Go to resource group to see the resources deployed in your account.
Access and configure the firewall
To access the firewall, do as follows:
- Sign in to Microsoft Azure portal.
-
Go to Virtual machines. You can also search for it.
-
Click the firewall you want to access.
- Under DNS name, hover over the URL and click the Copy to clipboard icon
 .
. -
On a web browser, access the firewall's web admin console using the following syntax:
Syntax
https://<DNS name>:4444Example
https://sfostest1.southeastasia.cloudapp.azure.com:4444 -
Sign in to the firewall using the username
adminand the password you entered when you created the firewall. - Under Sophos End User Terms of Use, click I accept.
-
Go to Set up your Sophos Firewall and claim it in Sophos Central and follow the instructions from step 6 onwards.
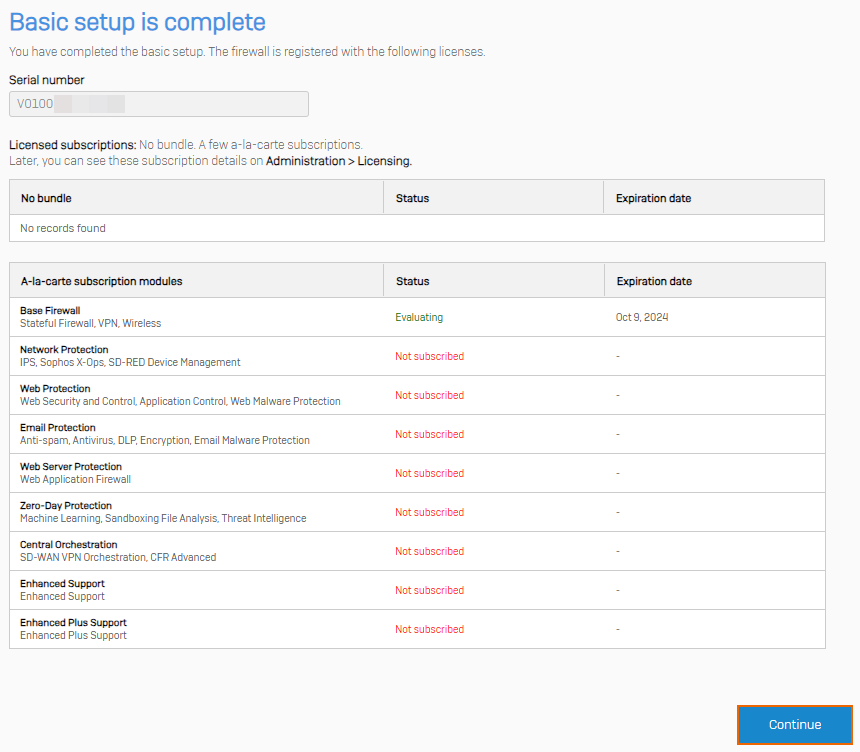
When you're redirected to the firewall, click Continue to see the firewall's Control center.


