Install the SSL VPN client in Windows
The steps below guide you through the installation process in Windows 10. The process is similar for other Windows versions.
-
Open a file browser and go to the location of the installation file.
In this example, sslvpn_inst_gforeman@utm.example.com.exe.
Double-click the file to start the installation assistant.
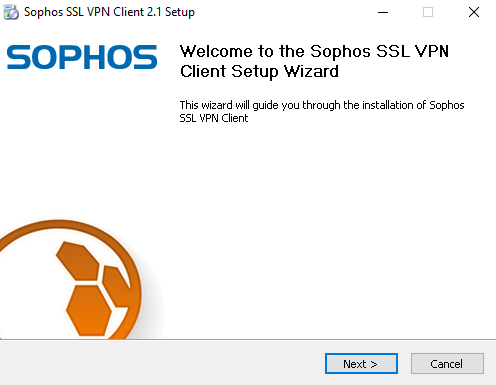
The installation assistant opens.
-
Click Next to proceed.
-
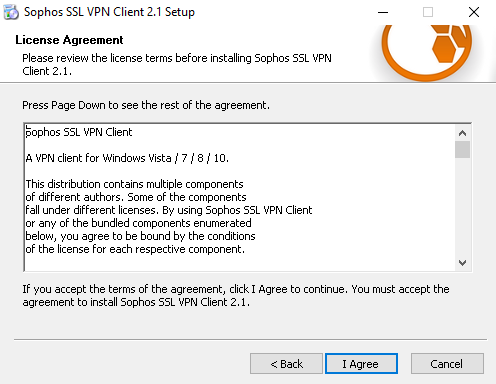
Accept the software license agreement.
-
Choose the installation location.
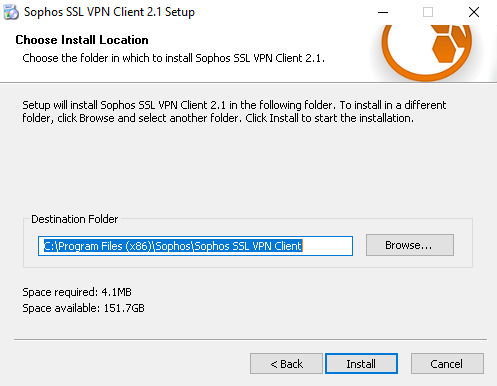
Click Browse, select the appropriate directory, and click OK.
-
Click Install to proceed.
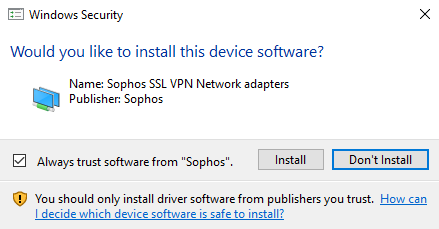
The installation process starts. A virtual network card is installed during the installation process. Since the driver is not certified by Microsoft, a corresponding caution message may appear during the installation process.
-
Click Install to confirm the installation.
The installation wizard copies the necessary files onto your system.
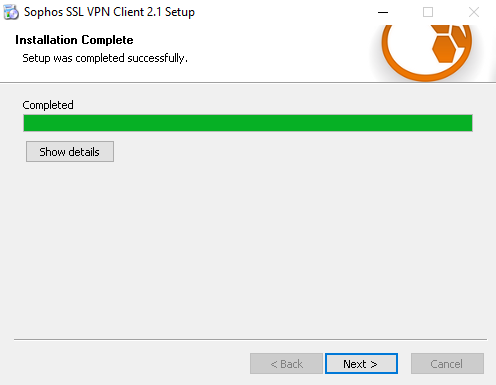
-
Click Next to confirm the completion message.
-
Click Finish to finish the installation.
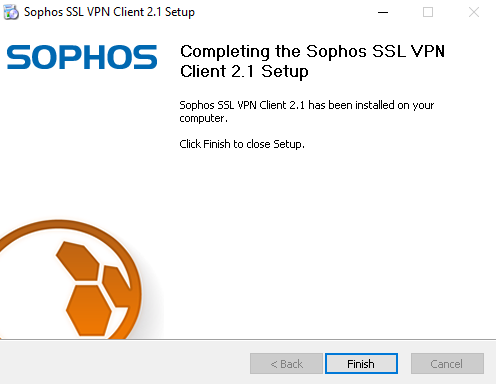
After the installation is finished, the client application starts automatically. It runs in your system tray, using this icon
 .
.